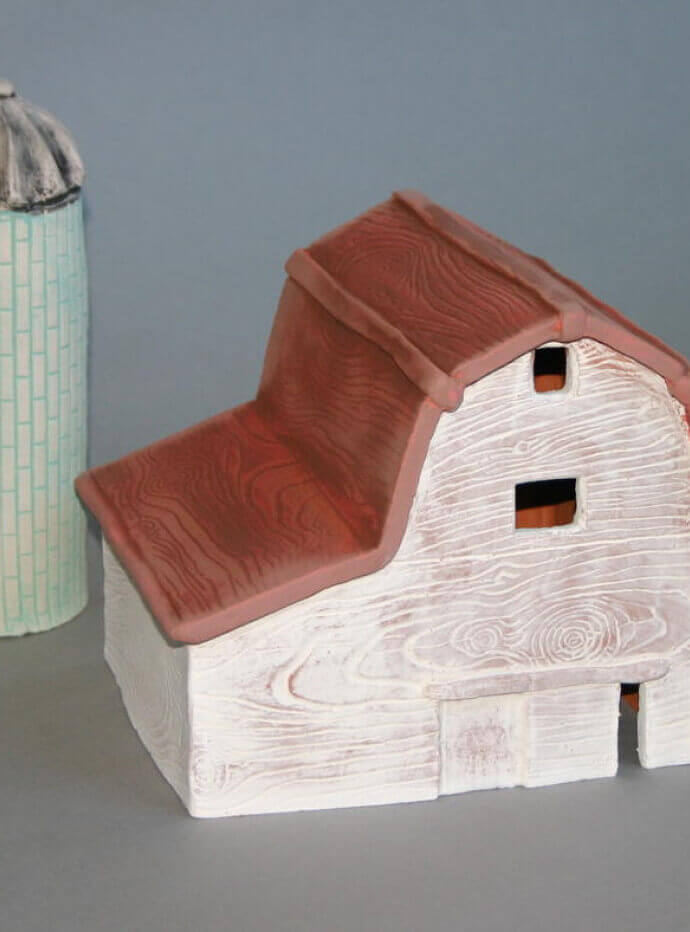
Barns and Silos

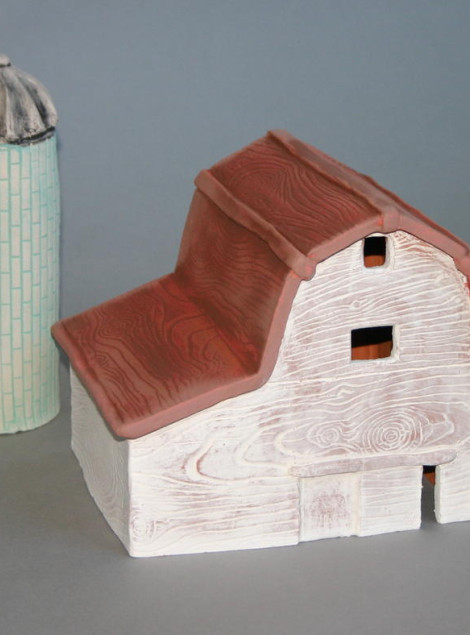
Driving near our studio and home in Indiana I come across barns and silos and the inspiration for this lesson plan. There is something so basic about our lives, history and culture that bring me a sense of calm when I see barns and farmlands. The barns don’t have to be functional, either. I enjoy the way they look if they are working, historical or maybe just falling down. Create these slab barns and silos. Students study barn structures in person or in photographs. Design and build, first with paper and then use the paper as a template for building the clay structure. Complete barns and silos over a couple of class periods for 5th grade students and up. Design expectations advance with age and experience levels.
Supplies List
- Terra Cotta Stoneware Clay No.77 Moist
- White Art Clay Moist
- Ruler
- Pencil
- Scissors
- Hardwood Rolling Pin
- Hardwood Thickness Strips
- Wooden Throwing Ribs
- Fettling Knife
- Double-Ended Clay Shaper
- Wire Clay Cutter
- Vinegar
- Brushes
- Sponges
- Velvet Underglazes

Barn: Create Paper Template
Right side—design for barn in paper Left side—clay barn Design and construct barn out of paper and tape together to ensure fit. Then use paper as templates/patterns to cut pieces from textured clay slabs to create barn in clay.
Make Slabs and Texture
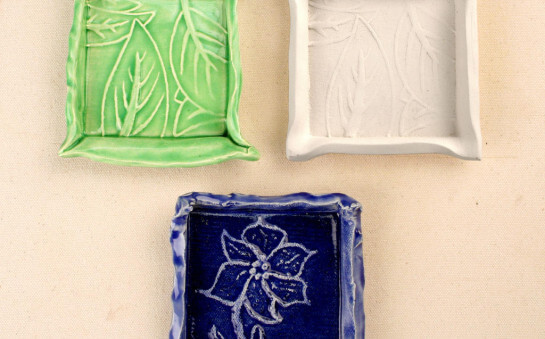
Roll slabs with a slab roller or rolling pin with a thickness of 3/8″ to 1/2″ and smooth with rib. Texture slab with pieces of wood (as pictured), stamps, texture molds, and other found objects. Be creative and find some good textures to use on slabs.
Cut Pieces
Place paper templates/patterns on textured slabs and cut using a fettling knife or a cutting tool. Make sure the clay slabs are stiff enough to hold shape when putting walls and roof together. Design roof large enough for over hang on all sides of barn.
Pieces Ready for Assembly
Sides, ends, and roof of barn. The slabs should be stiff enough to assemble but pliable enough to apply texture. Plan on using approximately five pounds of clay per student.
Assemble
“Raise” build your barn. Score where parts are to be attached with a scoring tool, fork, or toothed rib. Connect using vinegar to moisten scored area only and press together. Add roof design details of clay strips to cover any cracks in the clay that may appear when bending clay to attach roof.
Use Coil to Reinforce Seams
Secure connection with a coil and smooth with finger.
Details
Finish barn by adding details–cutting out doors, windows, etc.
Silo: Cut Slabs
Cut silo and silo roof from textured slab. Heights and widths of silos can vary. Many silos are taller than barns.
Make Cylinder
Roll Silo and cut thru on a diagonal for a clean edged seam.
Score
Score area and connect using vinegar to moisten scored area only.
Join
Press together and gently smooth to maintain texture.
Add Roof
Curve silo roof into a dome shape, then score top of silo and roof, moisten with vinegar, attach and smooth.
Bisque
Bisque fire to Cone 04.
Underglaze
Brush on one to two coats of underglaze.
Sponge
If textured, lightly wipe some of the underglaze off, the barn and silo, with a damp sponge. Use a bucket of water nearby and rinse sponge in bucket when necessary. Other low fire glazes can be used as an alternative or in addition to the matt finish of the underglazes.


