How to make a handmade logo stamp for your clay projects
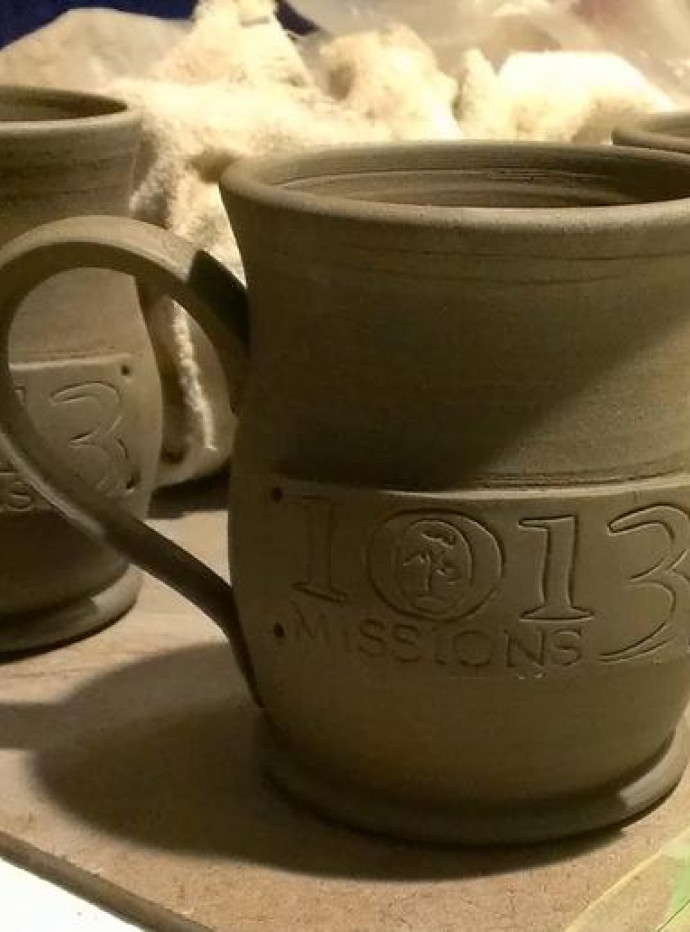
This How-To explains how to make your own logo stamp.
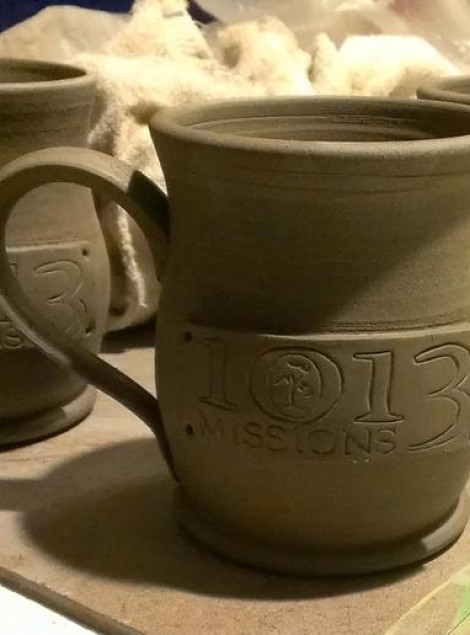
Materials Needed
You will need:
- Your design or logo printed out
- Needle tool
- Varying sizes of embossing tools
- A piece of plaster big enough for your design or logo
- Amazing Mold Putty
- Scrap clay (that you will throw out because there will be plaster in it)
Print or draw what you want for your stamp
Print or draw out the design or logo that you want for your stamp. Tape to a piece of plaster. Next, take either a dull needle tool or a stylus (something that will impress upon the plaster with out ripping the paper) and trace over the logo.
Carving into plaster
Once you have traced the logo onto the plaster, remove the piece of paper. Now, using both needle tools and styluses, carve the logo into the plaster. I used a paint brush to sweep out the dust as I went along. Don't forget to wear a mask so you don't breath in the plaster dust. As you work, take a scrap piece of clay to test out how your stamp is looking and to see if you have carved in deep enough yet. This also helps pull out the debris from the small spaces.
Get your putty ready
Once you are happy with your carving, make sure you clean it out by pressing scrap clay in there. Next, take prepare your putty according to the directions on the box. It is equal parts of from both containers and you knead them together into your hands until they are completely mixed.
Press putty into your plaster carving
Once the putty is sufficiently mixed, take the putty and press it into your plaster carving. Make sure you are pressing evenly and getting the whole carving covered by the the putty. Let it sit there for 20 minutes.
Your stamp is ready!
After the putty cures for 20 minutes, you slowly pull the putty off your plaster mold. If you need to, you can trim the putty as it cuts easily with scissors.
Extra Tip
If you are planning on using a clay cutter/cookie cutter for cutting out the stamped logo, you can center it over your carving before you put the putty on your plaster and tape that in place. Place the putty into the carved plaster, filling the cookie cutter shape up as well. When this is done you can then use them together to both stamp and cut out the shape at the same time.

