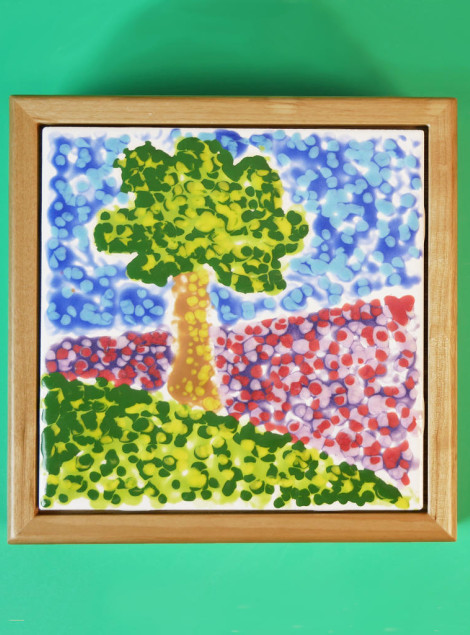
Pointillism With Pizazz: Using Teacher's Palette Glazes

Dive into the new school year with our latest lesson plan featuring Teacher's Palette glazes!! In this video we walk through a simple pointillism process that allows you to use commercial pre-glazed tiles in an innovative way that fulfills National Visual Art and Core Standards.
This lesson plan encourages students to learn the pointillism technique while also studying artists who mastered the skill like George Seurat.
- Supplies List
- Pencils (with unused eraser)
- Permanent Marker
- "TP" Teacher's Palette Glazes
- Commerical Pre-Glazed Tiles
- AMACO® 16 Gauge Underglaze Applicators

Create Design
Draw your design on a glazed tile with a permanent marker. This process is most successful with simple forms, so avoid excessive detail.
Glaze
Dip the eraser end of the pencil into the glaze and use it to make dots on the glazed surface. You do not need to fill the entire space.
Add More Color
Use applicator to apply an analogous color.
Enhance
Enhance your design by using a lighter or darker value of one of your colors. Teacher's Palette glazes can be mixed to achieve these results.
Repeat
Complete your other sections by repeating steps 2-4.
Fire
Fire to Cone 05 at medium speed. The marker lines will burn out in this step, leaving only the glaze dots.

