


DIY Texture Clay Stamps & Soft Slab Projects
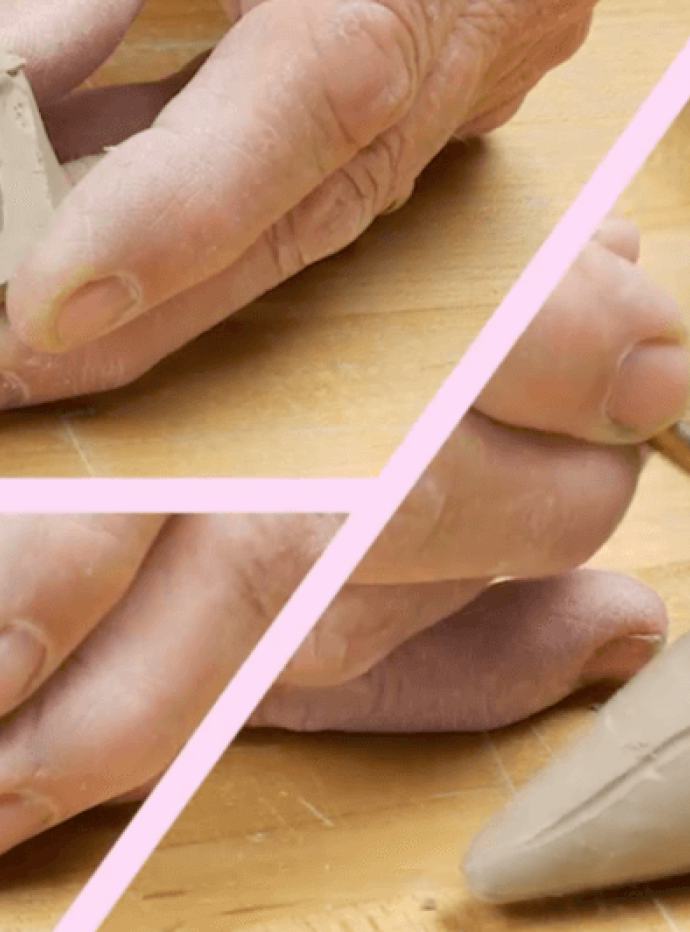
This project is designed for teaching clay remotely to students who are learning from home. We will create DIY texture stamps using basic craft materials for use with modeling, air-dry or firing clays. Three different simple hand-building projects will be demonstrated using textured soft slabs.
Supplies List
- Your Choice of Clay
- Fettling knife / kitchen knife
- Small loop tool / pin in pencil*
- Pencil
- Rubber scraper / plastic gift card
- Needle tool / bamboo skewer
- Plastic wrap
- Paint brush
- Paper plate
- Paper
- Scissors
*Optional supplies for making a small loop tool:
- Pliers
- Wire cutter
- Long quilting pin
- Pencil with eraser
Preparation
Roll out 1-3 moist slabs of clay (approx. 8x10 each) and cover them with plastic.
Make Your Stamps
We show how to make 3 different stamps:
- Press Stamps
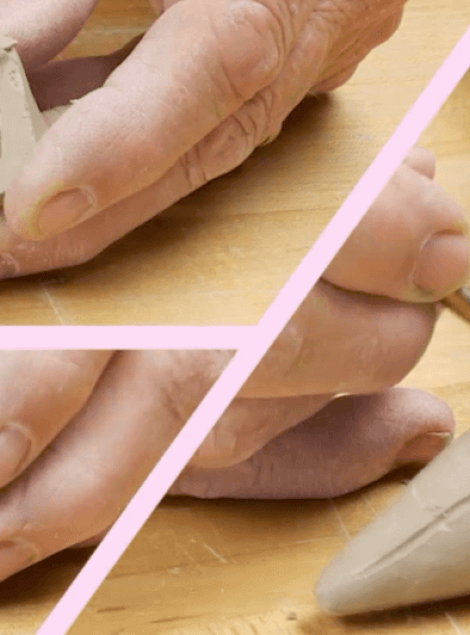
- Press a ball of soft clay onto paper to create a smooth surface on one side and a handle on the other.
- Roller Stamps
- Roll a large coil
- Push a pencil through the middle of the coil
- Roll back and forth to make the hole bigger
- Cone Stamps
- Roll a coil at an angle to make a cone
- Trim the wide-edged side to make it flat
- Hollow out the middle using a fettling knife or loop tools
- Insert a pencil into the hollow form, and roll while pressing down to compress the interior
Finish the Stamps
- Once leather-hard, trim the stamps' edges.
- Carve your designs using a dull pencil or loop tools.
- Once stamps are leather-hard, you can press them into a soft slab to test your design.
Presentations
Download step-by-step slideshow presentations here:
DIY Clay Stamps
Similar Lesson Plans
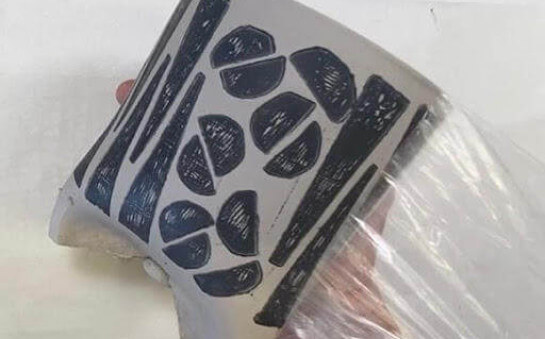
Press & Print on Moist Clay
In this video we demo how to make stamps to print and press on moist clay slabs creating texture and color at the same time. Once your slabs are textured, we demonstrate how to build simple cylinders which can be modified to create a wide variety of forms.
Learn More
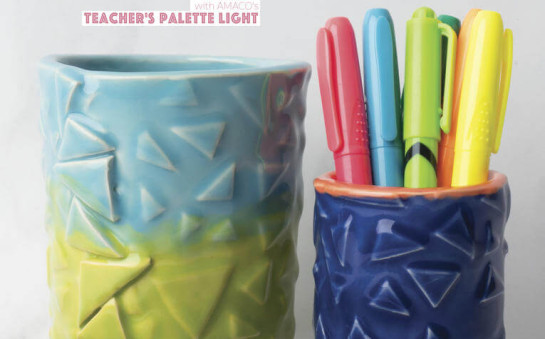
DIY Roller Stamps
Add some texture to your clay with these DIY Texture Rollers, featuring Teacher's Palette Light, a translucent glaze that highlights texture!
Learn More