


SpoOOooOky Lanterns using Teacher's Palette Glazes
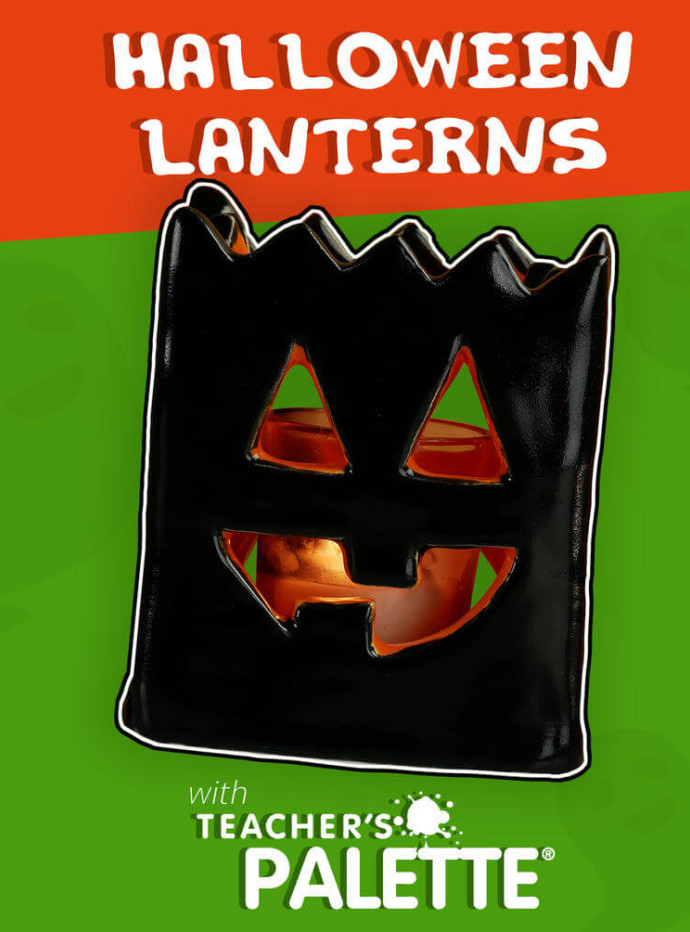
Students can create their own Halloween decor with this fun and easy DIY Clay Lantern project in your classroom!!!
No, you're not experience déjà vu if you thought we already uploaded a clay lantern video. We did another one! This lantern was glazed with TP-1 Coal Black on the exterior and TP-65 Pumpkin on the interior.
In this video we take you step by step through the hand-building process of this project and use #AmacoTeachersPaletteGlazes. You even get a downloadable template! This project is perfect for the #artclassroom!! Try it today!
Supplies List
- AMACO No. 20 Versa Clay
- Printed Templates
- Fettling Knife
- Scoring Tool
- Clay Knife
- Sponge
- AMACO Teacher's Palette TP-65 Pumpkin
- AMACO Teacher's Palette TP-1 Coal Black
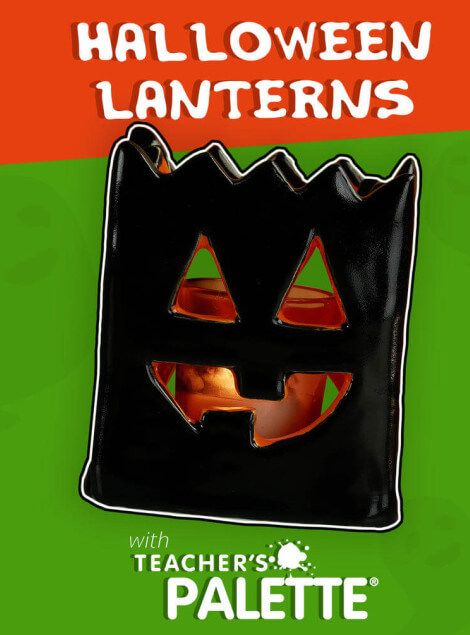
How to Build a Paper Bag Lantern
- Roll out a slab
- Use templates to cut the sides and base
- Bevel the edges
- Slip and score the edges. Join into a box shape
- Add coils to the seams. This helps reinforce the attachments
- Add indents on the sides to create a bag shape
- Allow the piece to get leather-hard
- Cut a spooky face
- Cut angles at the top of the bag
- Bisque fire to cone 04
- Apply 3 coats of TP-65 Pumpkin on the interior and 3 coats of TP-1 Coal Black on the exterior
- Glaze fire to cone 05
Video
Similar Lesson Plans
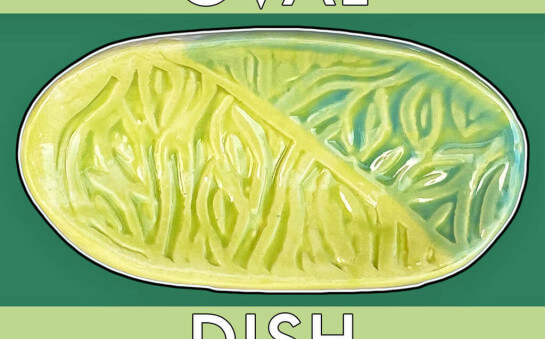
Hand-built OVAL DISH: Building with Soft Clay Slabs
In this project where we show you how to build a clay oval dish using ONE soft slab of clay that has lots of texture! This project covers a variety of the 3-D Elements and Principles of Design including Texture, Contrast/Variety, and Proportion/Scale.
Learn More
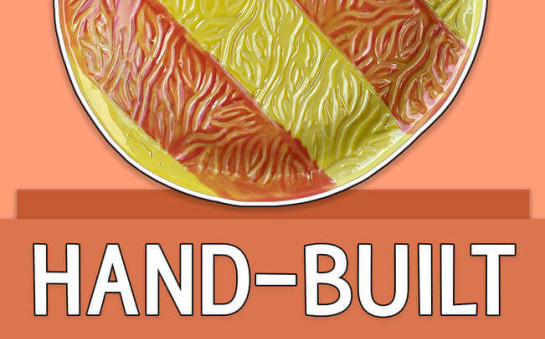
Hand-Built CLAY PLATES: Building with Soft Clay Slabs
In this project where we show you how to build a clay plate using ONE soft slab of clay that has lots of texture! This project covers a variety of the 3-D Elements and Principles of Design including Texture, Contrast/Variety, and Proportion/Scale.
Learn More
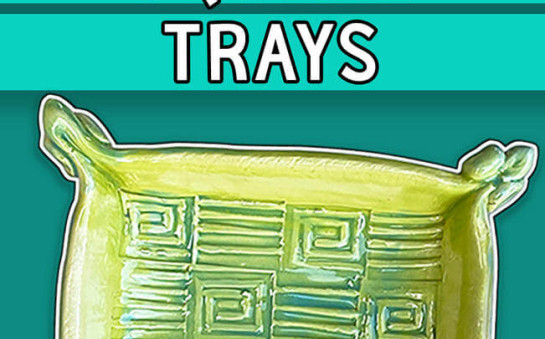
Hand-Built SQUARE TRAYS: Building with Soft Clay Slabs
Try out this project where we show you how to build a square tray using ONE soft slab of clay! This project covers a variety of the 3-D Elements and Principles of Design including Texture, Contrast/Variety, and Proportion/Scale.
Learn More