


Clay Animation: An Interdisciplinary Lesson
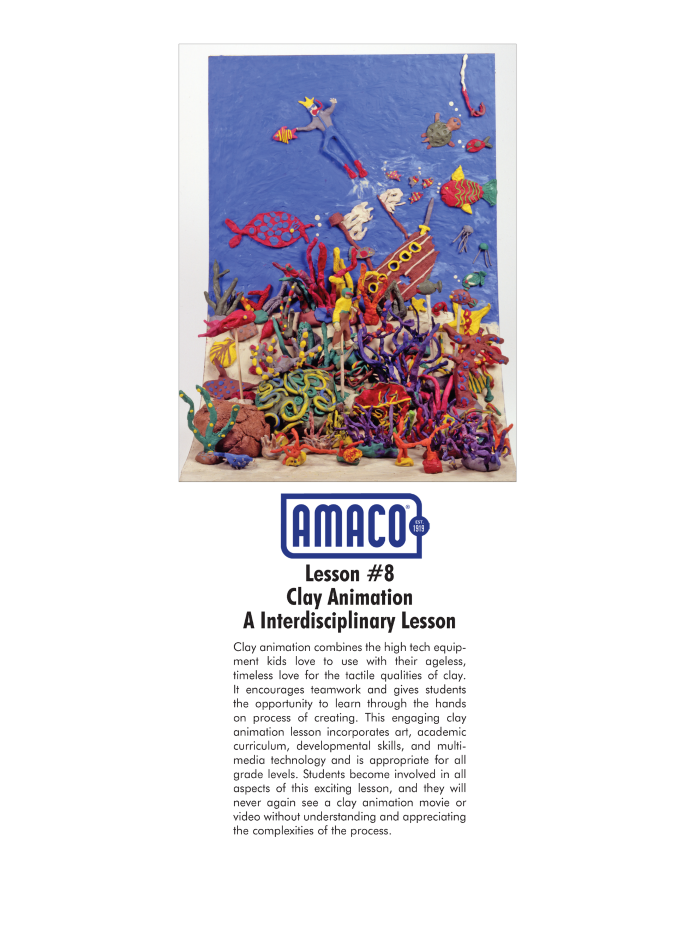
Clay animation combines the high tech equipment kids love to use with their ageless, timeless love for the tactile qualities of clay. It encourages teamwork and gives students the opportunity to learn through the hands on process of creating. This engaging clay animation lesson incorporates art, academic curriculum, developmental skills, and multimedia technology and is appropriate for all grade levels. Students become involved in all aspects of this exciting lesson, and they will never again see a clay animation movie or video without understanding and appreciating the complexities of the process.
Supplies List
- Freezer Paper
- Resealable Plastic Bags
- Needle Tool
- Fettling Knife
- Brayer
- AMACO Permoplast Modeling Clay or AMACO Plast-i-Clay Modeling Clay
Optional Supplies
- Masonite for base & back
- Various multimedia supplies, such as construction paper, found objects, etc., for background sets.
Video Equipment
- TV or Projector
- Device to Record
Background & Preparation
This project has been designed for all grade levels from primary through high school. The level of sophistication in creating the video will depend on the students' ages and the time allotted.
Talk with classroom teachers and the administration. Request their recommendations for topics and their help with research. This is an interdisciplinary project and should involve different aspects of the curriculum.
The art teacher should introduce an overview of animation and clay animation, helping students to understand how complex the process is. Show examples of professional clay animation videos and commercials. Explain that a professional clay animation video is approximately 30 frames per second. A one-minute clay animation video seen on television requires 1800 individual stop-action frames. Using simple equipment — a camcorder, TV/VCR, and audio tape player — it takes 40 frames for 10 seconds of video, 240 frames for a one-minute video, and 14,400 frames for an hour video. A one-minute student-created video will require that the characters and scenes be moved and shot by the students 240 times in sequence.
Talk to students about teamwork and cooperation. Explain that each student must be and will be involved in all aspects of the project and that each must do his or her share. Remind students that clay animation is a process that can only be accomplished step by step.
Demonstrate the process for the students. Show them how a storyline, characters, and background sets are created and how videotaping is done.
Emphasize design, texture, relationship of materials, craftsmanship, and detail.
Discuss Theme
After a theme has been determined, students should choose a title and discuss the theme. If research is involved, ask classroom or subject teachers to help provide resources and assistance.
Create the Story
Using their imaginations, students should create a story line about the theme. Remind them to keep the story simple and to limit the number of scenes.
Draft a Storyboard
Determine the number of scenes. Create a storyboard from the story line and calculate the single frame movements necessary.
Divide the Class
Divide the class into the same number of groups as there will be scenes. Each group will work on all aspects within the scene, creating characters and background sets and video taping.
Scene Orientation
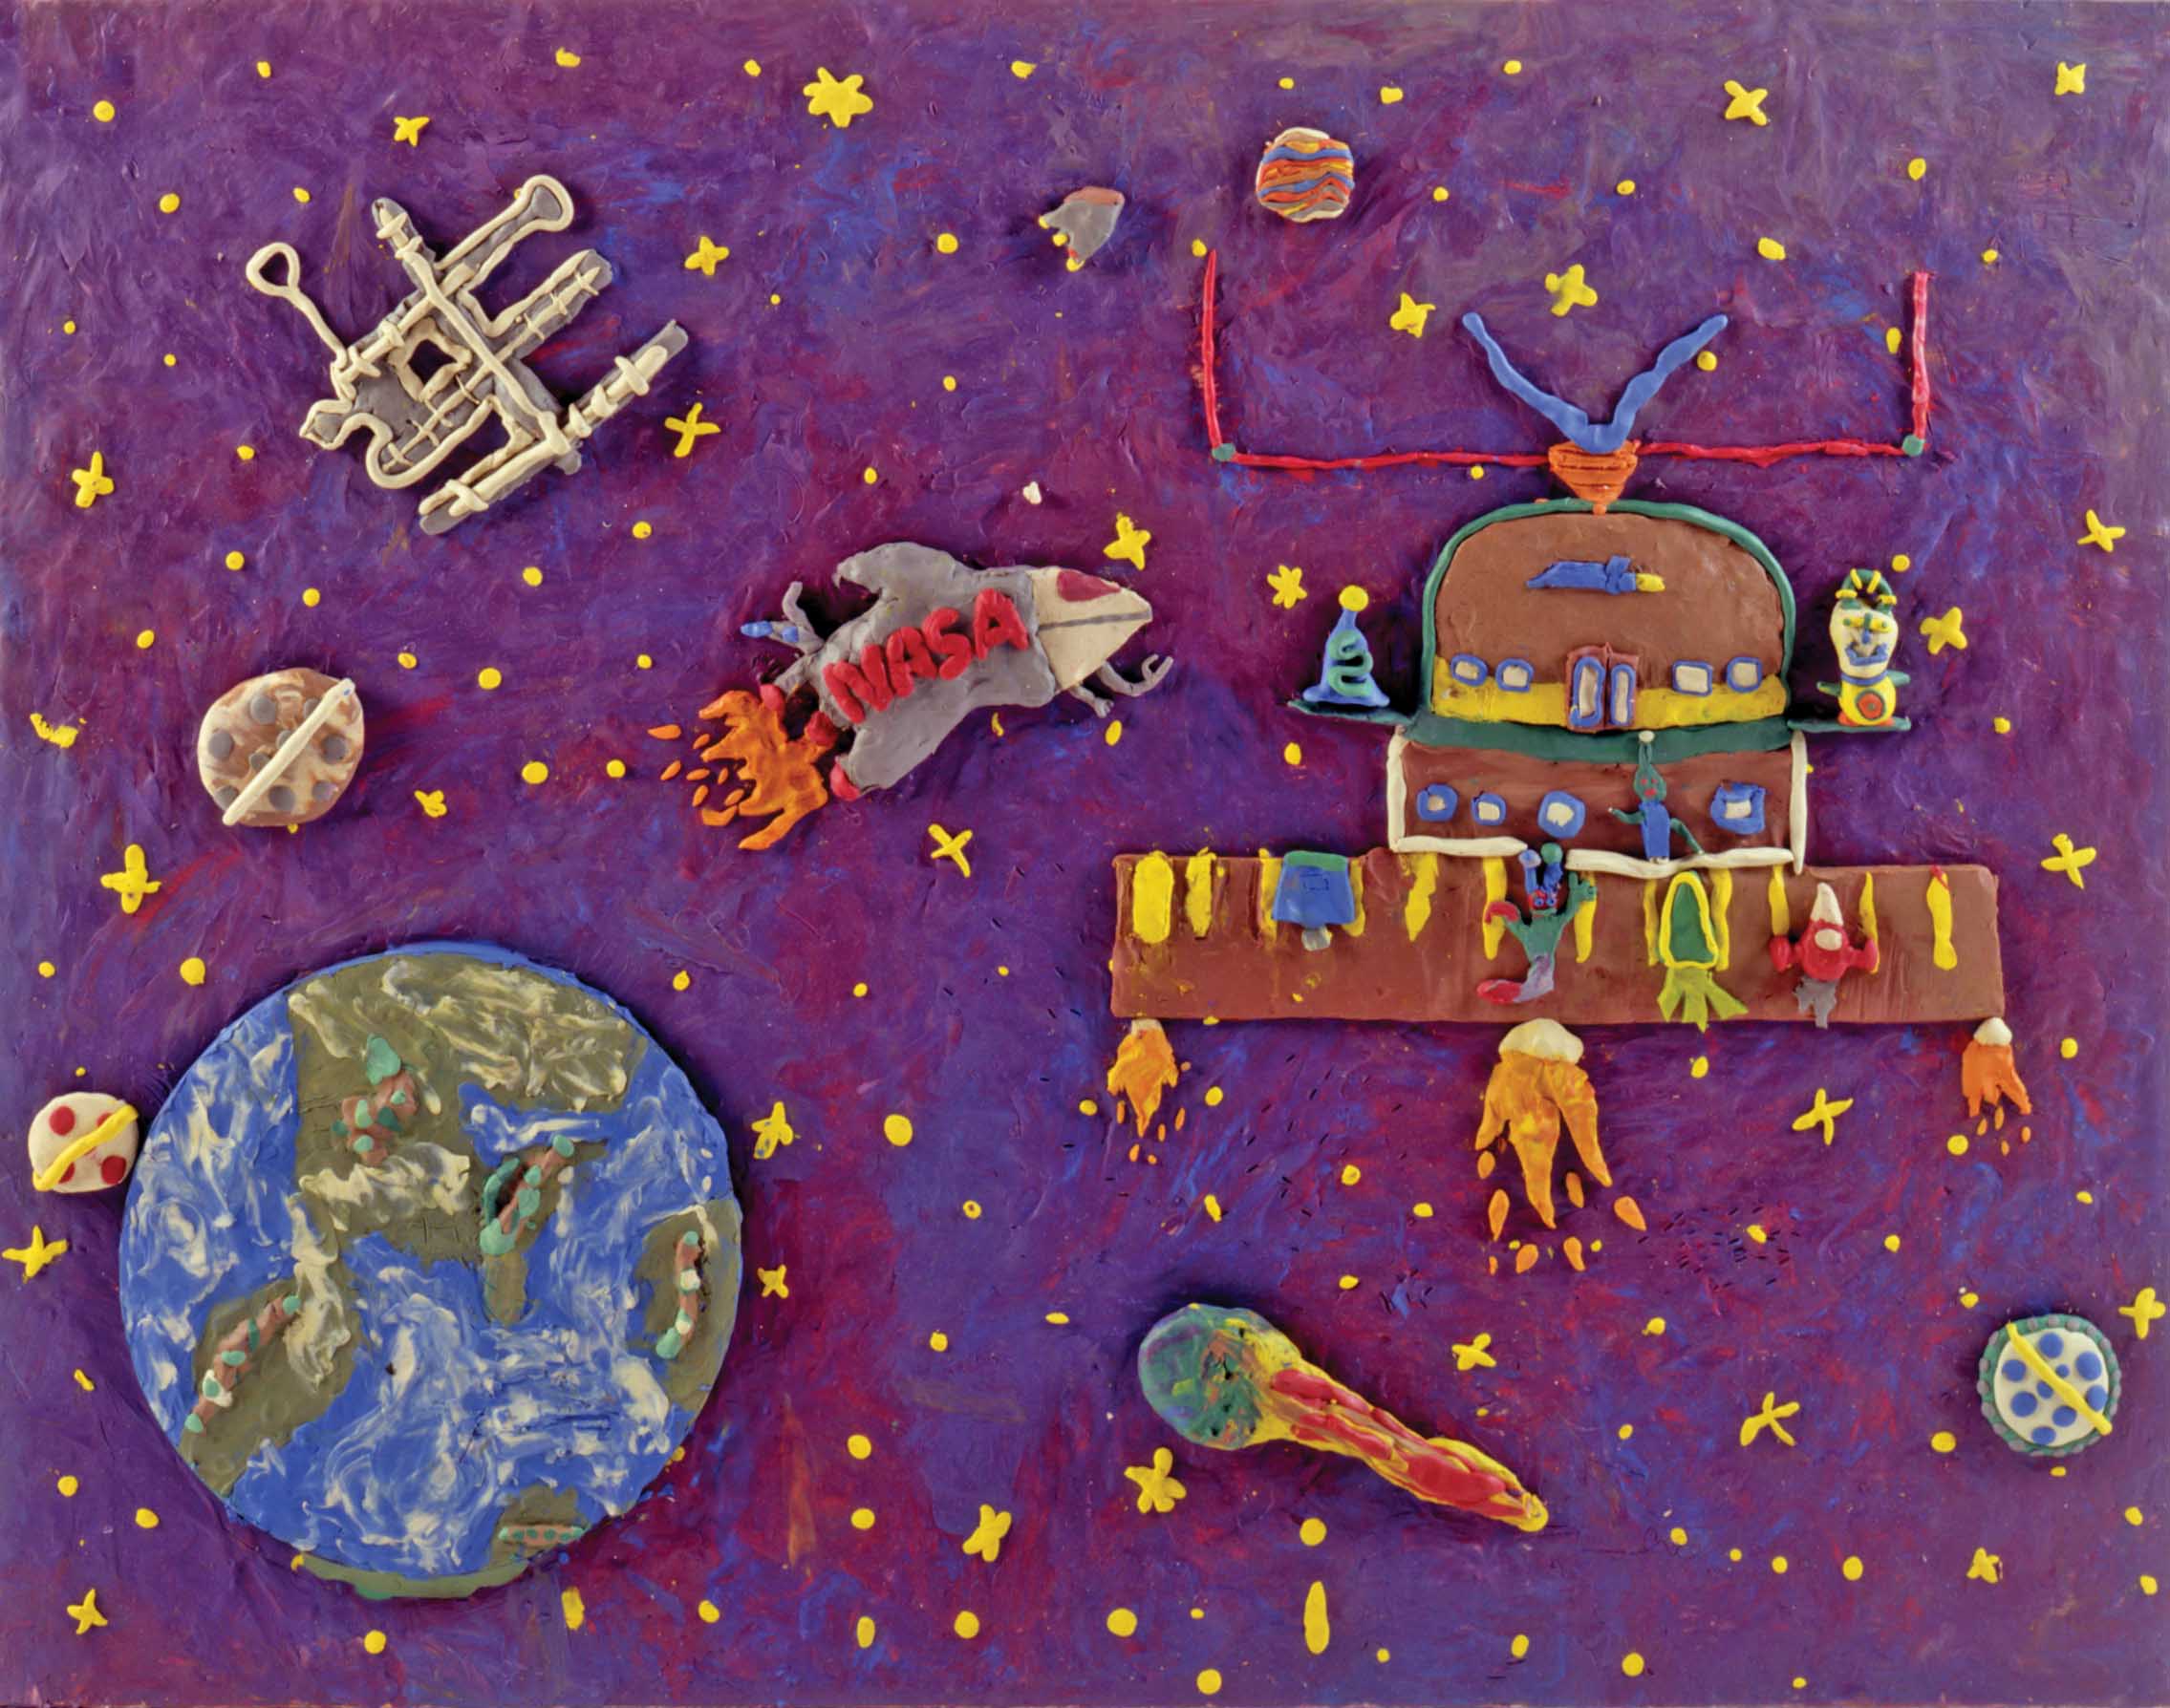
Scenes can be three-dimensional (vertical) like a stage or horizontal (flat, like a relief) where the characters and objects lay flat on the background. If the class is doing a number of scenes, have some be vertical and some horizontal.
Create the Background
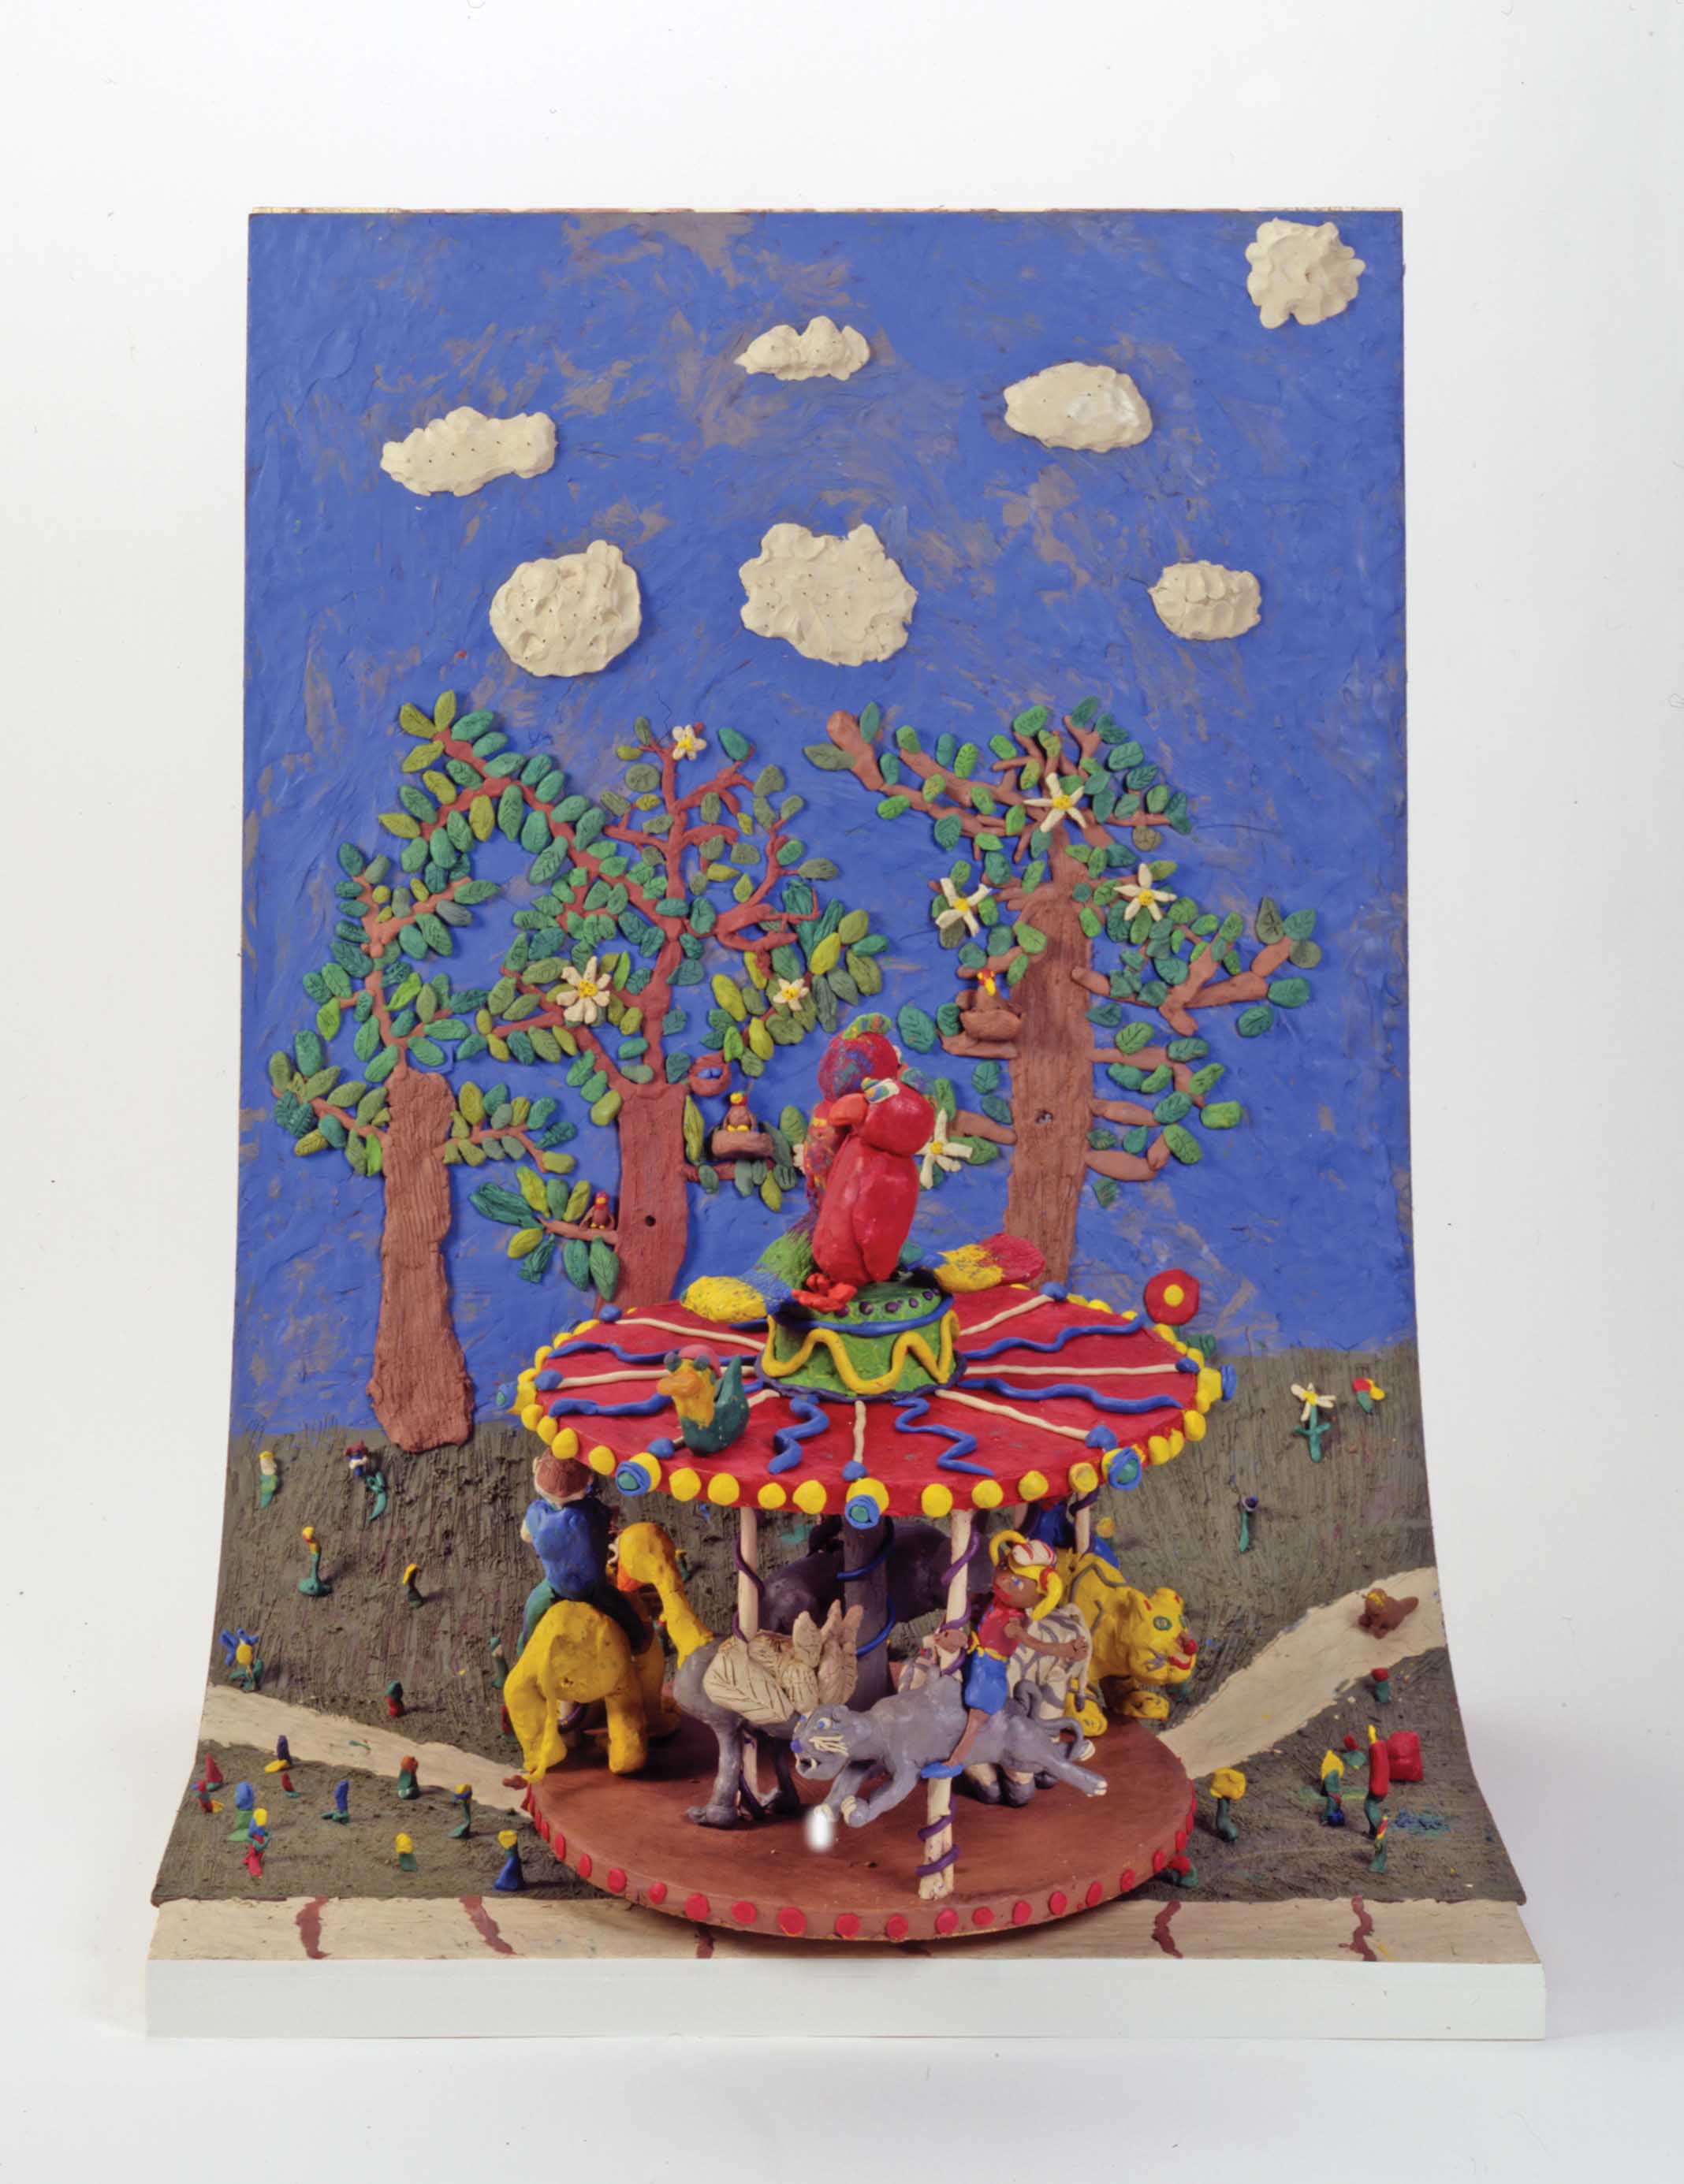
The vertical background can be created from curved masonite. A curved, rather than right angle, seam gives an illusion of depth.
Explain that creating the background and sets is like creating a relief and that creating the characters and objects is like creating sculptures.
Backgrounds (sky, clouds, trees, sun, stars, etc.) are constructed by pressing small chunks of modeling clay on to the masonite board.
Assemble the Characters
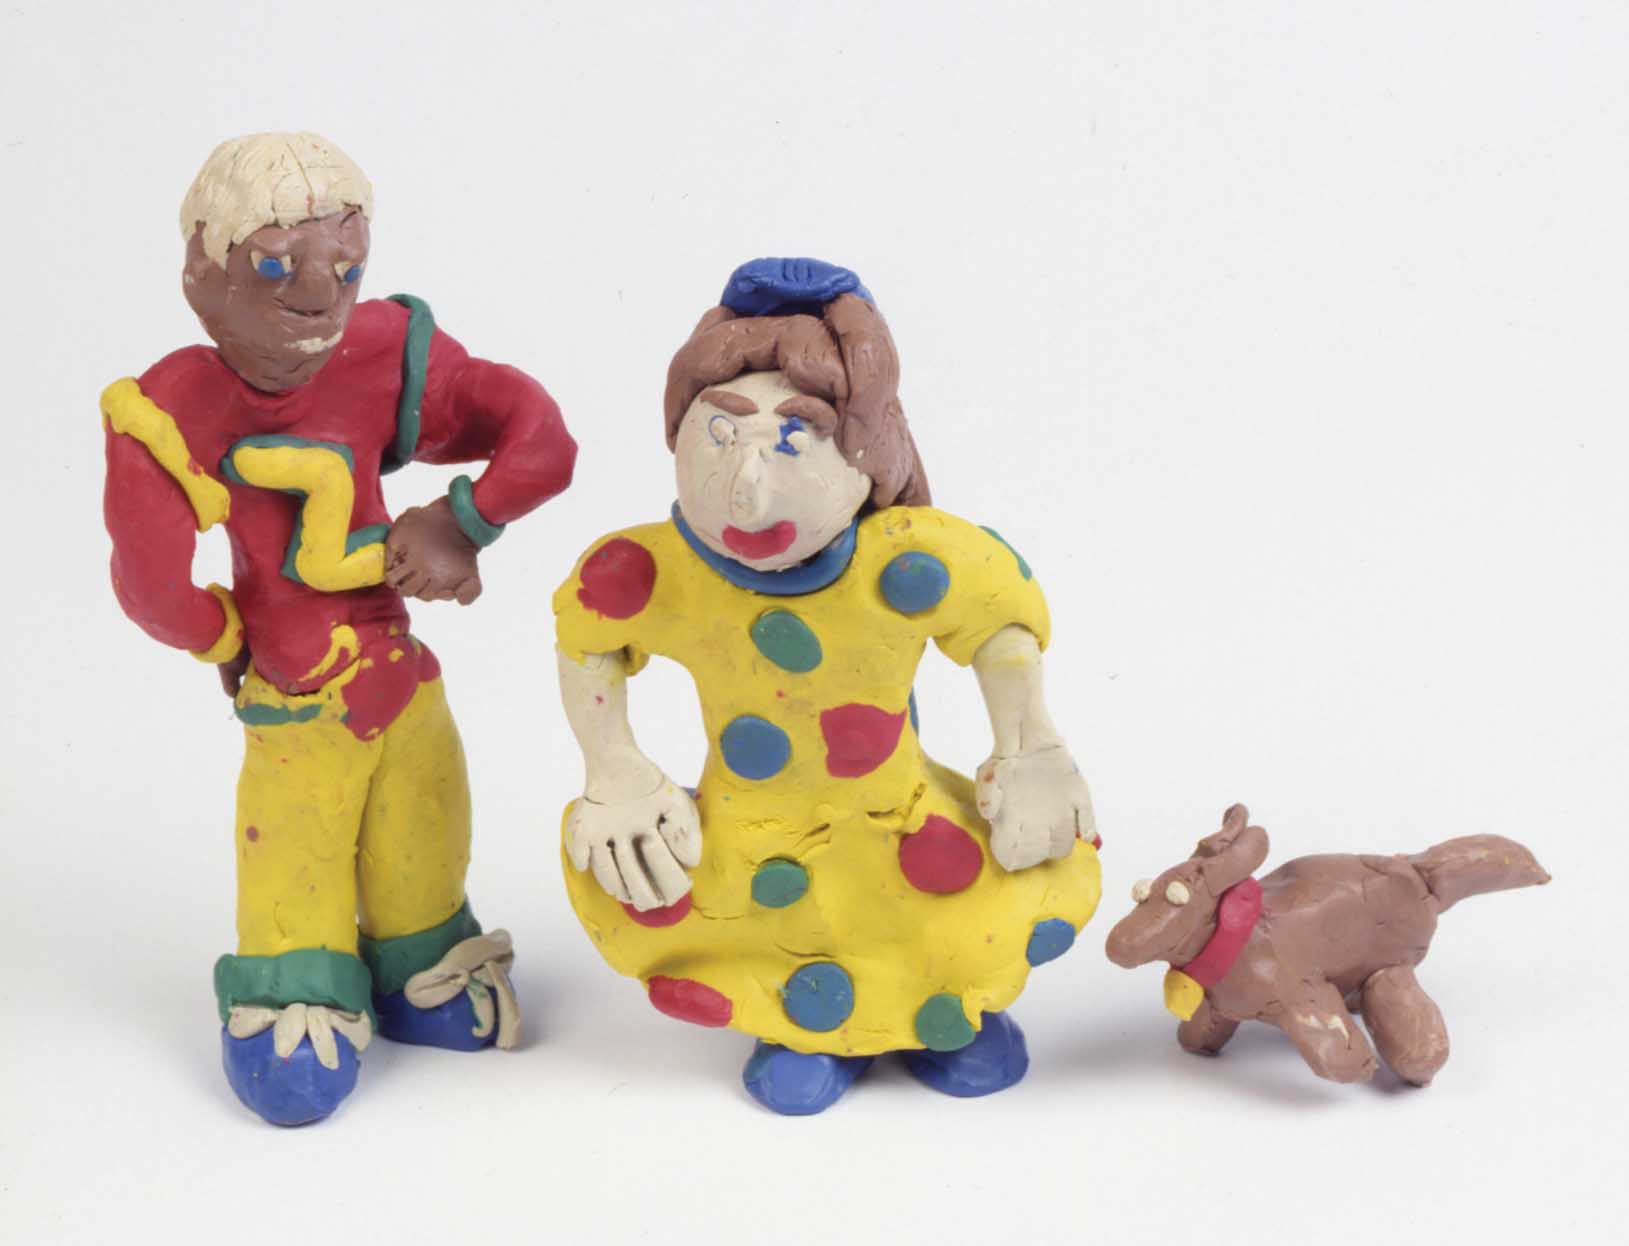
Use solid core copper wire as armature for the clay people and objects. The wire provides stability and ease of movement.
To make figures, show students how to mix and blend colors for flesh tones and other colors. For control and handling, form head and face over eraser of pencil.
Decide Object Placement
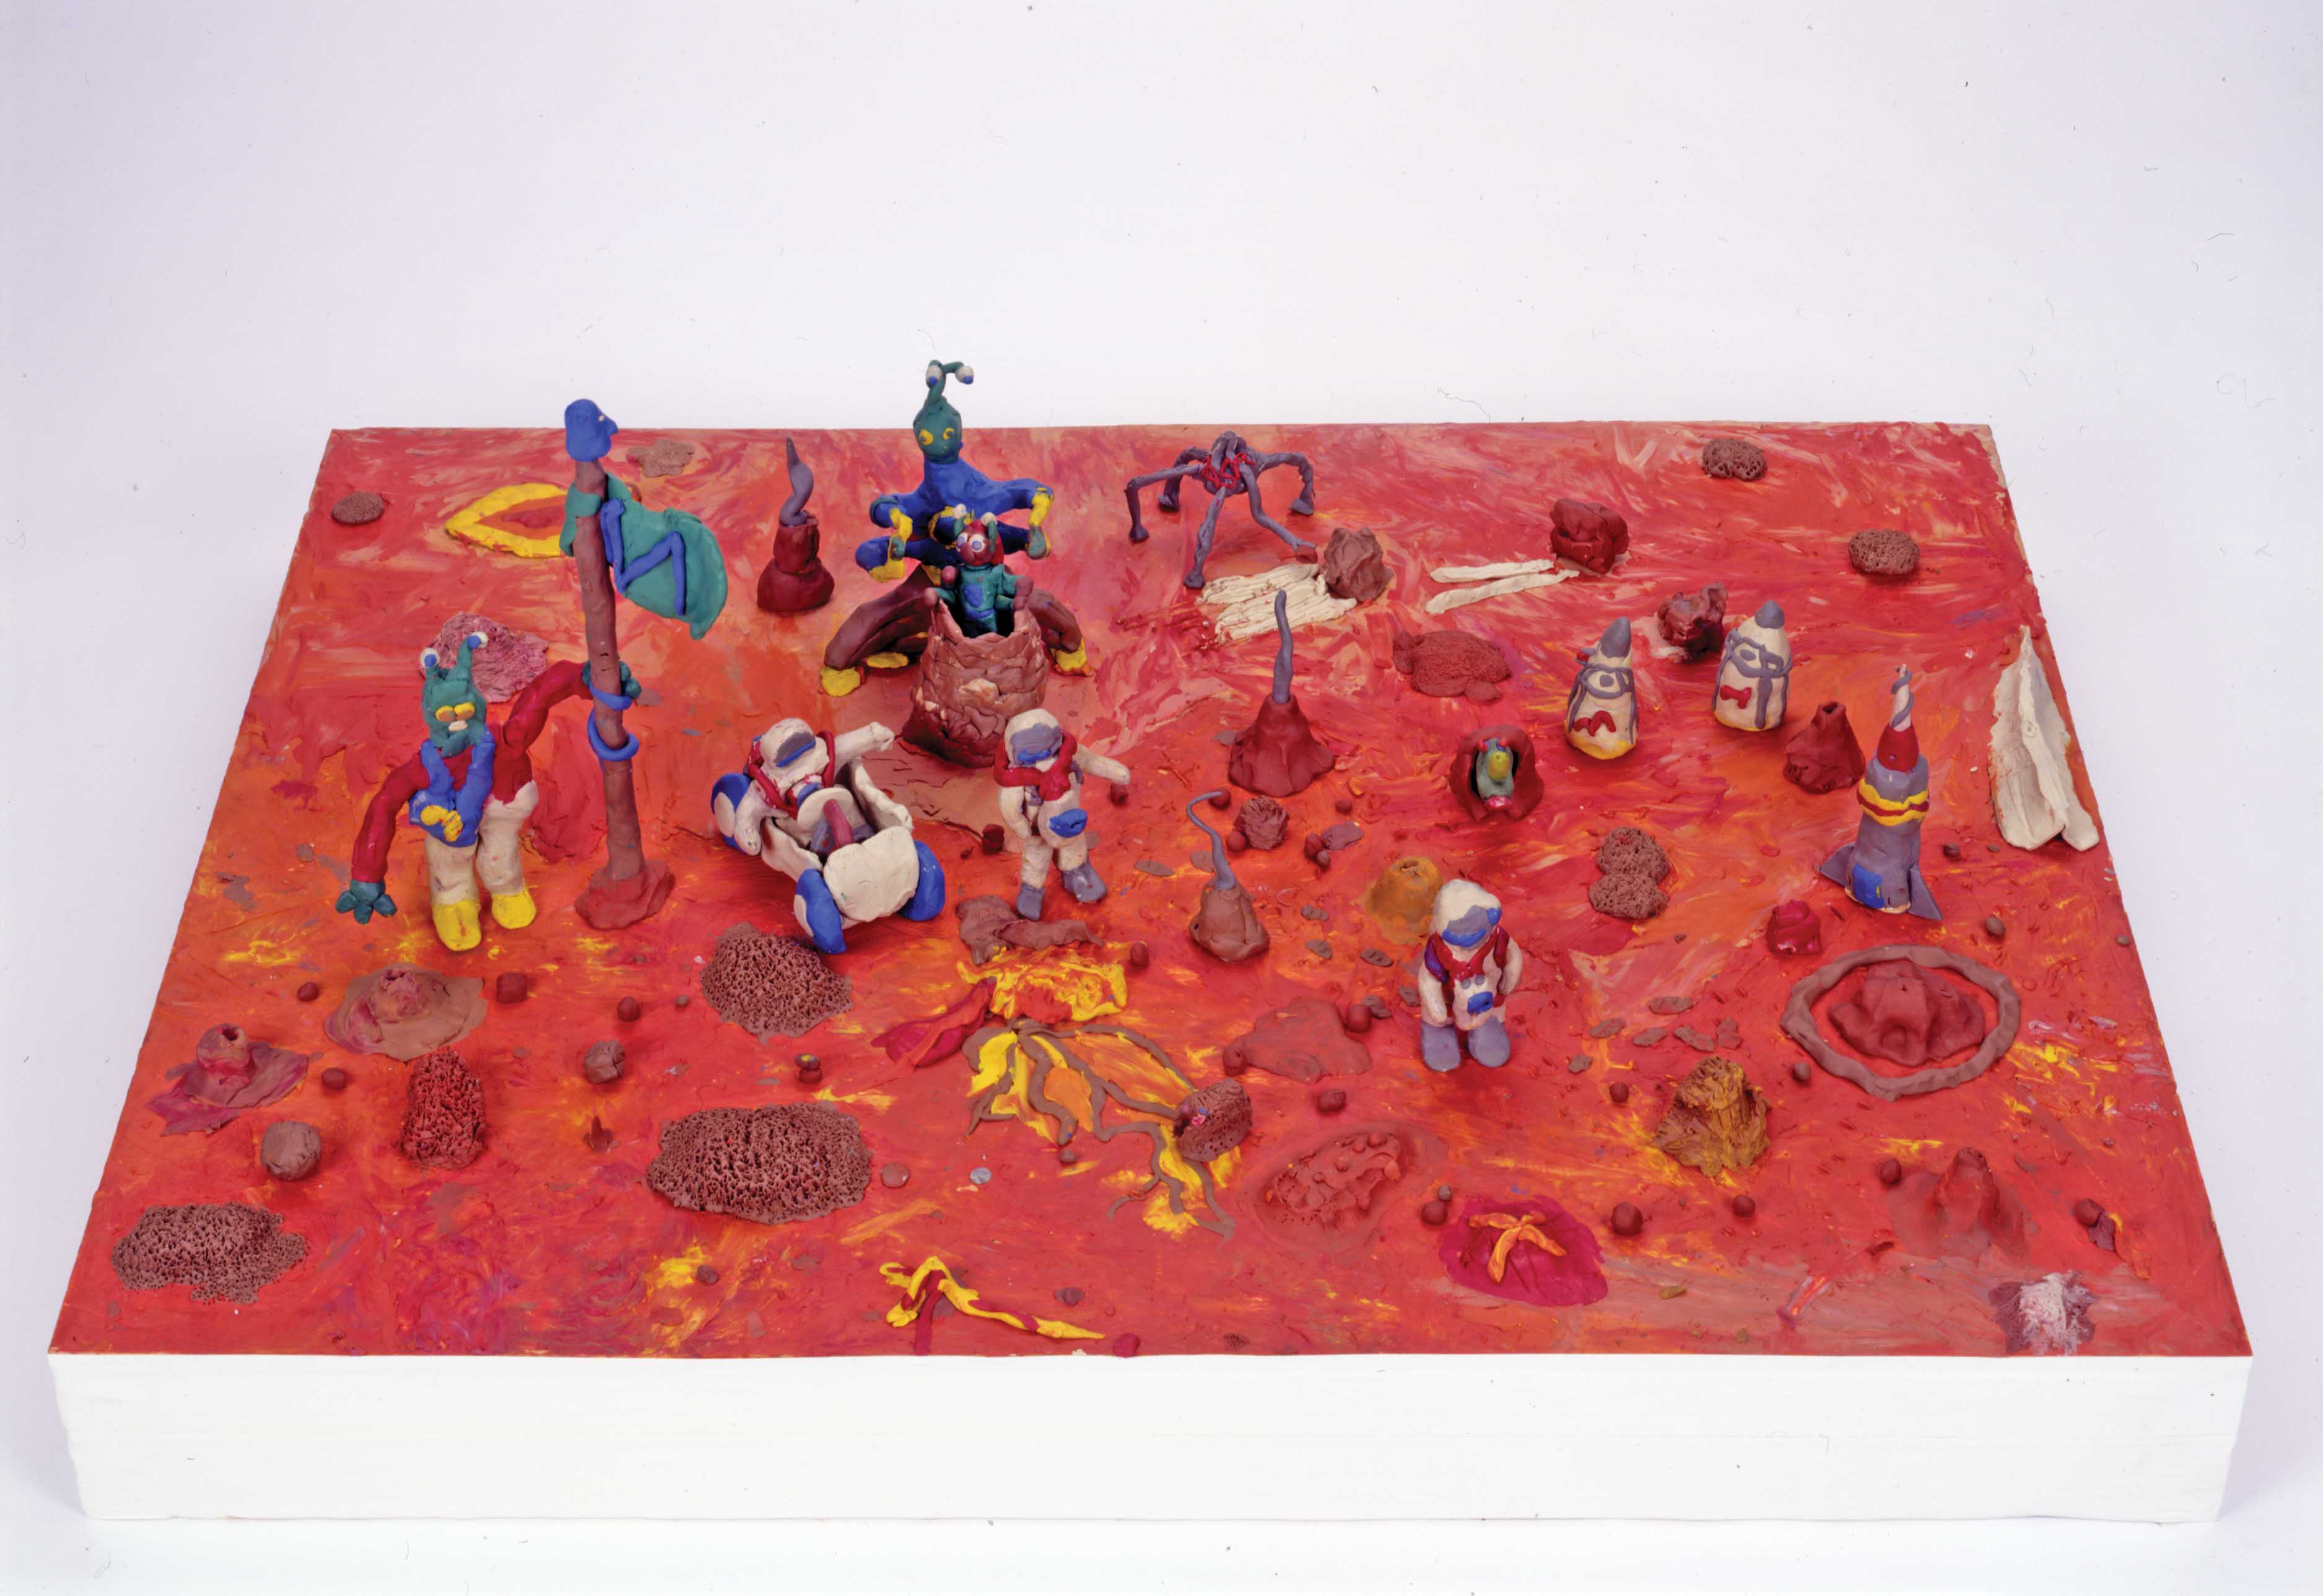
Once backgrounds, objects, and characters are finished, students should decide where the people and objects should go in the scenes.
Record the Animation
The story is recorded onto video tape by moving the characters short distances and taking single frame pictures of the scene. This process is repeated over and over until each scene is completed.
Record the Audio
Students should write a script that includes dialogue, narration, and background music. When the script is recorded, it is then dubbed onto the completed video tape.