Coral Reef Expedition
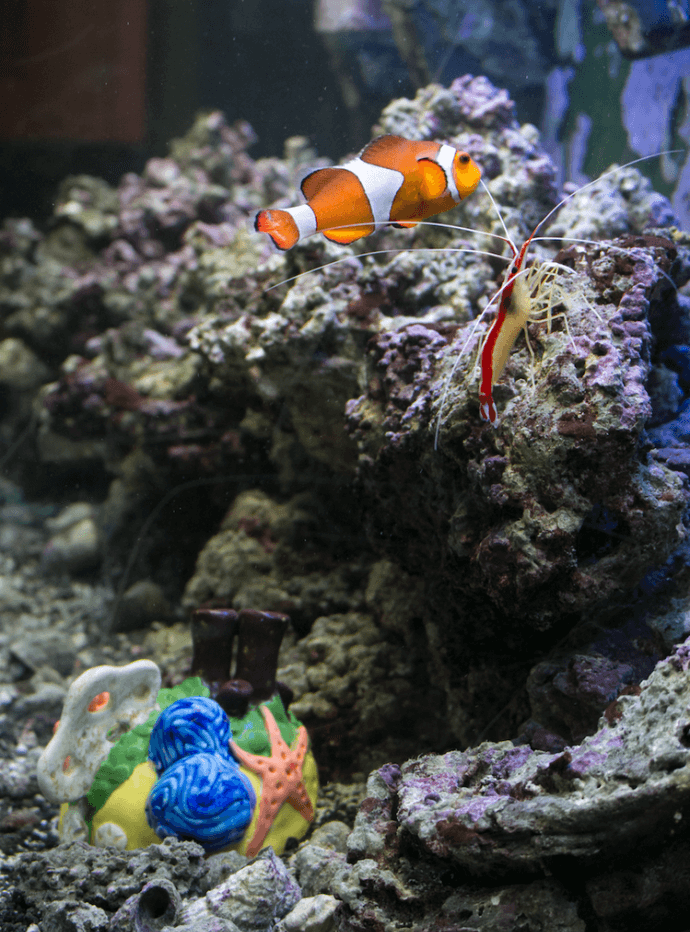
Coral reefs are beautiful and diverse ocean ecosystems that are found all over the world in scenic tropical regions. These small pockets bursting with life and color play host to a significant percentage of the ocean’s species and provide nutrients and gases that affect not just the close surrounding habitats but the entire planet! Unfortunately, these unique and beautiful destinations are dwindling and dying all over the world each year because of human influence and climate change. It is important to learn about, understand, and protect coral reefs to keep their unique flora and creatures safe and flourishing! This lesson will give students an opportunity to research and explore the world of coral reefs while discussing the impact of the seriousness of coral reef habitat decline and learning ceramic techniques!
Supplies List
- White Art Clay No.25 Moist
- AMACO Crystaltex Glazes
- Pencil
- Paper
- Glaze Brushes
- AMACO LG-Series Glazes
- Scissors
- Scoring Tool
- Fettling Knife
- Rolling Pin
- Sponges
Research and Sketch:
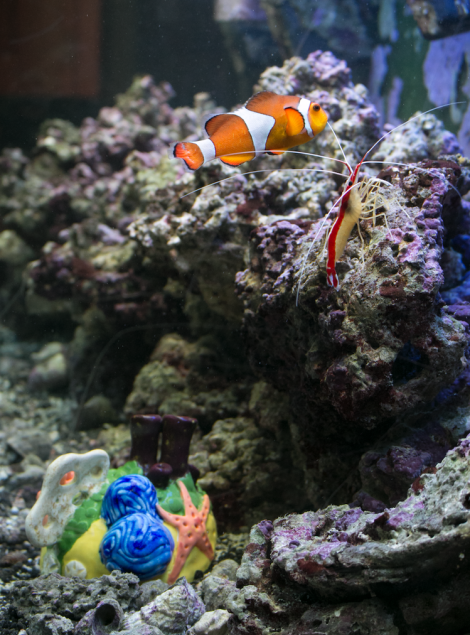
Have your students go online and find resources about coral reefs- have them learn about the species, location, and endangerment of the world’s reefs. Have them pick out a few of their favorite creatures and plants to create a small ceramic coral reef scene!
Build the Base:
Your students can either build a solid base that they will hollow out later or pinch one from a ball of clay. The pinched base should have an internal structure to support the scene that will be built on top of it.
Pinch
Other creatures and details may need to be pinched from a ball of clay. Have them break their subject matter into simple shapes so they may more easily determine what hand building method they should use for each element.
Slip and Score
As individual pieces are built and arranged, have your students carefully slip and score the scene together.
Add Details
Using coils, texture tools, other methods, your students can add details to their pieces! Remind students to write their name on the bottom of their work.
Bisque
Once the coral reefs are finished, allow them to sit out until they are bone dry, then load them into the kiln and fire them to cone 04.
Glaze
Once the work is fired students are ready to glaze. Remind students to wipe off their work with a damp sponge and to apply the correct number of glaze coats.


