Developing Images in Clay

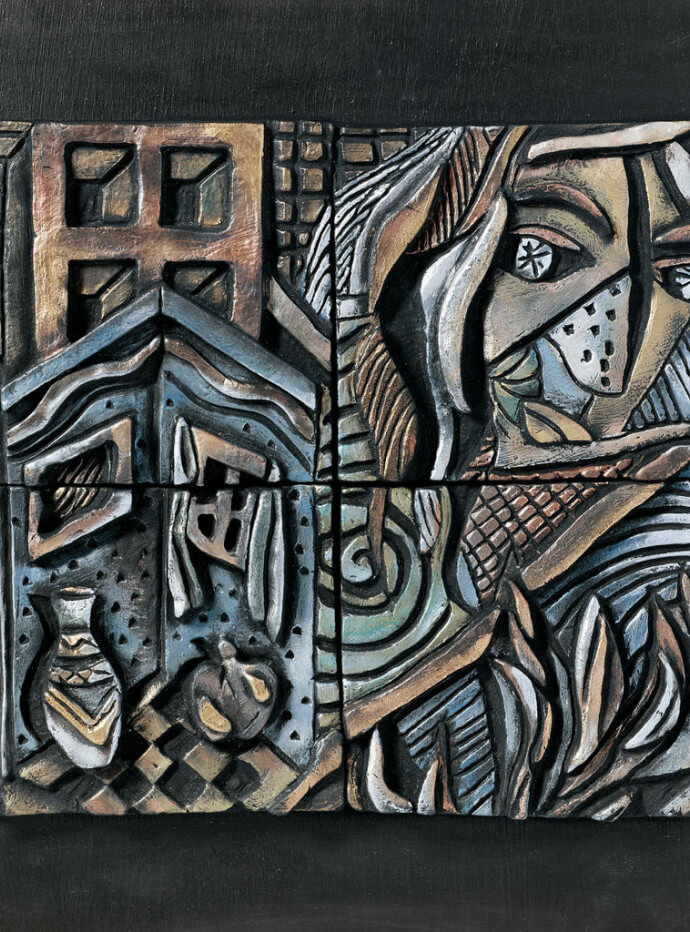
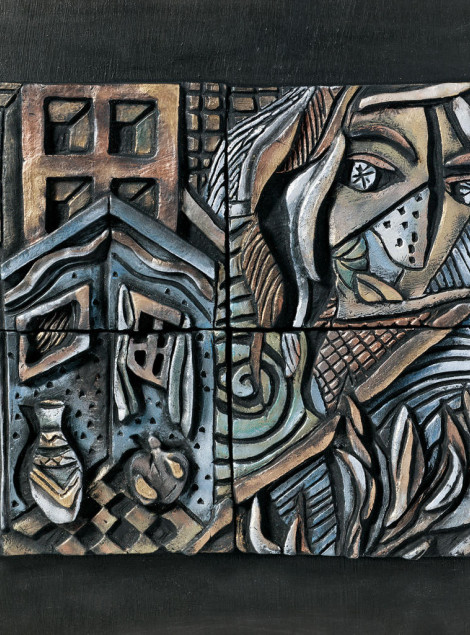
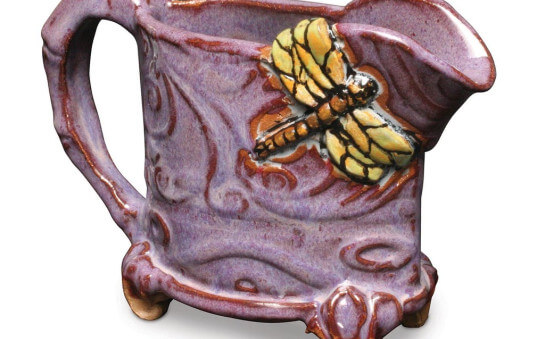
The craft of ceramics has been practiced throughout history by almost every known culture. Some of the earliest work came from the Middle East and dates back to 5000 BC. Ceramic objects were made most often for functional use—drinking, eating, cooking, or ritual. Ceramics along with other crafts were called the functional arts or applied arts because they “applied” to everyday necessities. However, they were never created to be strictly utilitarian. Hand-crafted ceramics are beautiful and are meant to be admired for their form and decoration and as the individual expression of their creator. Contemporary ceramics has evolved, and often the functional becomes the sculptural and the sculptural becomes the functional. Contemporary ceramic artists have found a balance between form and decoration—one does not exist without the other. Pennsylvania ceramic artist David Stabley not only alters traditional, functional forms, but uses shape, surface, texture, and color to tell stories on clay. Originally trained as a printmaker, David uses the clay surface as his canvas on which he draws, paints, and carves. The following lesson was developed by art teachers Jane Archambeau and Marti Osnowitz for their beginning high school ceramic students. It is based on David Stabley’s technique.

Drying and Firing
Be sure that the clay does not become too hard throughout the carving process. Since it may take several class periods, students should wrap their pieces in damp paper towels and place them in plastic bags to prevent drying.
After the fronts of the pieces are complete, students should clean the backs with a damp sponge.
The plates should be dry enough to be left off the plate mold that was used. Be sure the paper towels are removed and the sides and back are smoothed and cleaned. Dry the tiles on the drywall or between two pieces of drywall (if this will not effect the design). This helps keep the tiles from warping.
Paint
After drying and firing, the plates are painted with black (or any dark color like purple or navy blue) latex house paint.
Suggestions
More specific or different subjects can be given to the students. Suggested themes are: dreams, a door to my world, a window on my imagination, my secret garden, my special world, etc.
Background Preparation
Show work by contemporary artists who are using nontraditional approaches to the clay surface. Show students the work that David Stabley does and explain his process. Explain what narrative art is and how this applies to Stabley’s work. Discuss the difference between the real world and fantasy or dream worlds. Show the students work by Chagall, Klee, and Matisse. Teach the students about foreground, middle ground, and background as well as other design and technical elements. Provide students with books, plant catalogs, old calendars, etc. for students to use to research ideas, and develop their drawings. Describe the techniques and materials used in this lesson plan — slab building, carving, and finishing techniques.
Starting
Students develop a design on paper that tells a story about an event in their lives, a vacation spot, an imaginary place, a dream, etc. The designs must include foreground, middle ground, and background and should include objects that are large, medium, and small. All designs must have objects that overlap in some areas and should have raised or built up areas that result from adding extra clay. Plates should have added objects that extend off the edges. The tiles should have a minimum of two horizontal curved lines to divide space and a minimum of three vertical or diagonal line elements. Line designs should extend across all tiles to reach edges. A large dinner plate is used as a form/mold for making plates. Tiles are cut from slabs. The project should include a set of four equal size square tiles to form a larger square or a set of three long rectangular tiles placed together to create a triptych design. The final designs are on paper that is the exact size as the ceramic plate or the multiple tiles. If making a plate, cover the plate form with dampened paper towels.
Roll Slab And Transfer Imagery
Roll a clay slab to approximately 3/8″ thick. For the plate, cut it to the proper size and place it on top of the paper towels. Be careful not to disturb the paper towels or the clay will stick to the plate and break and crack as it dries. For the tiles, cut the tiles to equal size and arrange on a piece of drywall
Place the drawn design on top of the clay. With a needle tool use the dot-to-dot method to poke through the paper into the clay tracing the main outlines of the design.
Attach levels of clay and extrusions by scoring and using vinegar.
When the clay is leather hard, carve patterns, texture, and detail using a variety of ceramic carving tools. A dry paint brush is used to brush away the clay residue that results from the carving.
Apply Rub N'Buff
Using clean, small rags (polyester works better than cotton), apply the Rub n’ Buff®. Wrap the small rag around the index finger and squeeze a very small amount of color onto the rag. Rub it gently on the surface of piece. Cotton swabs can be used to apply Rub n’ Buff® to areas that are hard to reach. The more rubbing, the less intense the color. Start from the back relief and work toward the foreground. The colors dry in a minute or two and can be overlaid with other colors. The colors seal themselves and a sealer is not needed.
Other forms
More advanced students can use this technique on three-dimensional forms that are slab built or wheel thrown—vase, teapot, goblet, cup, etc. These decorating products are NOT water safe or food safe and should only be used on decorative pieces.


