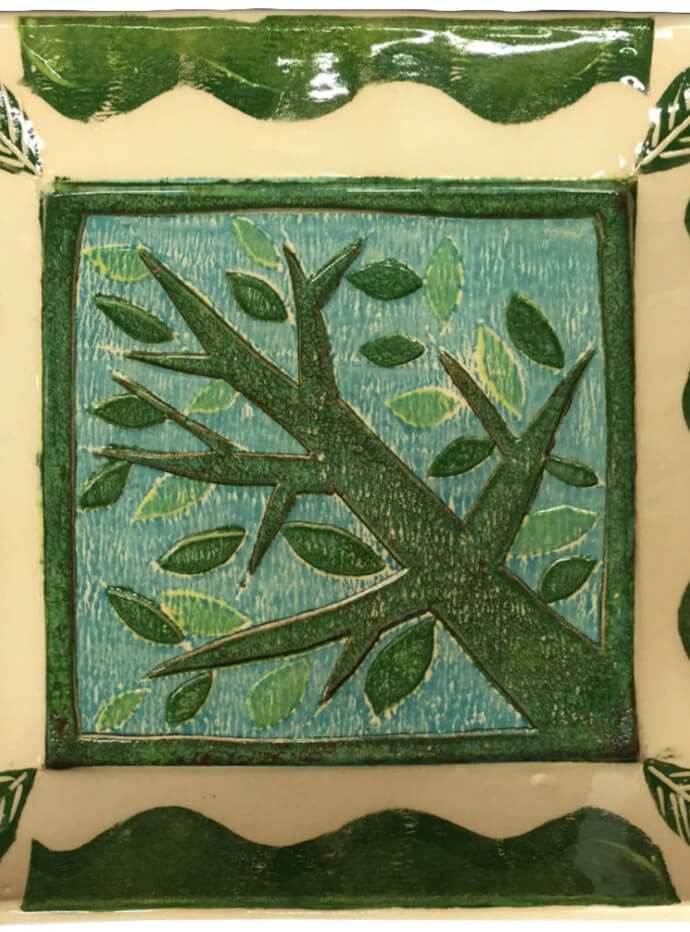
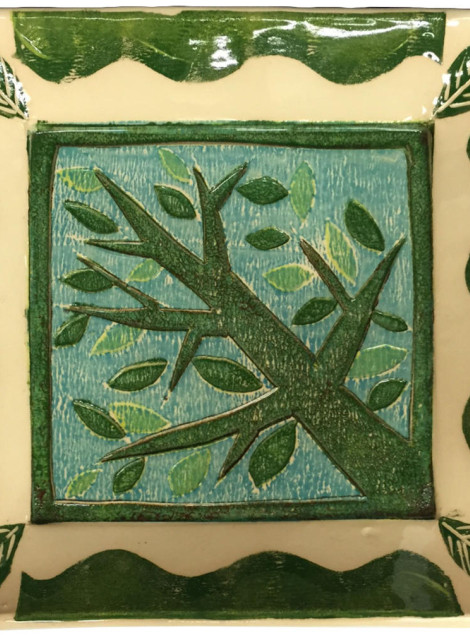
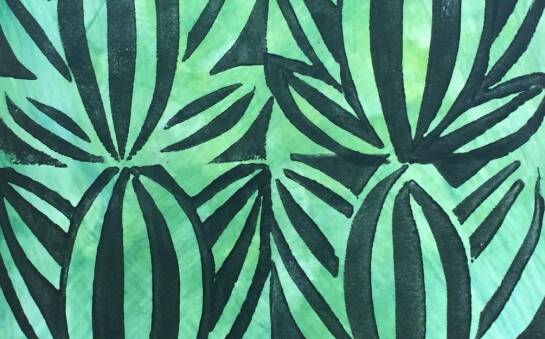
Colorful Reduction Clay Prints

Reduction printmaking creates color prints from the same block or in our case craft foam sheet. For each color pass material is removed from the sheet. Underglaze color is printed on top of the previous color to produce a multi color print on moist clay.

Gather all the materials for your clay print.
6"x'6" Glazed tile, Craft knife, Brayer, Newsprint, Metal scraper, Marker or Pen, Masking tape, Thick AMACO Underglaze "Ink", 2mm sticky backed craft foam sheet, and clay.
Cut a piece of newsprint to help with registration and prepare a clay slab.
Cut a piece of newsprint with a 6" x 6"opening to register your print and the size border you prefer. We are using an 1 1/2" border. Then roll out a clay slab larger than 9" x 9" and slightly thicker than 1/4", smooth both sides.
Peel and stick the craft foam.
Cut the sticky back craft foam into a 6"x 6" square then peel and stick it to the glazed tile.
Draw and cut your design
Draw the design and using a craft knife cut on the lines, cutting through the craft foam to the glazed tile.
Ink and print
Use a brayer on a flat surface and roll the thick AMACO Underglaze Ink on the craft foam. To make the Underglaze Ink leave the Underglaze uncovered until some of the moisture evaporates leaving it the consistency of printing ink. We are starting with the lightest color V-327 Turquoise Blue. Colors will overlap, start with the lightest value first.
Press onto the clay surface
Press the inked craft foam onto the clay surface. Use the newsprint to help register the print. To get a better print carefully pick up the tile slab and flip it over to press the clay onto the tile. Mark the back of the tile to get a correct registration.
Remove the tile.
Remove the tile and the surface should be printed with your first color.
Remove the excess Underglaze Ink.
Instead of washing the tile use a paper towel and brayer to absorb the excess ink.
Remove parts that will remain Turquoise.
Peel off parts that will not be printed again. In this example Velvet Underglaze V-327 Turquoise Blue is used for the sky so the background will be removed.
Ink and print with the second color.
Once the background is removed it will not print again. The remaining foam sheet is inked with the second color underglaze V-343 Chartreuse and printed.
Remove parts that will remain Chartruese.
Now that all the parts that will remain Chartreuse have been removed the third color, V-353 Dark Green, can be rolled on and printed.
Removing extra Underglaze
Use a cotton swab to easily remove excess underglaze on the tile.
Ink and print the last color
Now that all the leaves have been removed Terra Cotta V-303 Underglaze was rolled onto the remaining parts to print.
Finish your project with additional prints
To finish the border, cut scraps to ink and print. The final print can be left flat or the rim bent upward for a more dimensional project.


