How To Make A Pinch Pot

In this lesson plan, we demonstrate an easy way to create a pinch pot. Pinch pots are one of the oldest, simplest forms of ceramics. They are a perfect project for any skill level!
Follow the steps below to learn our easy steps on how to make a pinch pot and then create a variety of different projects - from cups and bowls to pigs and crabs!
Supplies List
- CLAY:
- Low Fire: AMACO White Art Clay No. 25
- Mid-High Fire: AMACO A-Mix White Stoneware No. 11
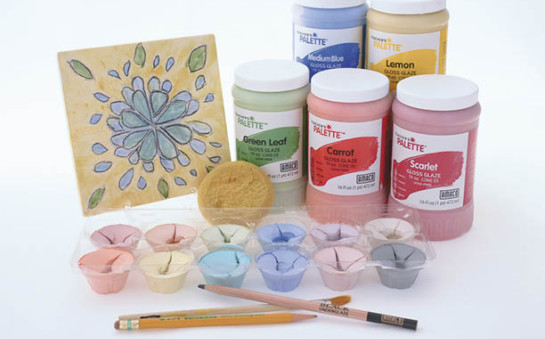
- GLAZE:

Form a Clay Ball
Roll a ball of clay that fits comfortably in your hand. When you wrap your fingers around it, your fingertips should just meet.
Make the opening
Press your thumb into the center of the ball while slowly turning it. This keeps the hole centered and helps your thumb slide out smoothly.
Start Pinching
Begin at the bottom of the clay ball, pinching gently with your thumb inside and fingers outside. Turn the clay slightly after each pinch. This motion should feel like making a puppet talk.
Work Up the Sides
Keep pinching and turning in a slow, upward spiral. You should see even finger marks as the walls thin evenly.
Shape the Rim
When you reach the top, pinch the rim so it’s even all around. Set the pot upside down and lightly tap it on the table to flatten the rim. Smooth any thicker spots downward into the pot.
Get Creative
Use your pinch pot to create a variety of different projects - from cups and bowls to pigs and crabs!
Similar Lesson Plans