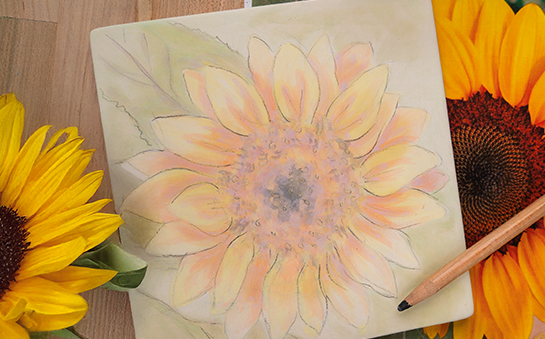


One Glaze Many Ways

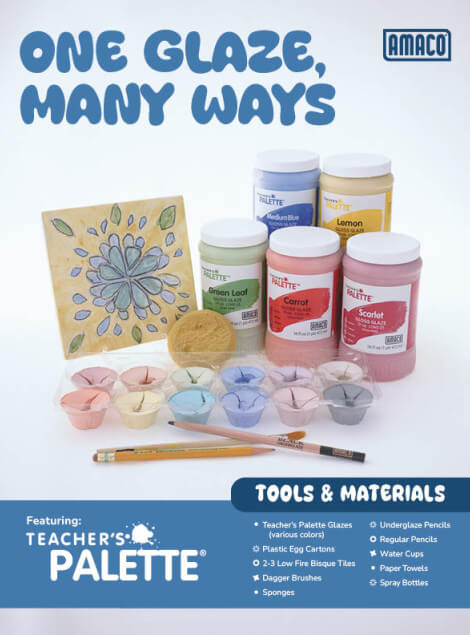
This lesson explores different ways to use one glaze to create multiple surfaces for functional and sculptural ceramic pieces. Students will experiment with AMACO Teacher’s Palette Glazes to create a variety of surfaces and achieve the desired texture for their pottery project.
Supplies List
- Teacher’s Palette Glazes (various colors)
- Underglaze Pencils
- Regular Pencils
- Plastic Egg Cartons
- 2-3 Low Fire Bisque Tiles
- Dagger Brushes
- Water Cups
- Paper Towels
- Spray Bottles
- Sponges
Prepare Your Glaze Palette
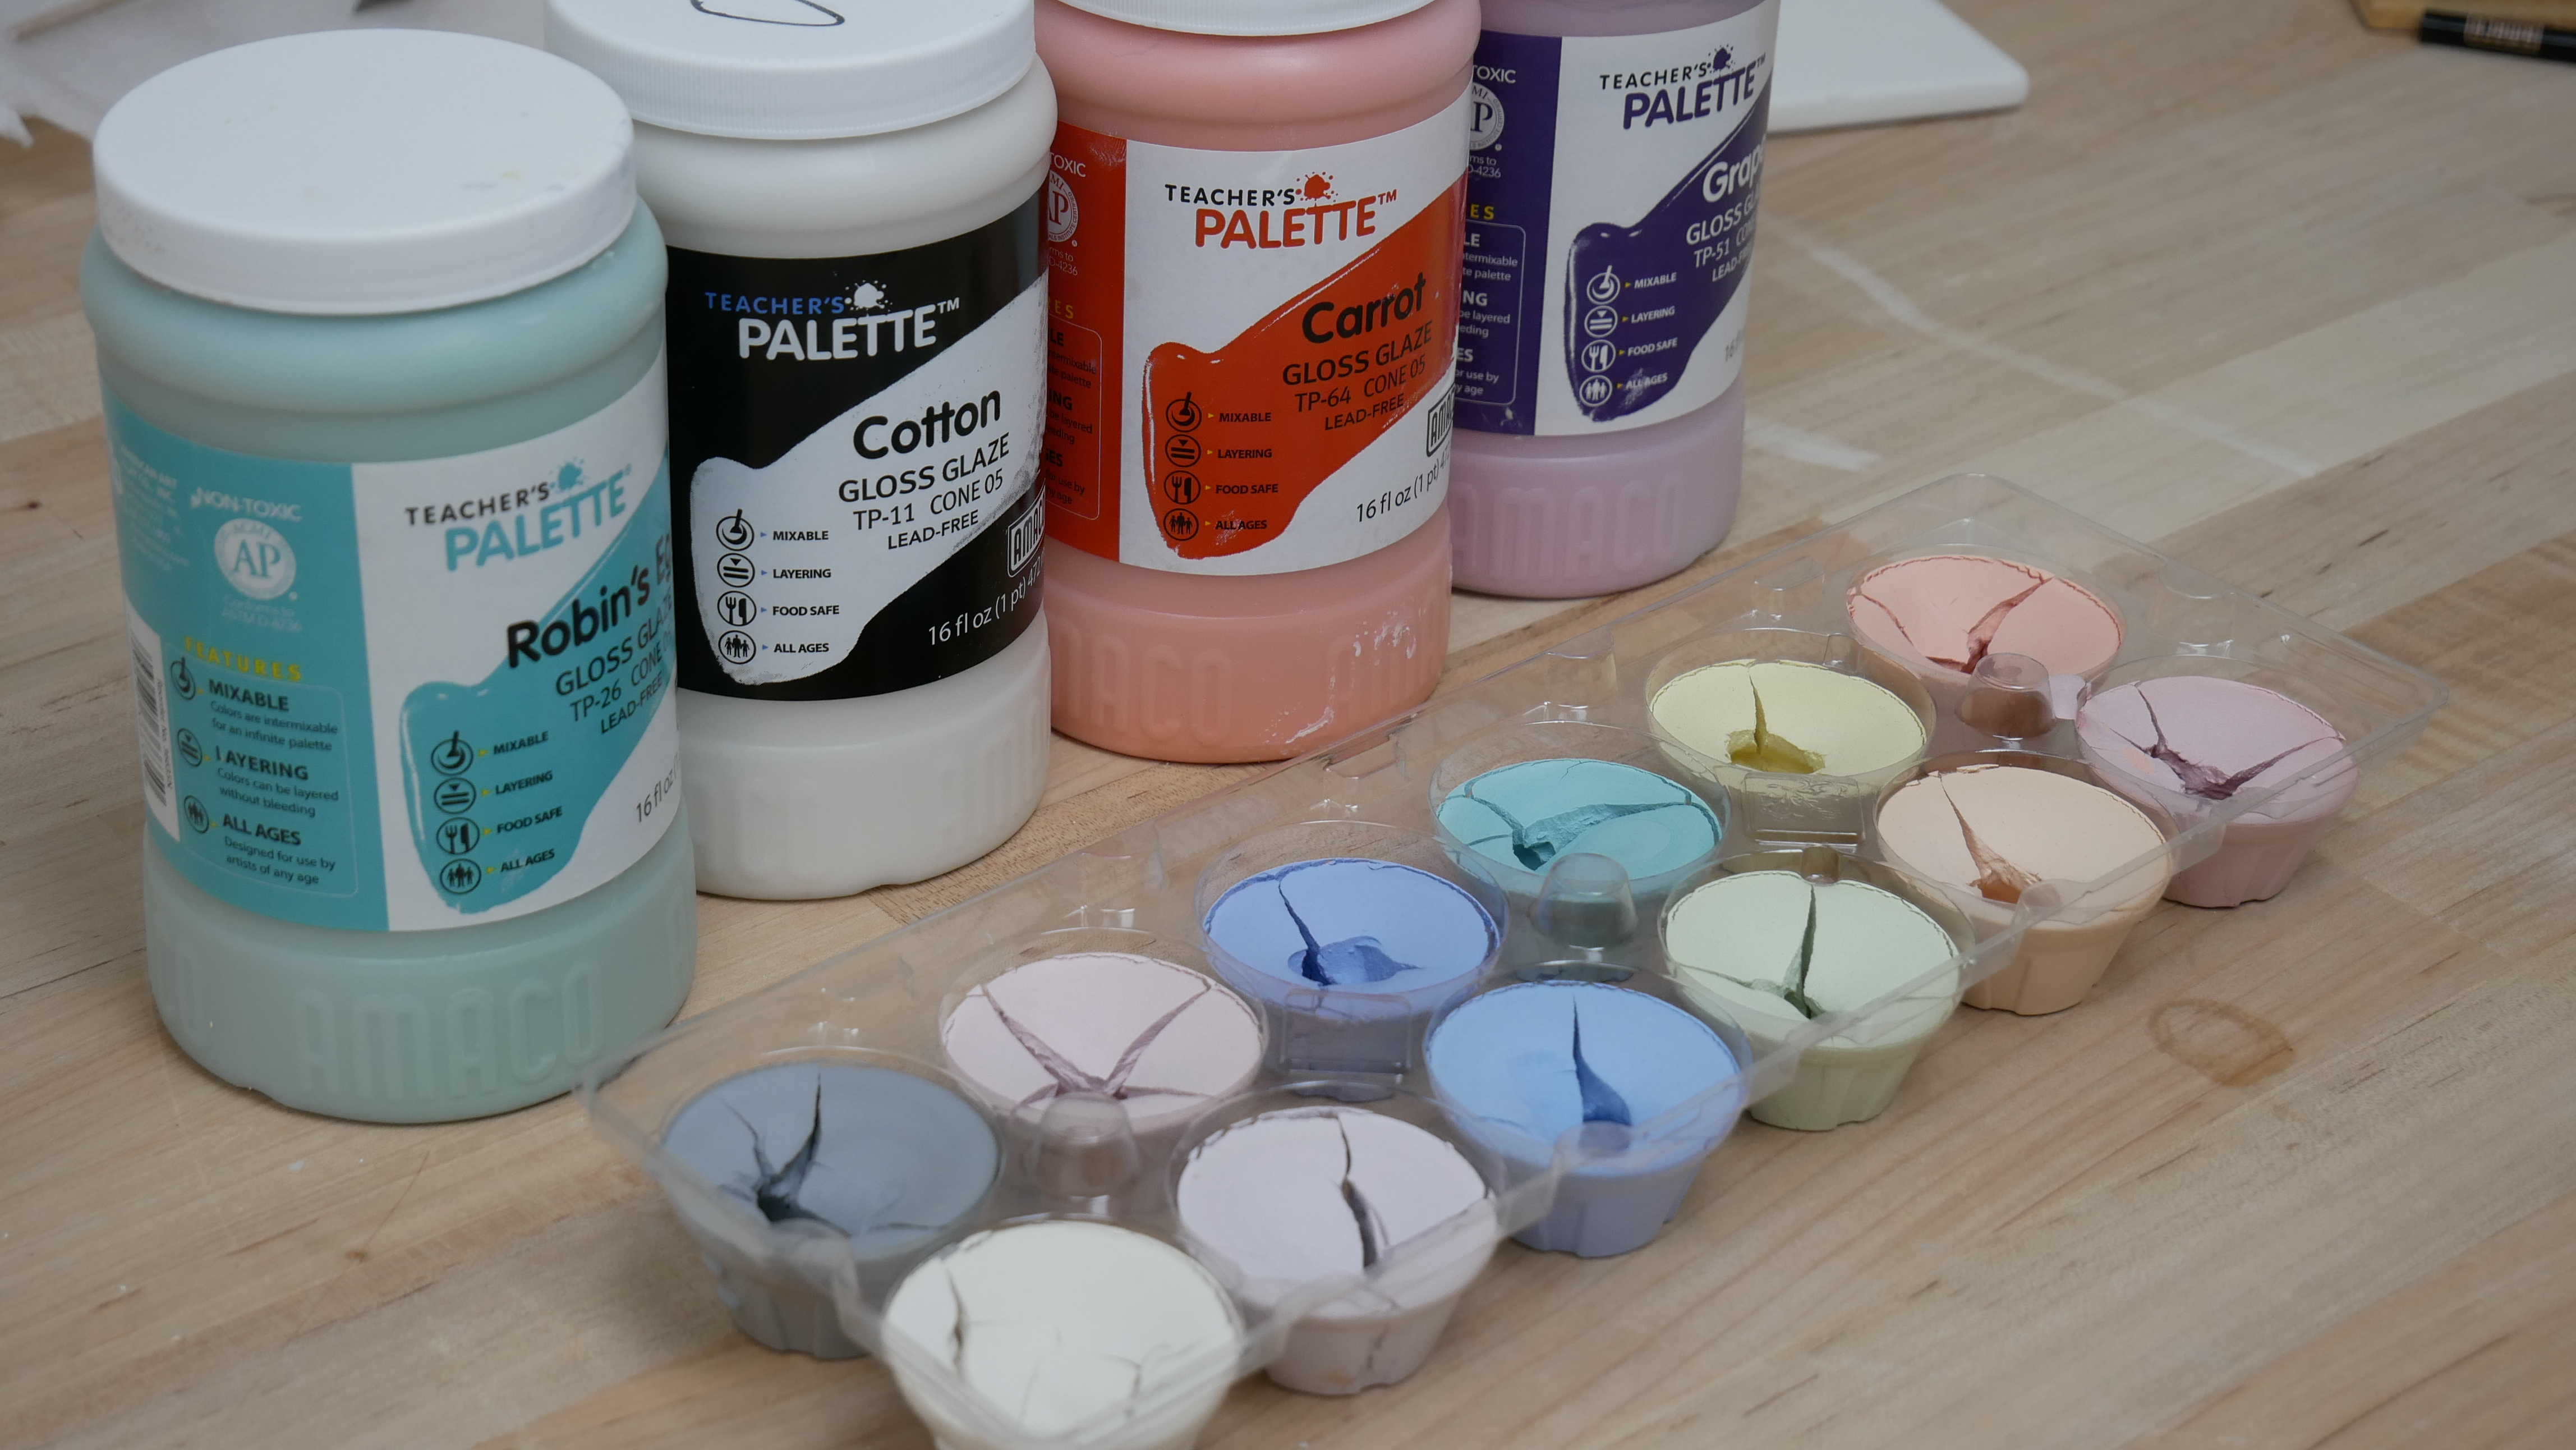
Create "watercolor" palettes by pouring AMACO Teacher's Palette (TP) Glazes into a plastic egg carton and let it dry.
The glaze can take several weeks to fully dry. Make sure to prep your TP glaze palettes ahead of time.
Sketch the Design
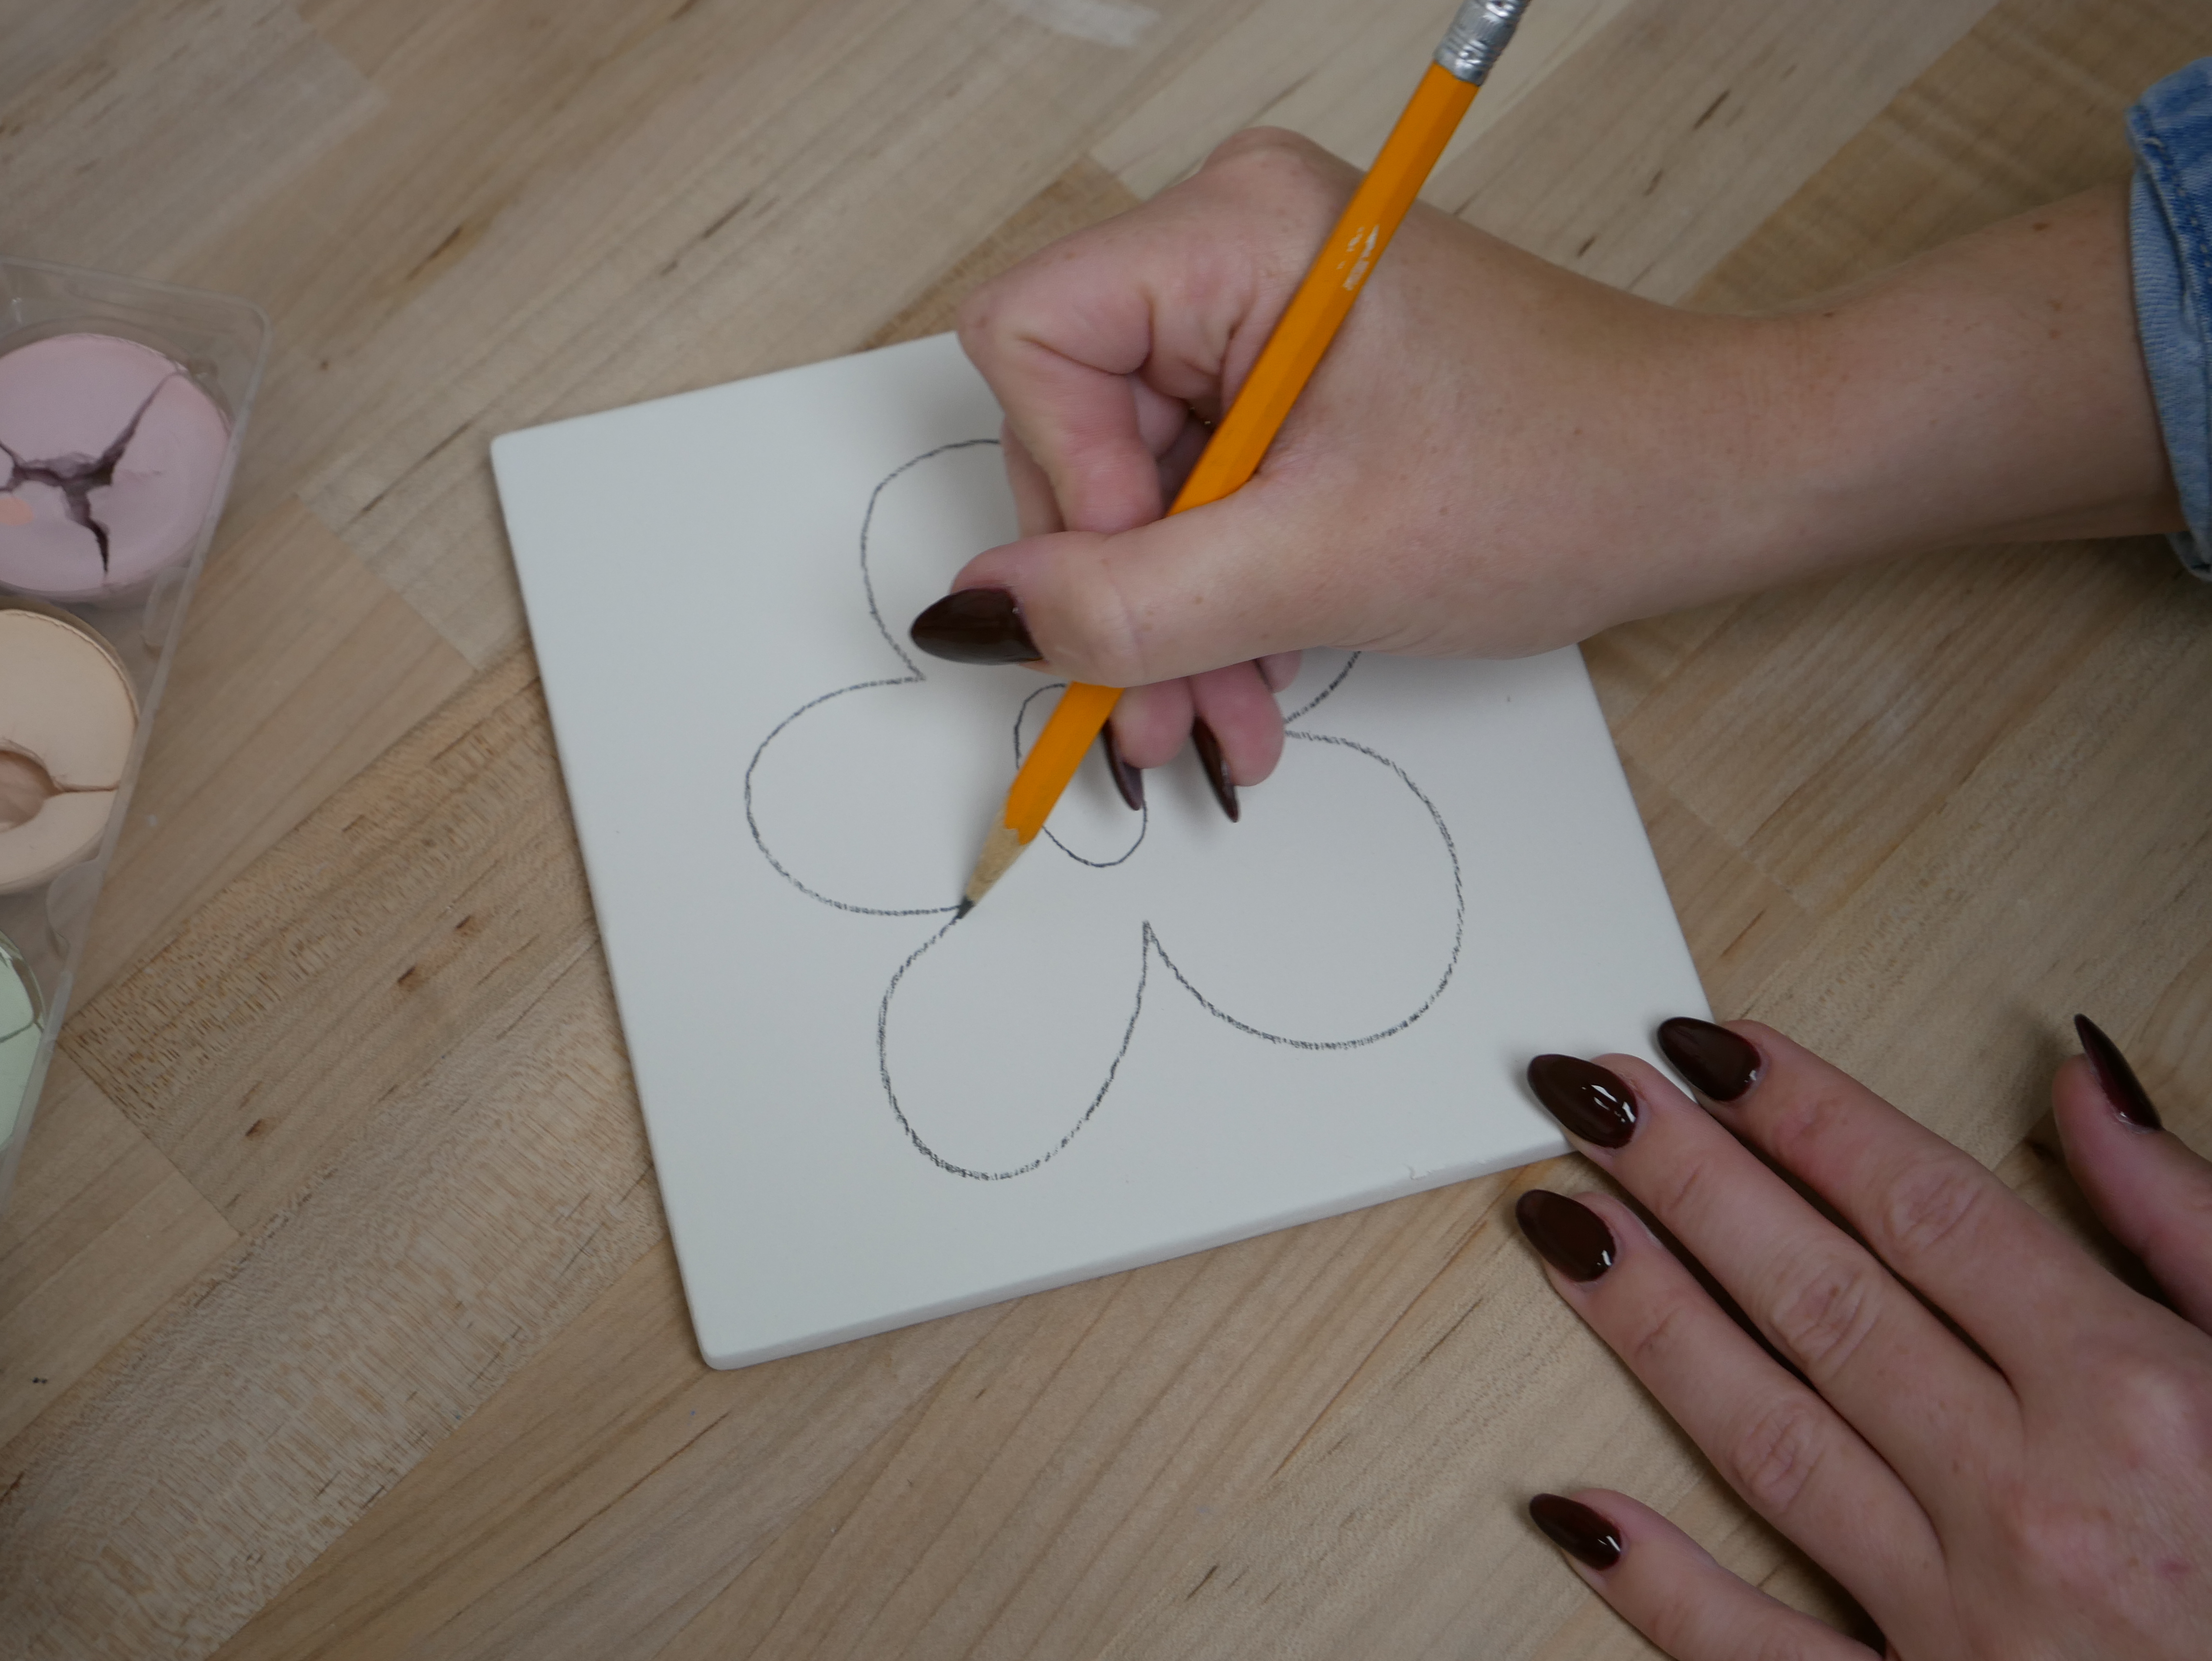
Draw a pattern or simple design on a bisque tile with a lead pencil. Pencil marks burn out in the firing.
Activate the Glazes
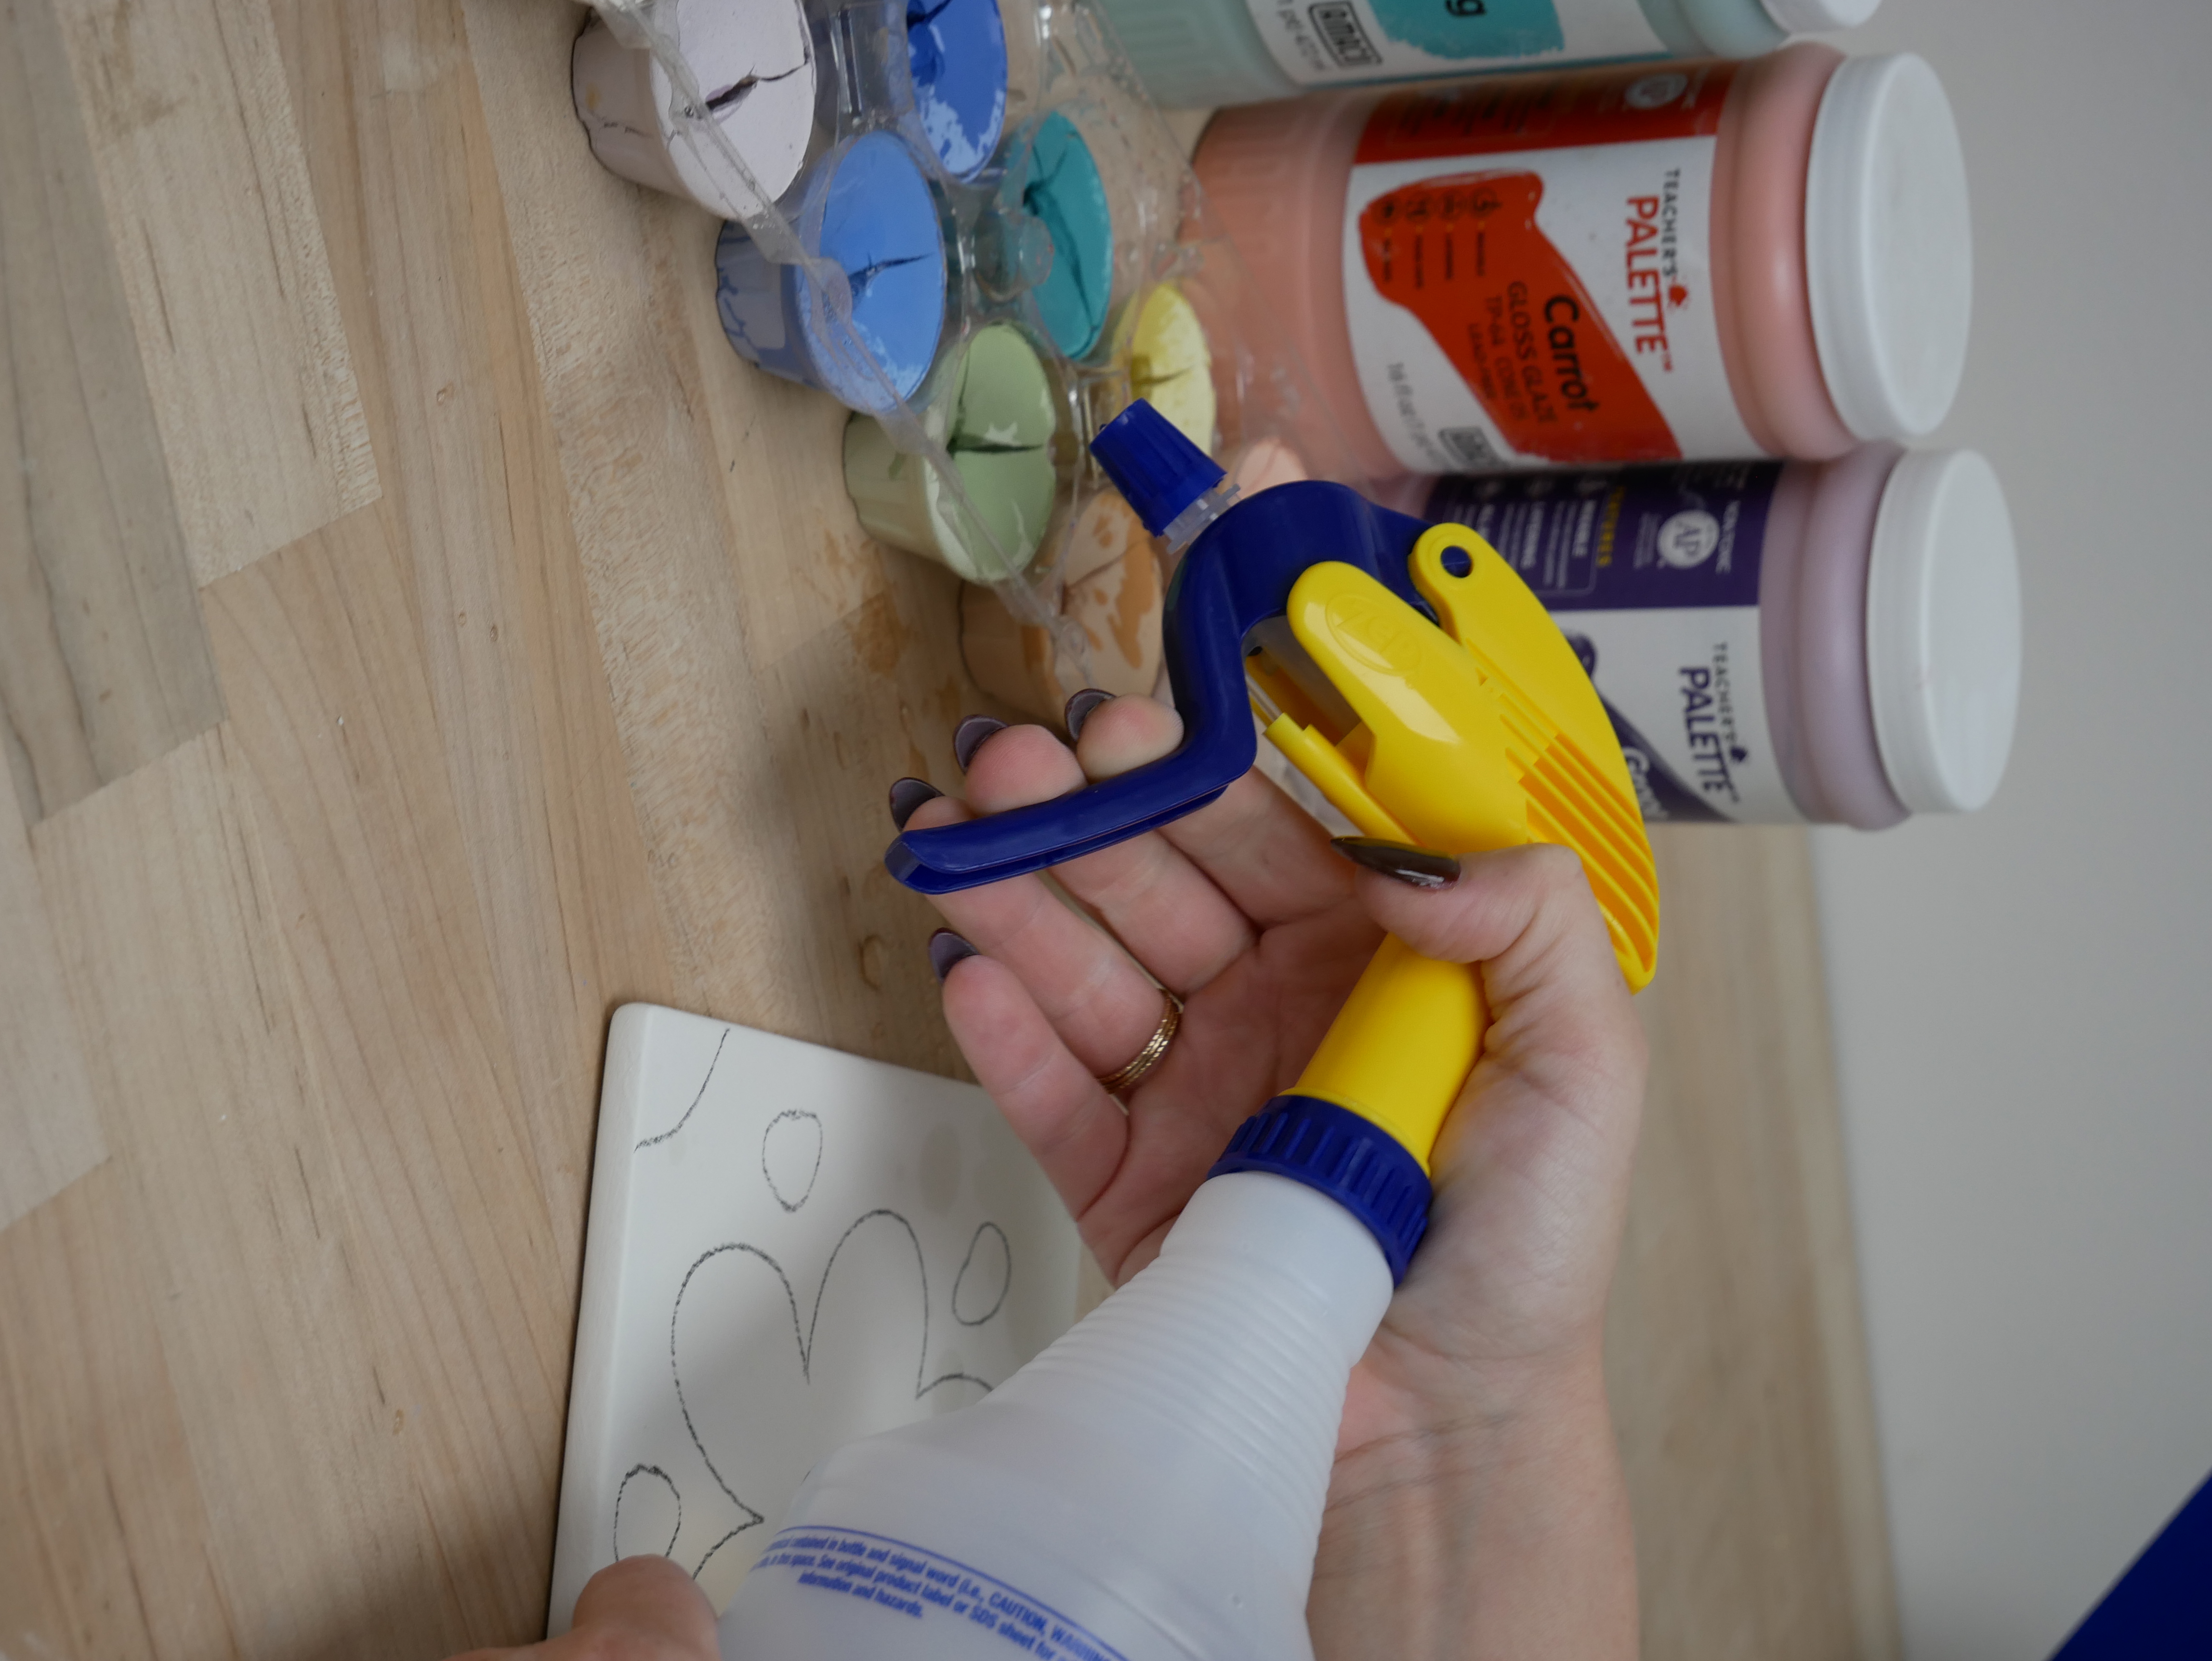
Lightly mist the dried TP Glazes. This will soften the glaze so that it can be used like watercolors. Adding too much water will turn them into a liquid glaze. They need to stay solid for a watercolor effect.
Layer the Colors
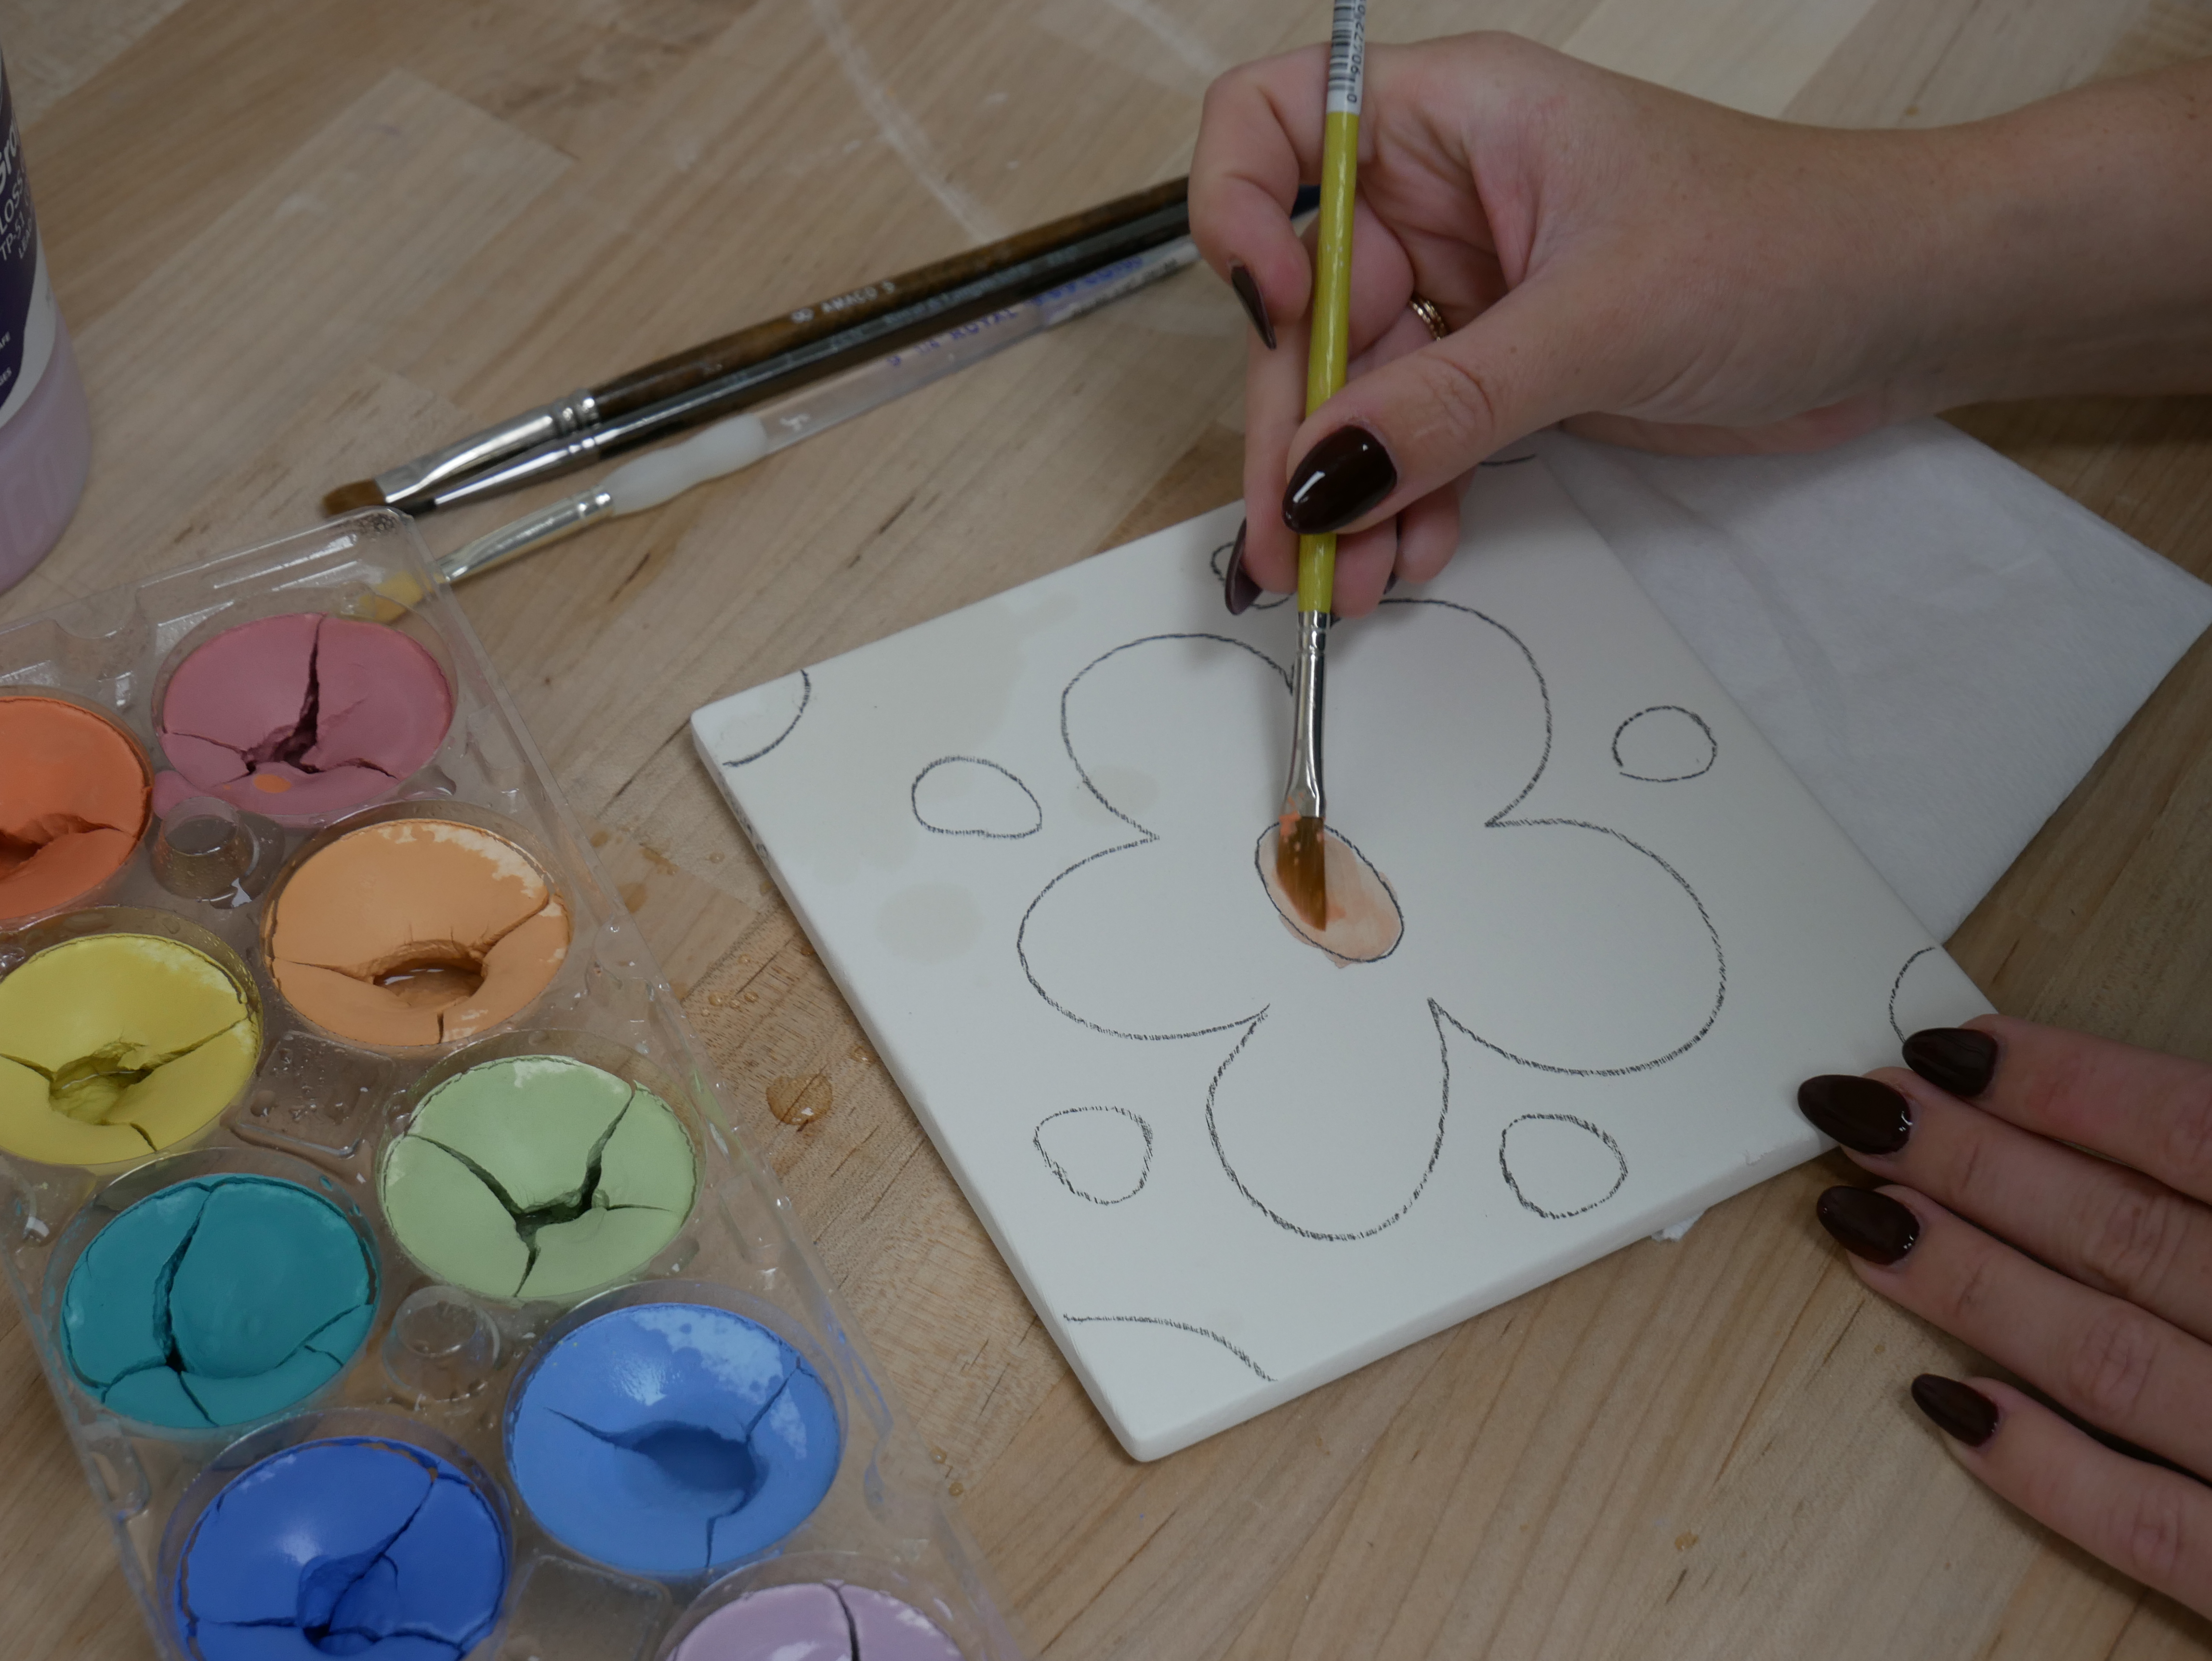
Start by painting with your lightest color and build up to your darkest, similar to watercolors. Mix and layer the glazes for added depth.
Add Final Details
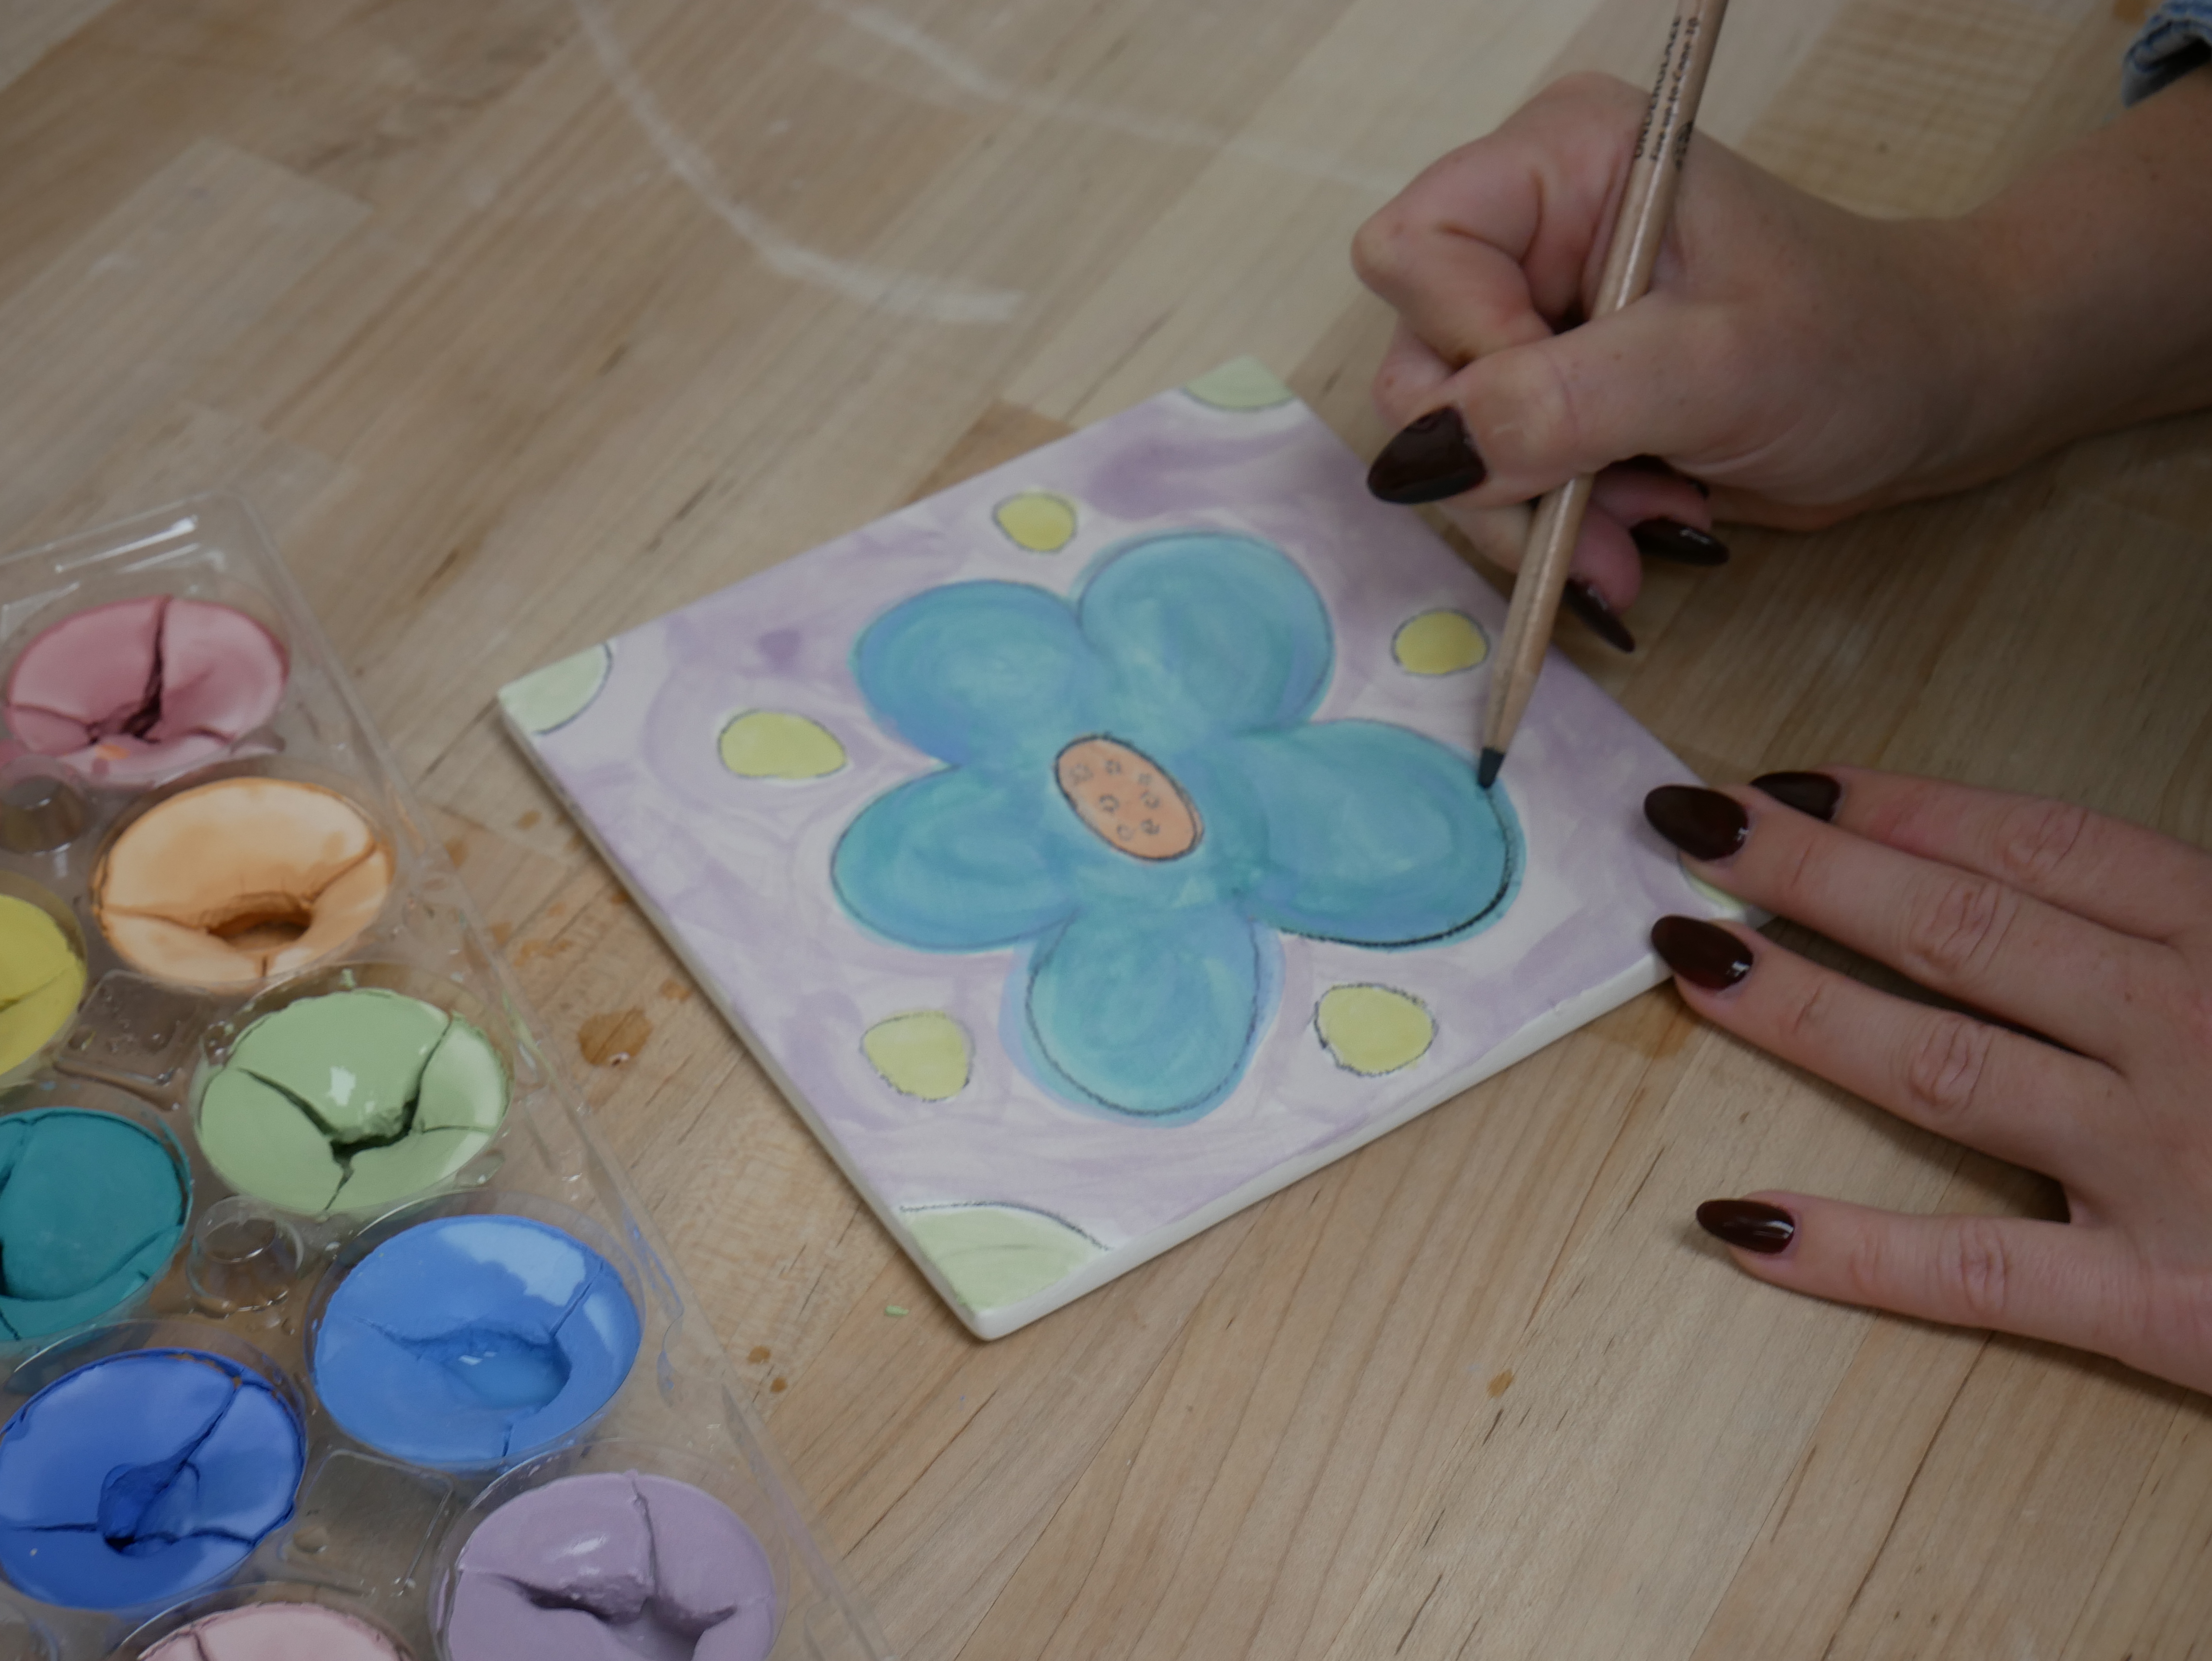
Use an AMACO Underglaze Pencil when the painting is complete. This will help define the image and last throughout the firing process.
Fire & Finish
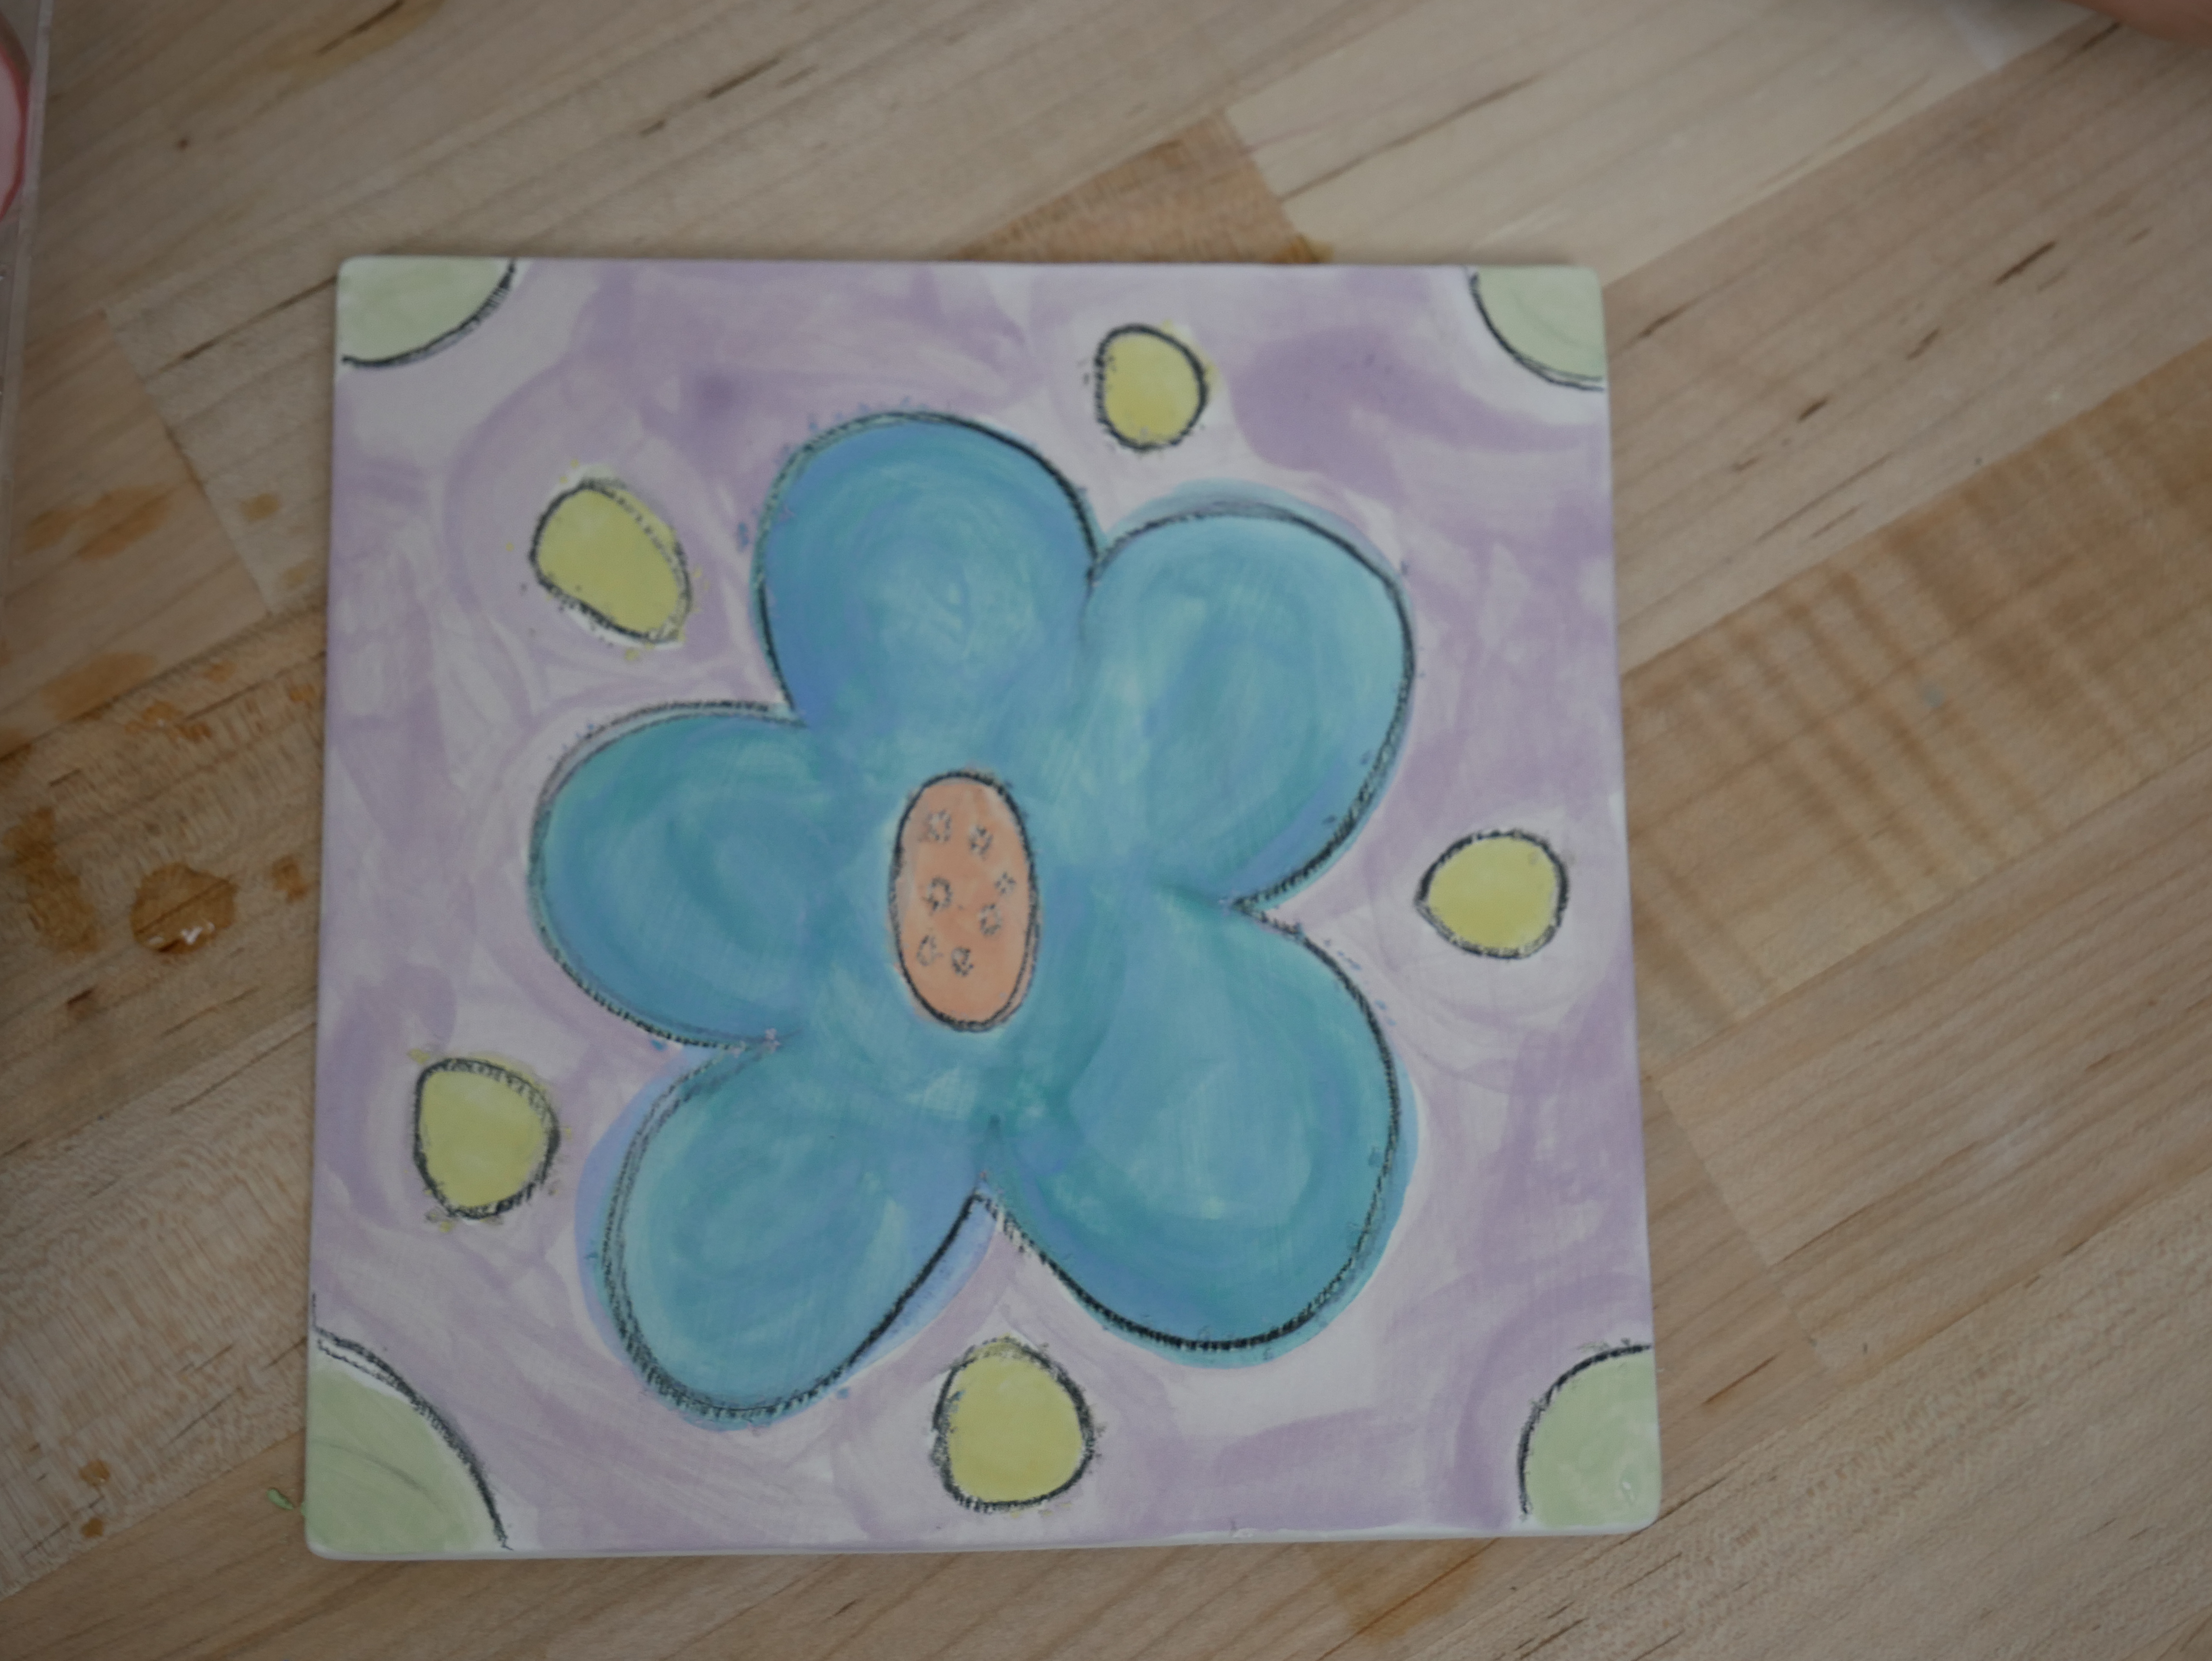
Fire to Cone 05. After firing, the painted TP Glaze will appear slightly matte. AMACO LG-10 Clear Transparent can be brushed on for a glossy surface.
Similar Lesson Plans