


Underglaze Batik

Discover a fresh take on the traditional batik process using AMACO Velvet Underglazes and a simple white glue resist. Students build colorful layered designs while exploring masking, color blending, and ceramic surface decoration to create bold, one-of-a-kind tiles.
Supplies List
- AMACO Velvet Underglazes
- AMACO Underglaze Pencil
- White Glue
- Bisque Tile, 6"x6"
- Paint Brushes

Sketch the Design
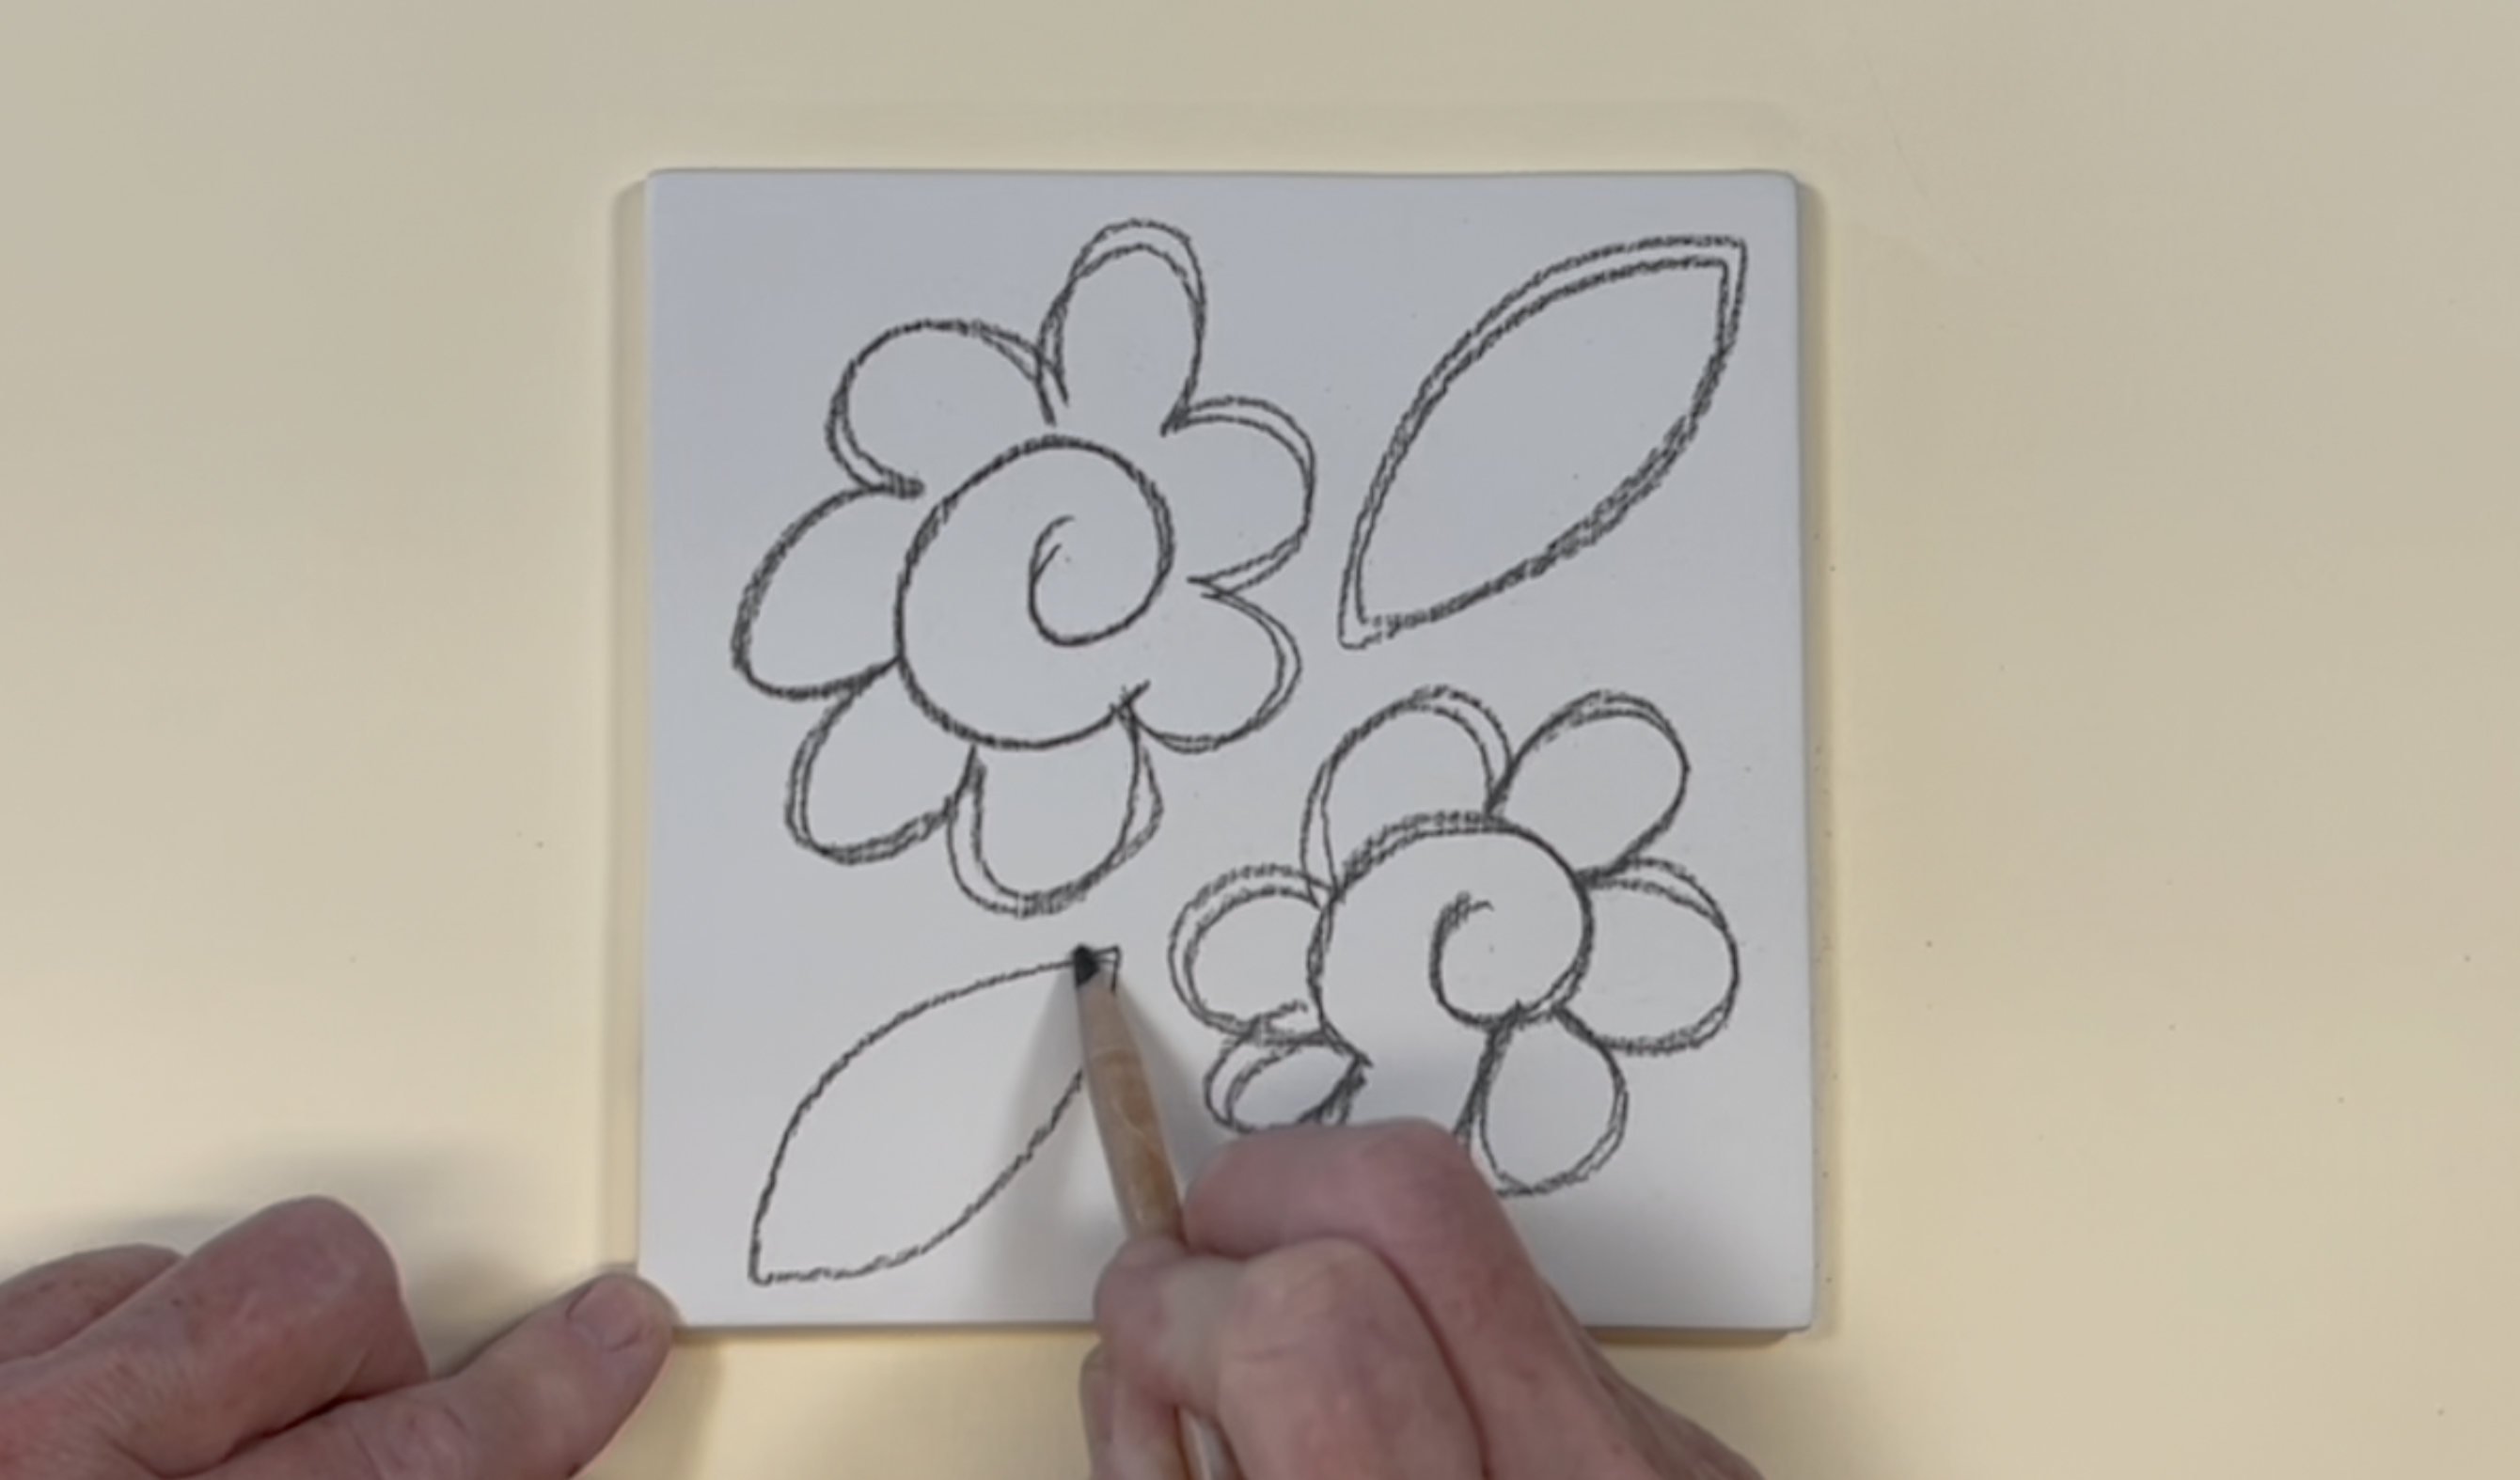
Draw a simple design on a bisque tile using AMACO Black Underglaze Pencil.
Apply Glue
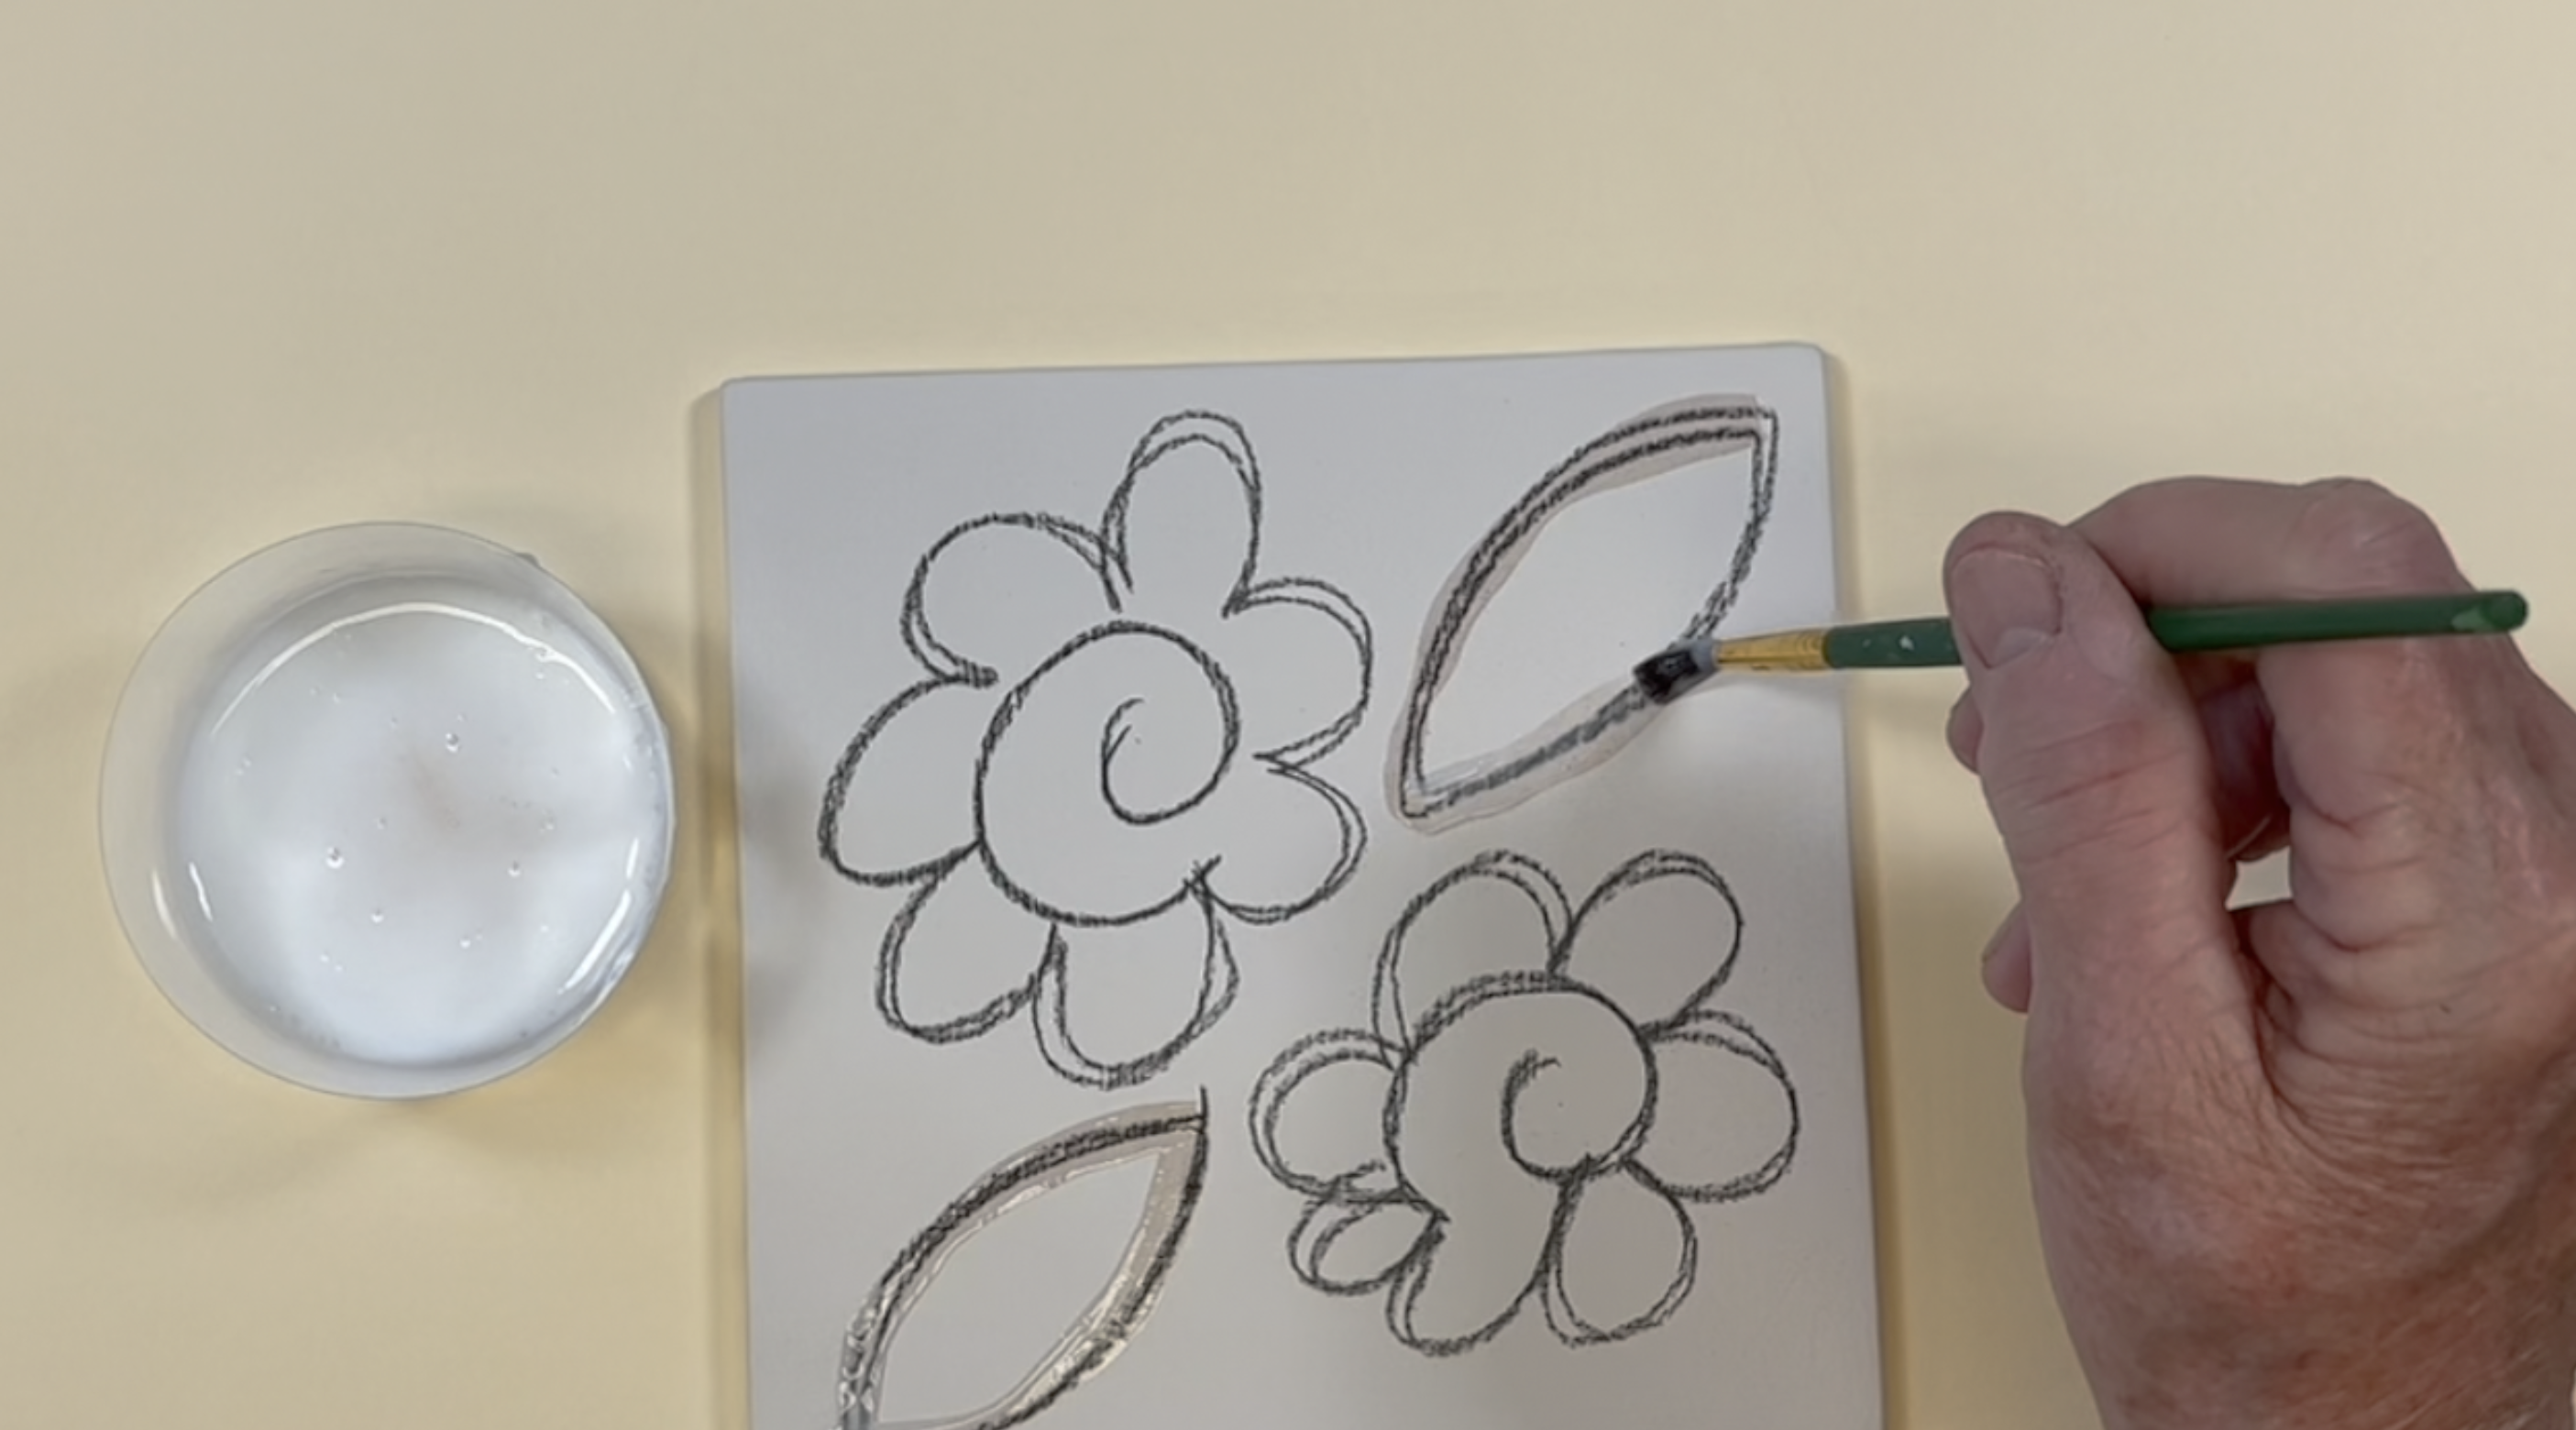
Paint white glue over the lines.
Paint with Light Underglaze
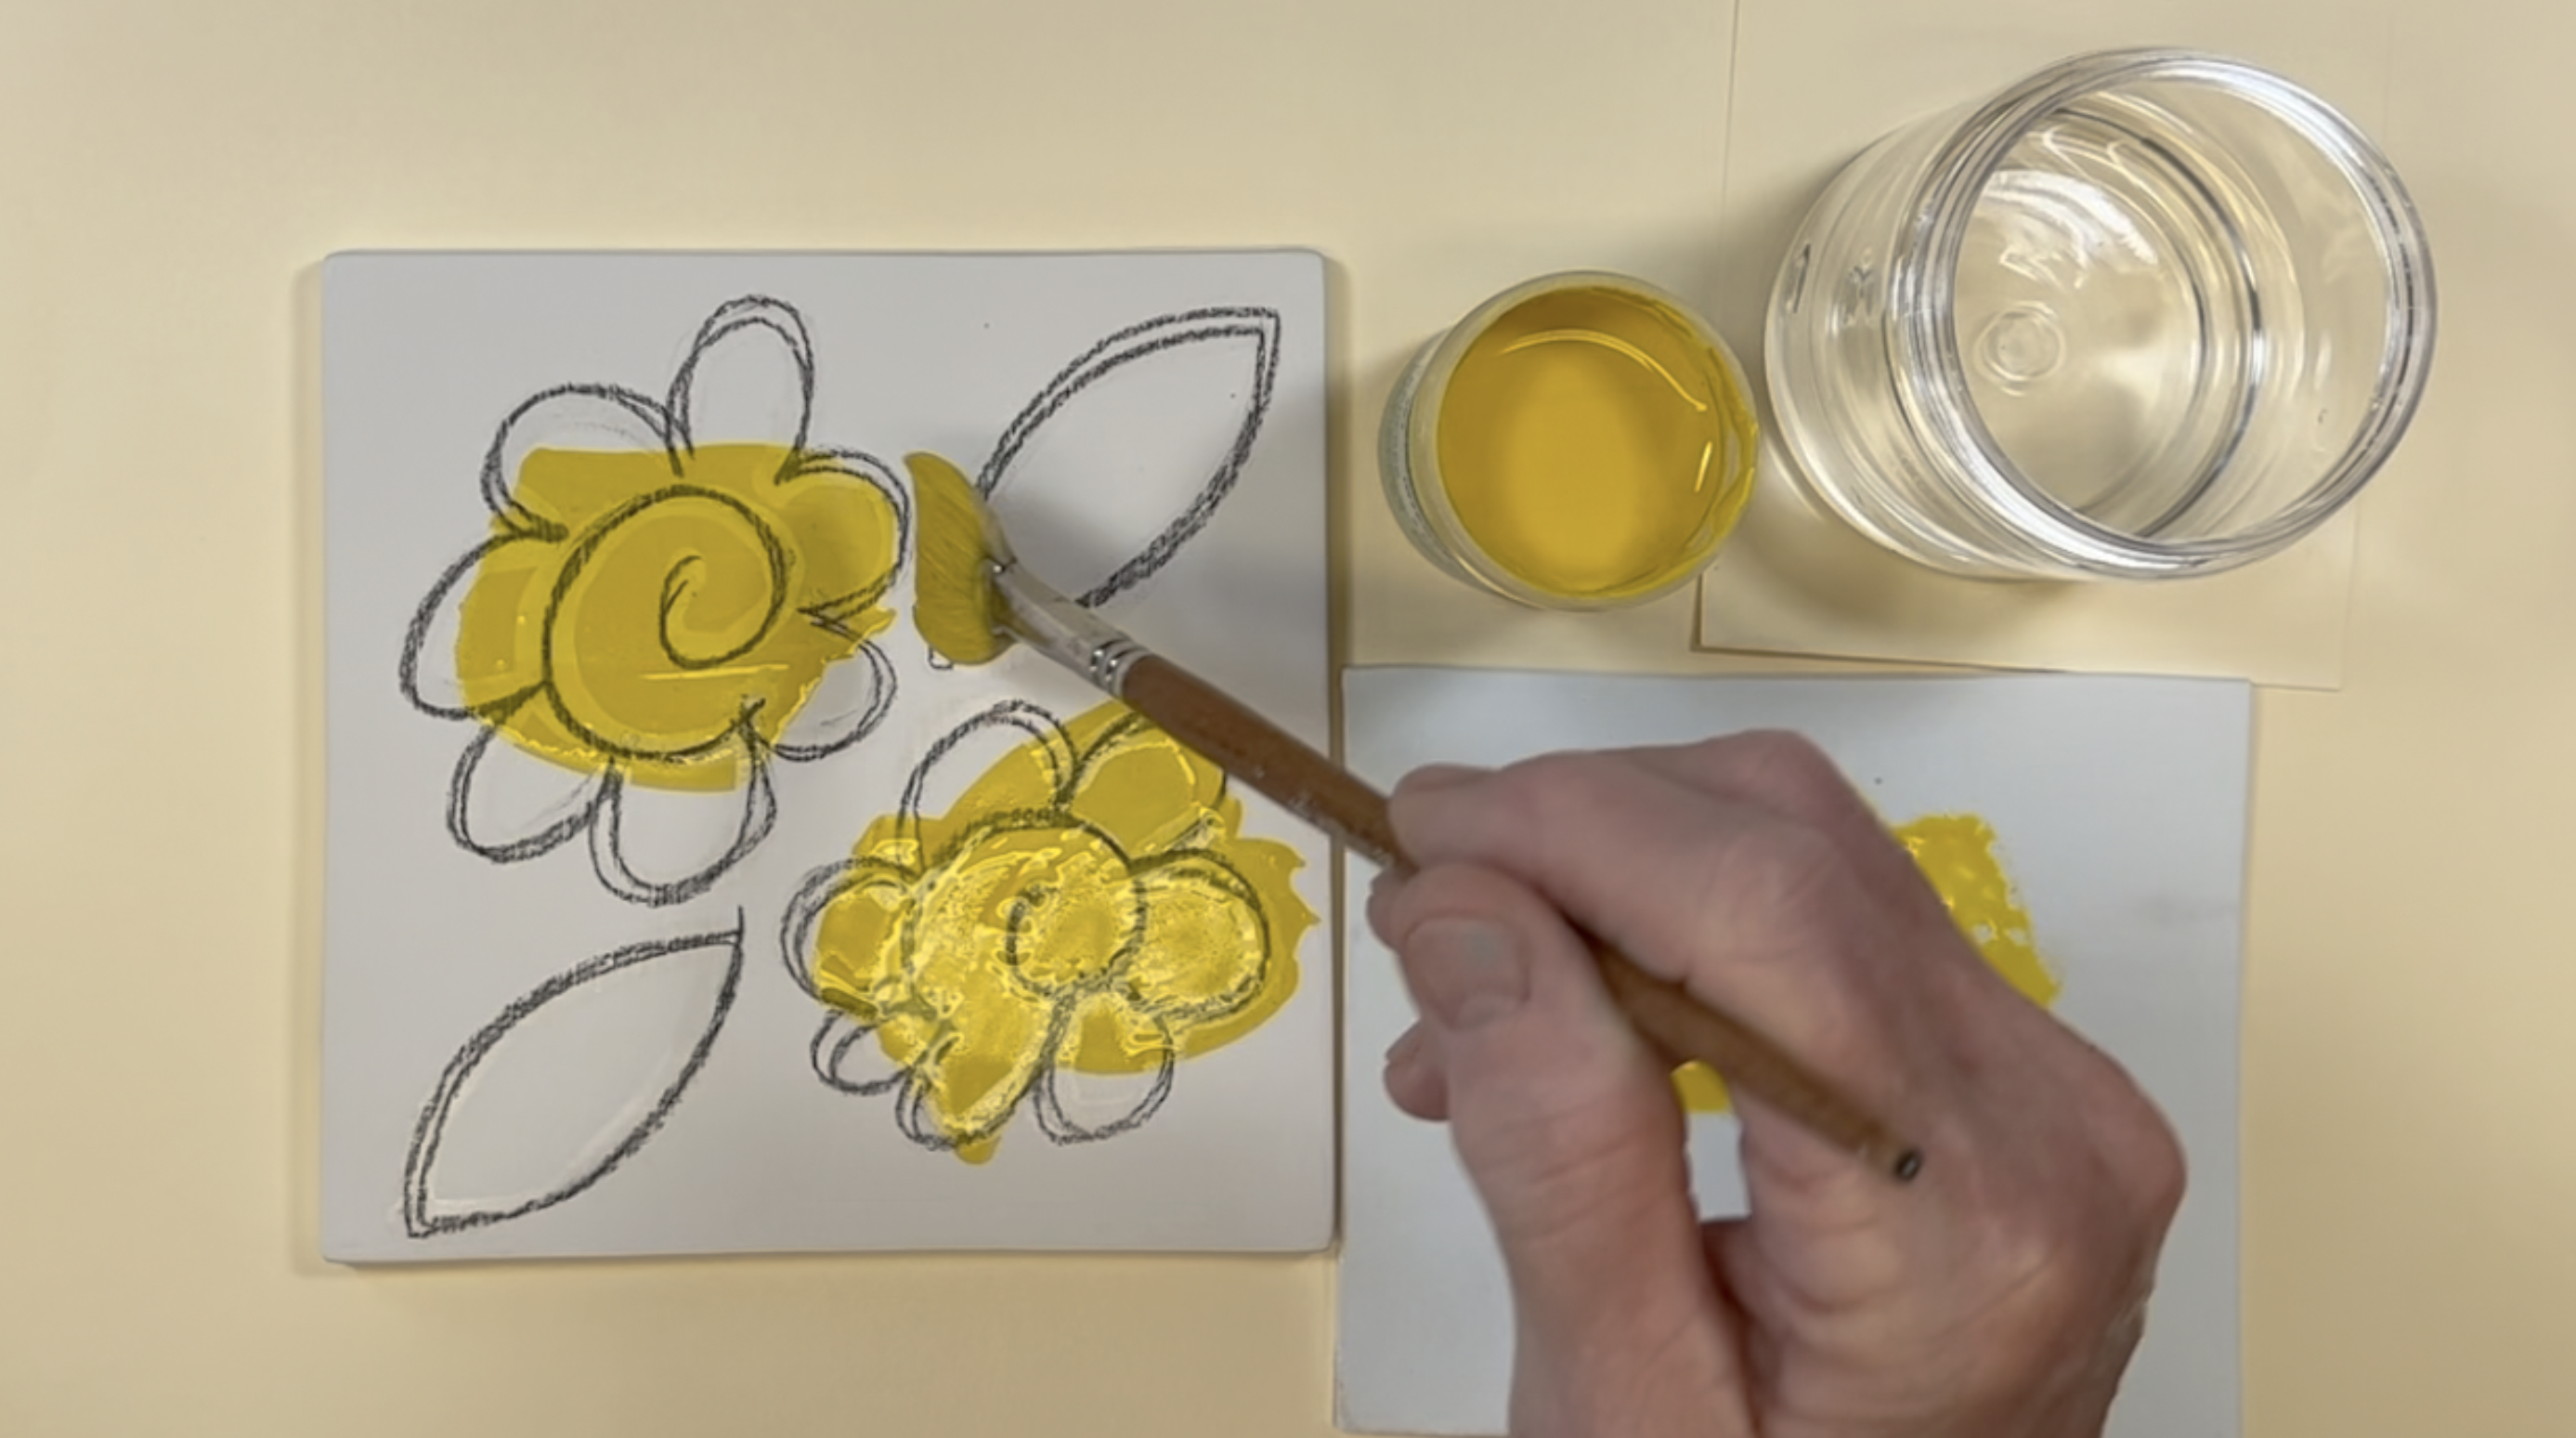
Once the glue is dry, brush on the lightest Velvet Underglaze color where desired.
Wipe & Apply More Glue
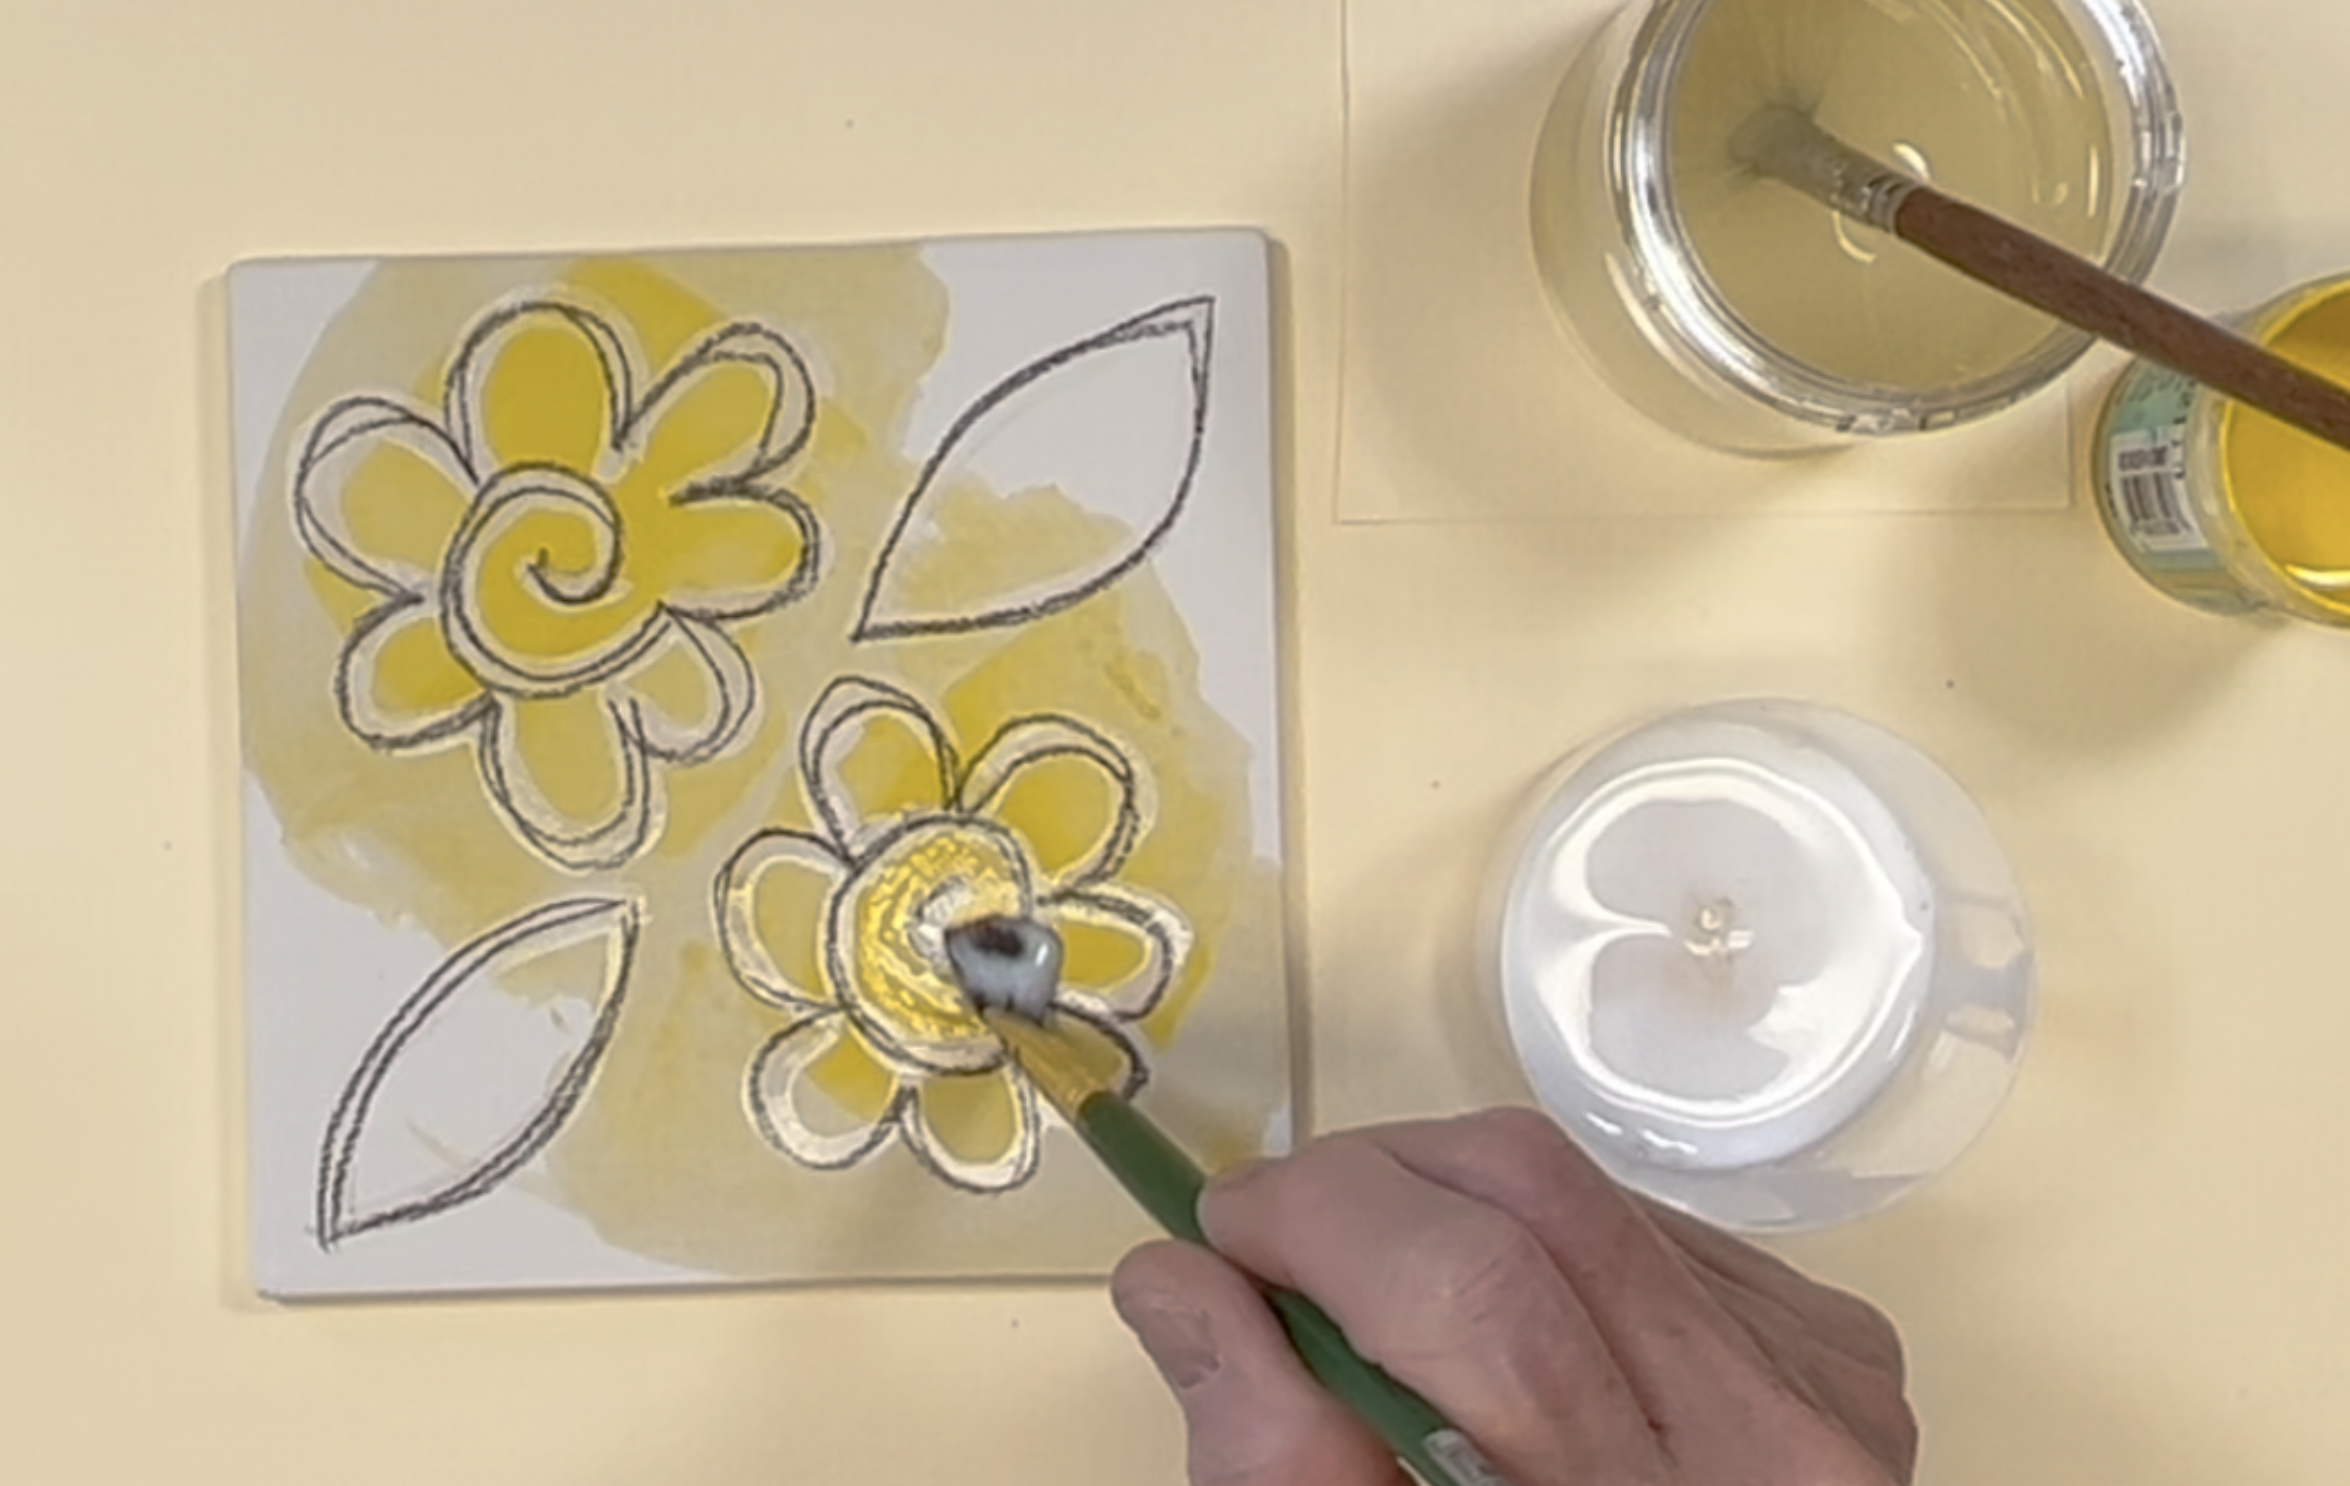
Use a wet brush to wipe over the design and remove any excess underglaze then brush on white glue everywhere you want to remain yellow in the design. Let this dry thoroughly.
Paint Next Underglaze
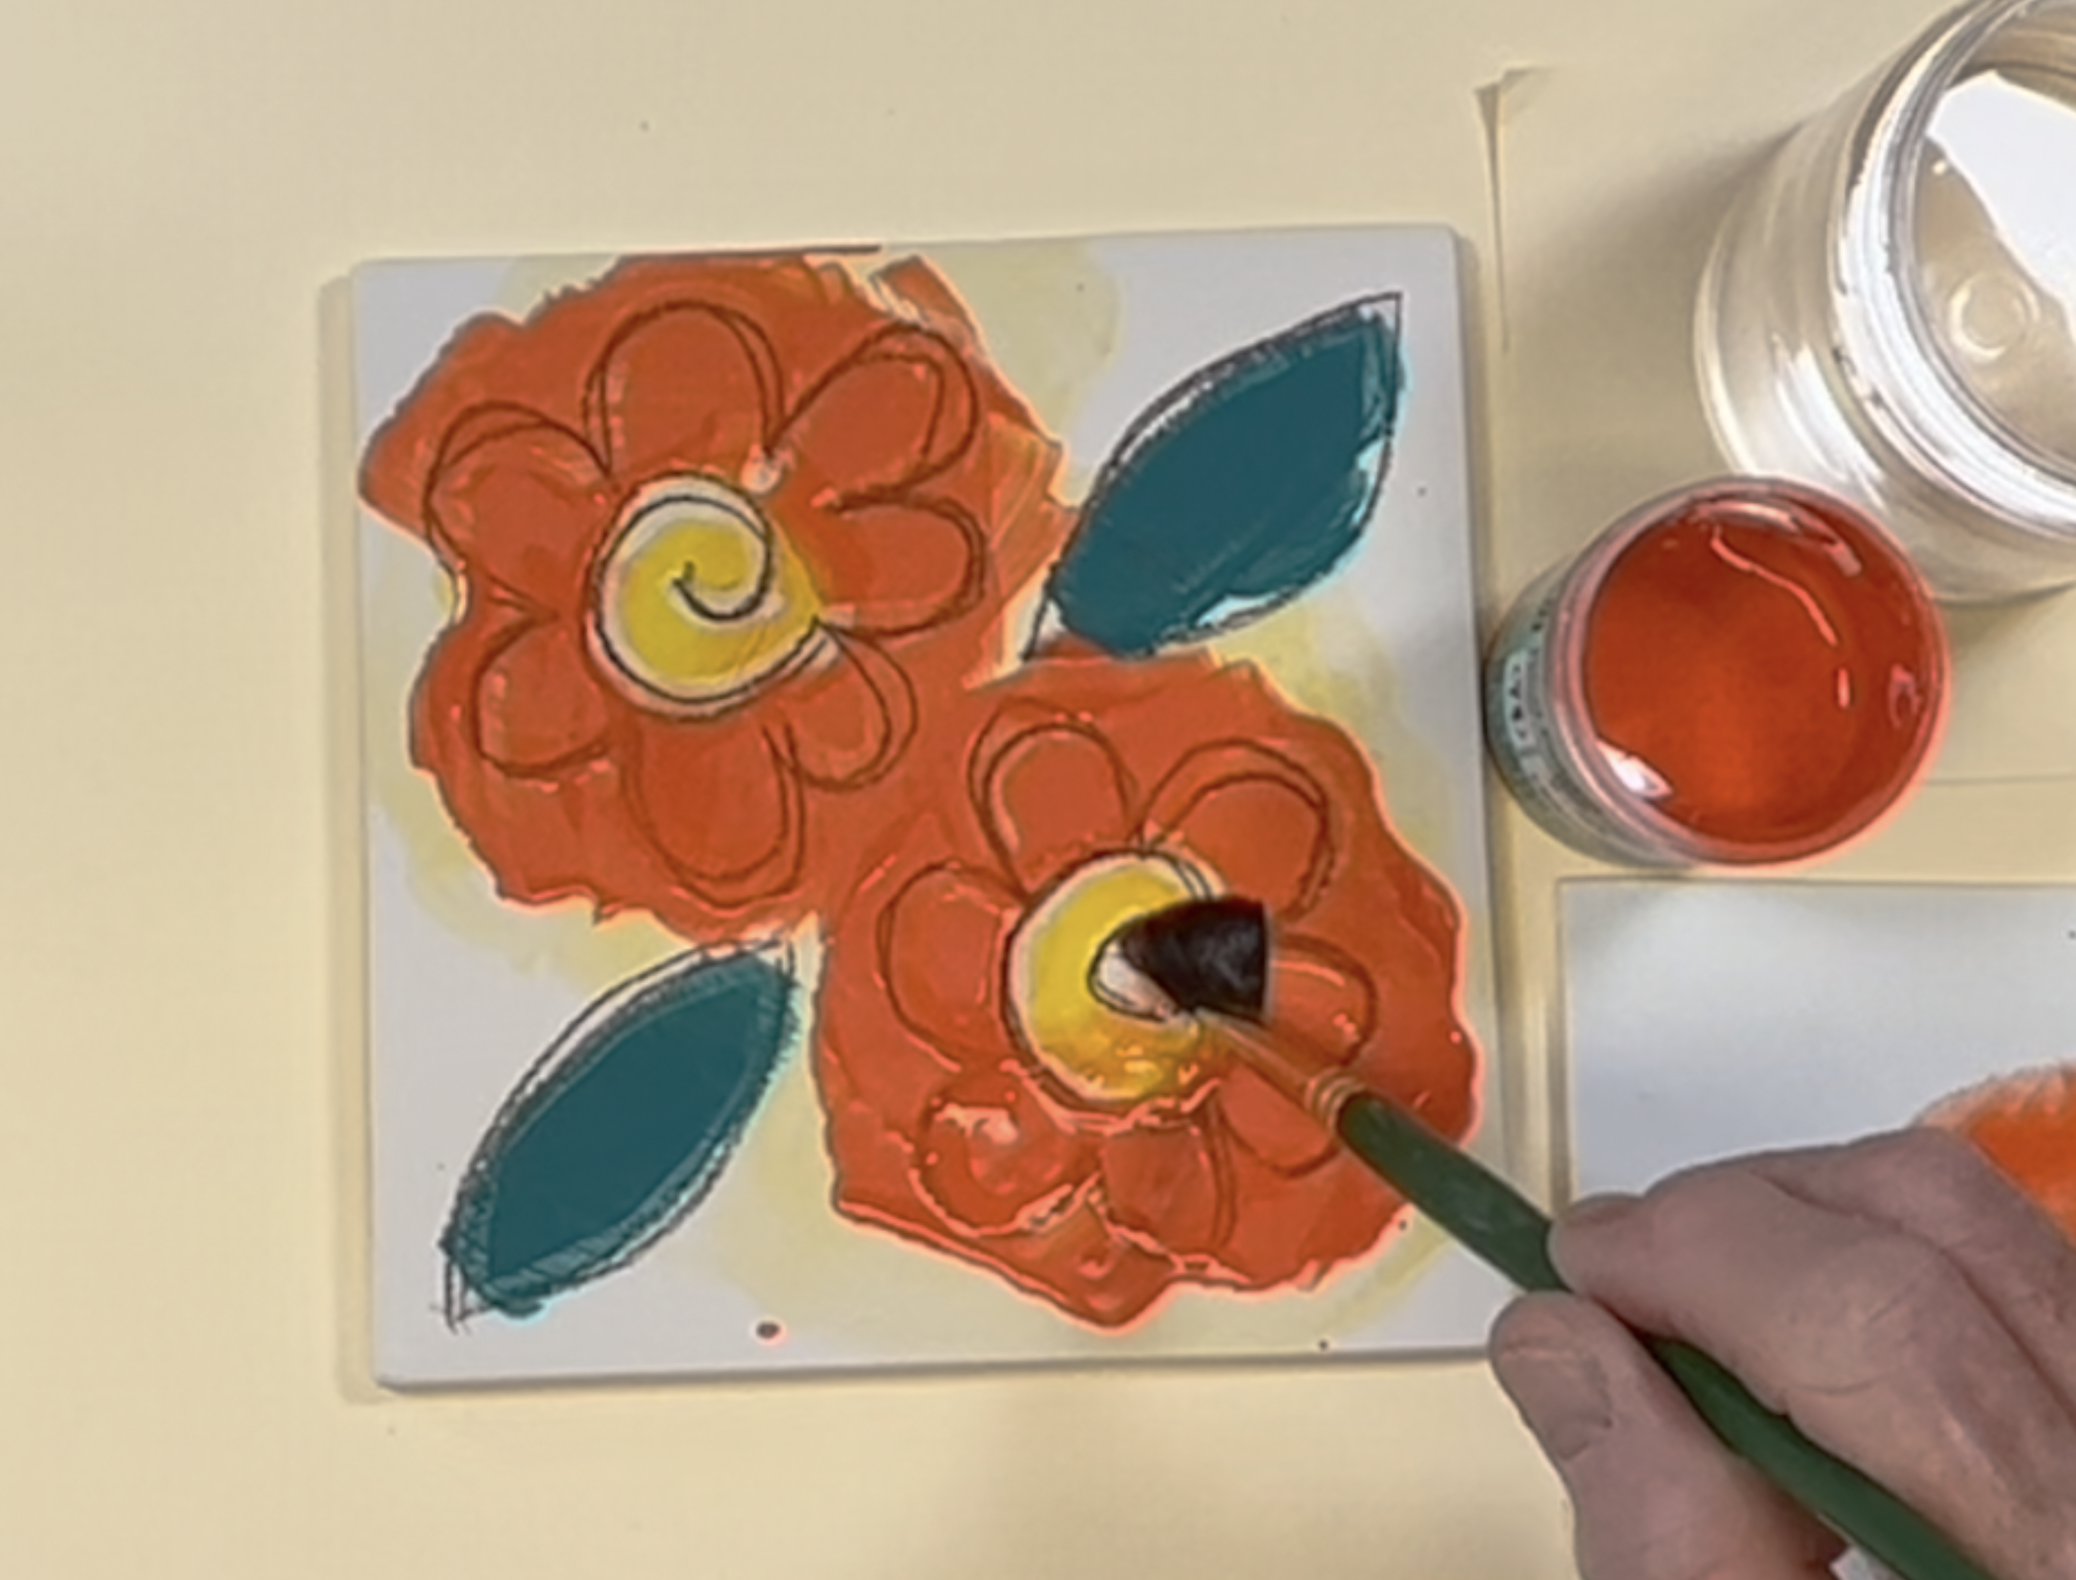
Brush on the next color. Using a damp brush, gently remove the excess from areas where the glue resist was applied.
Apply Final Layer of Glue
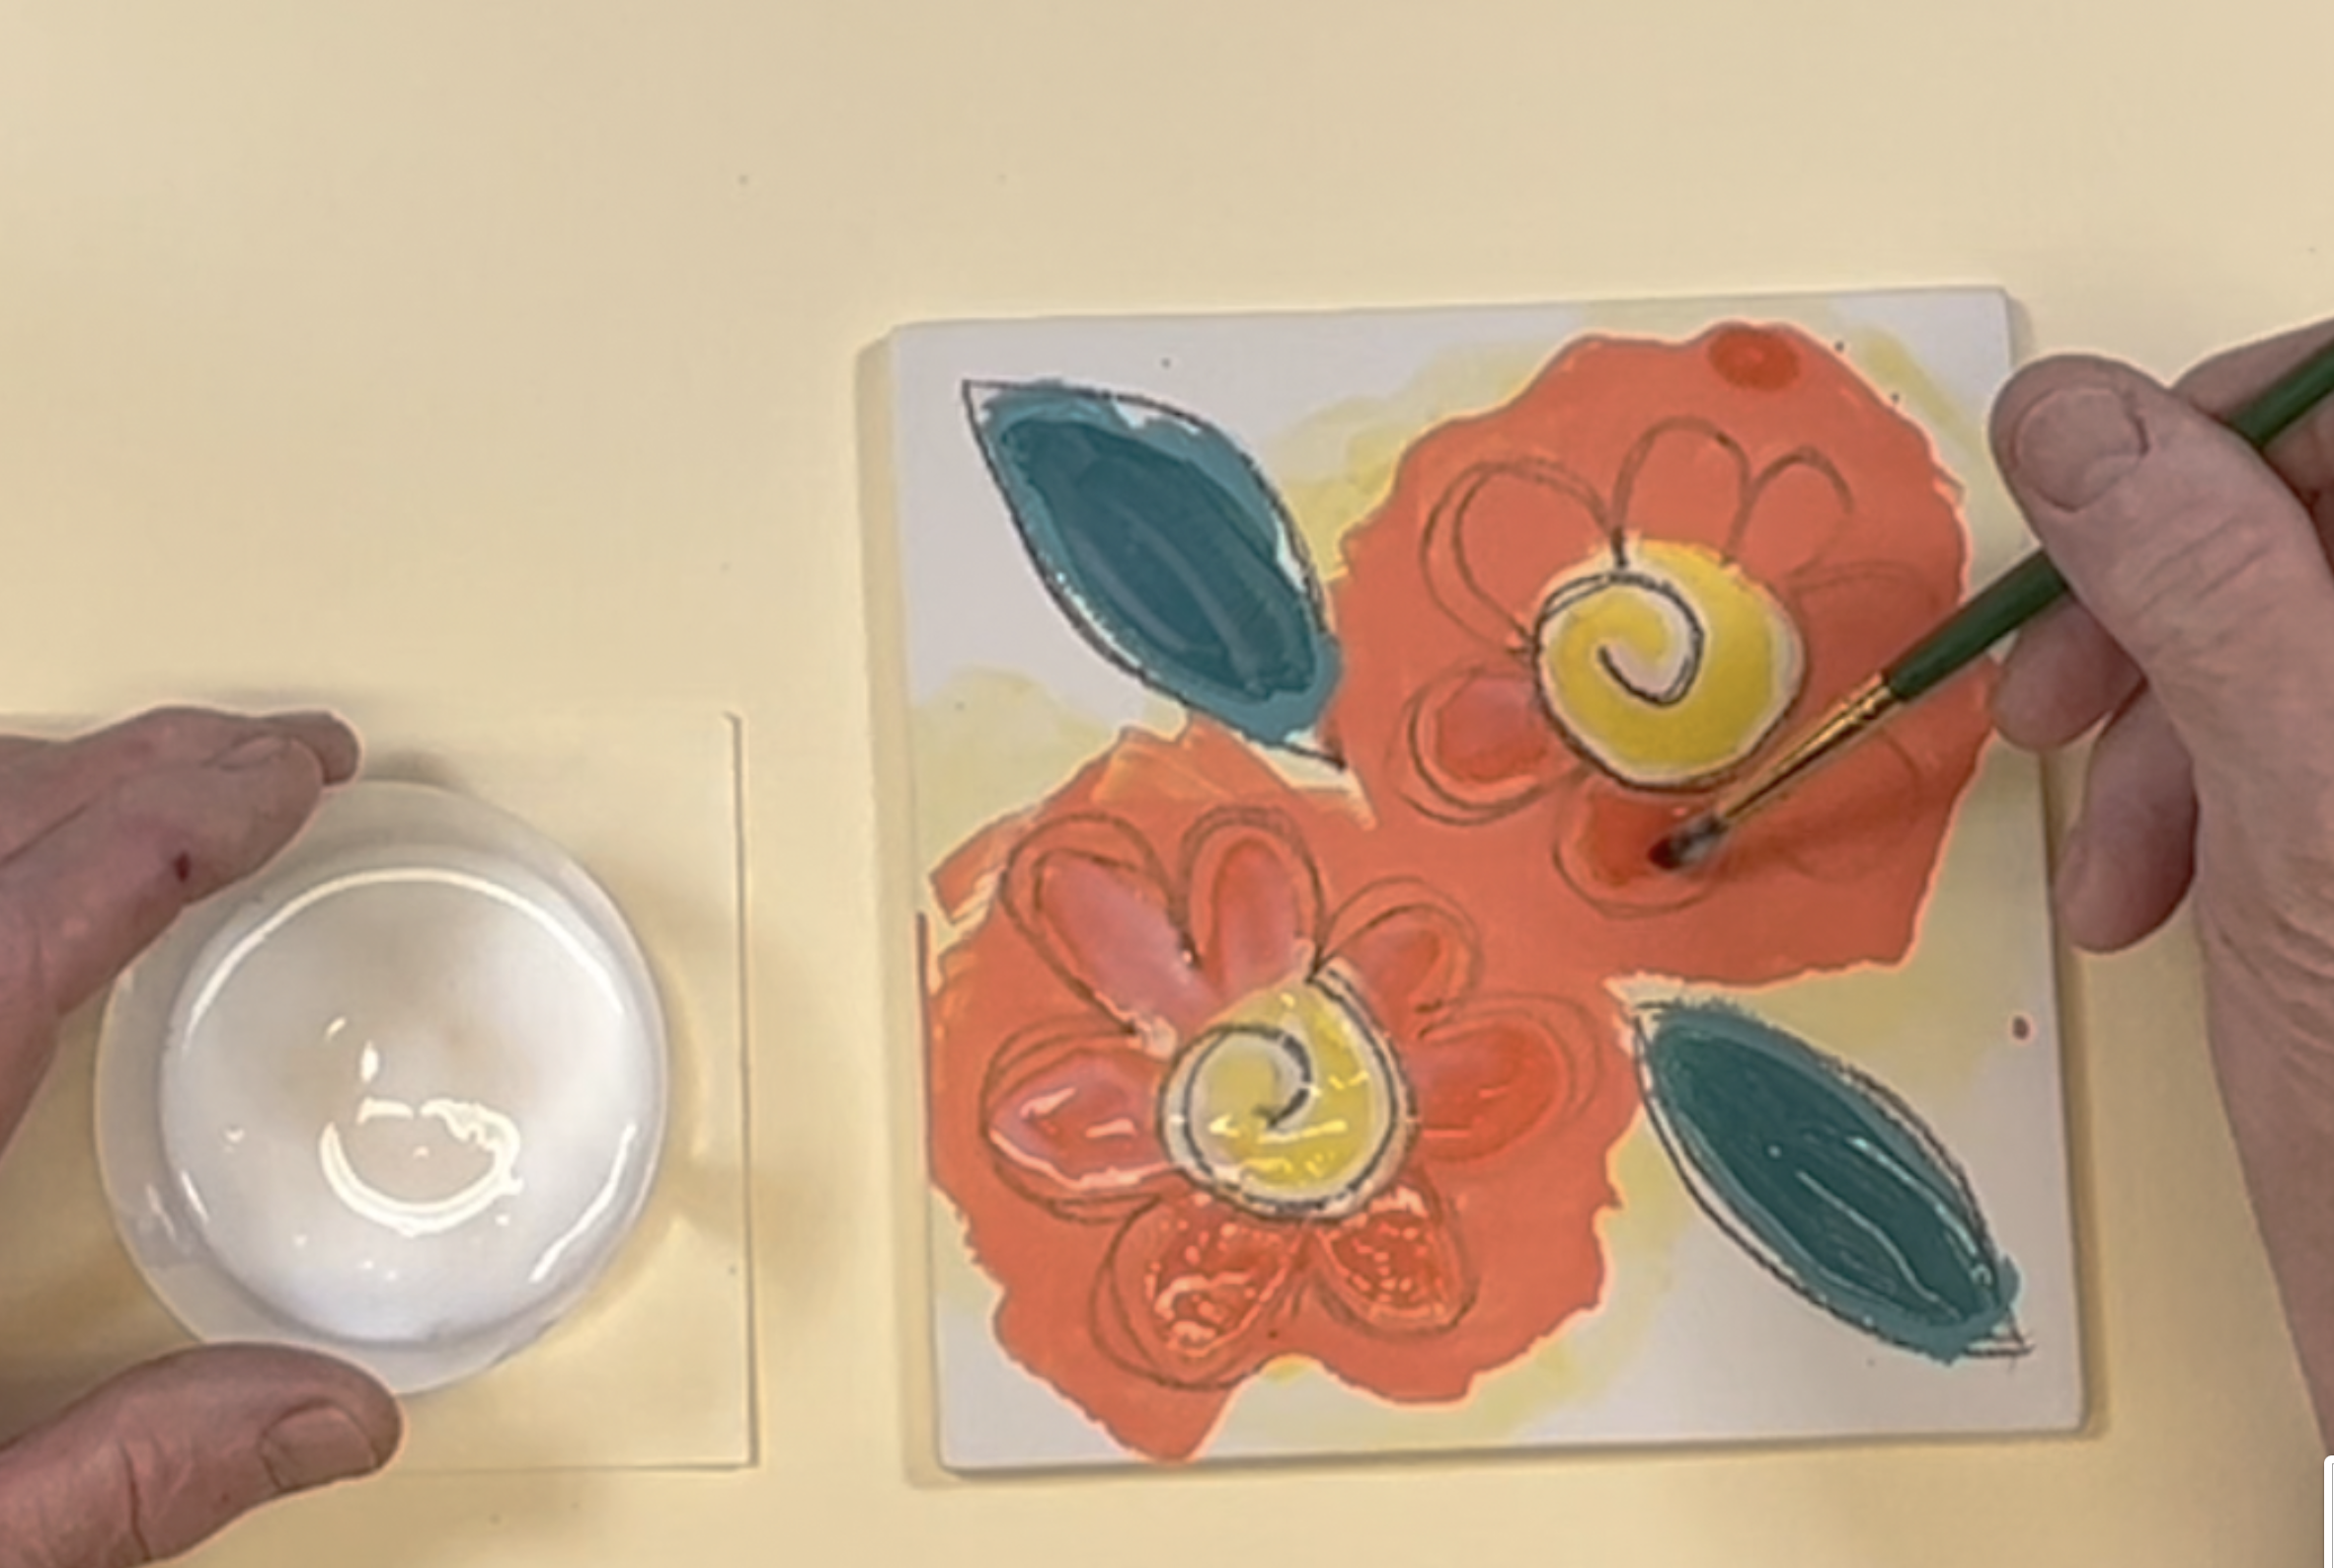
Once the underglaze has dried, apply a coat of white glue everywhere you want the color to remain. Let the white glue resist dry completely before the next step.
Create a Background
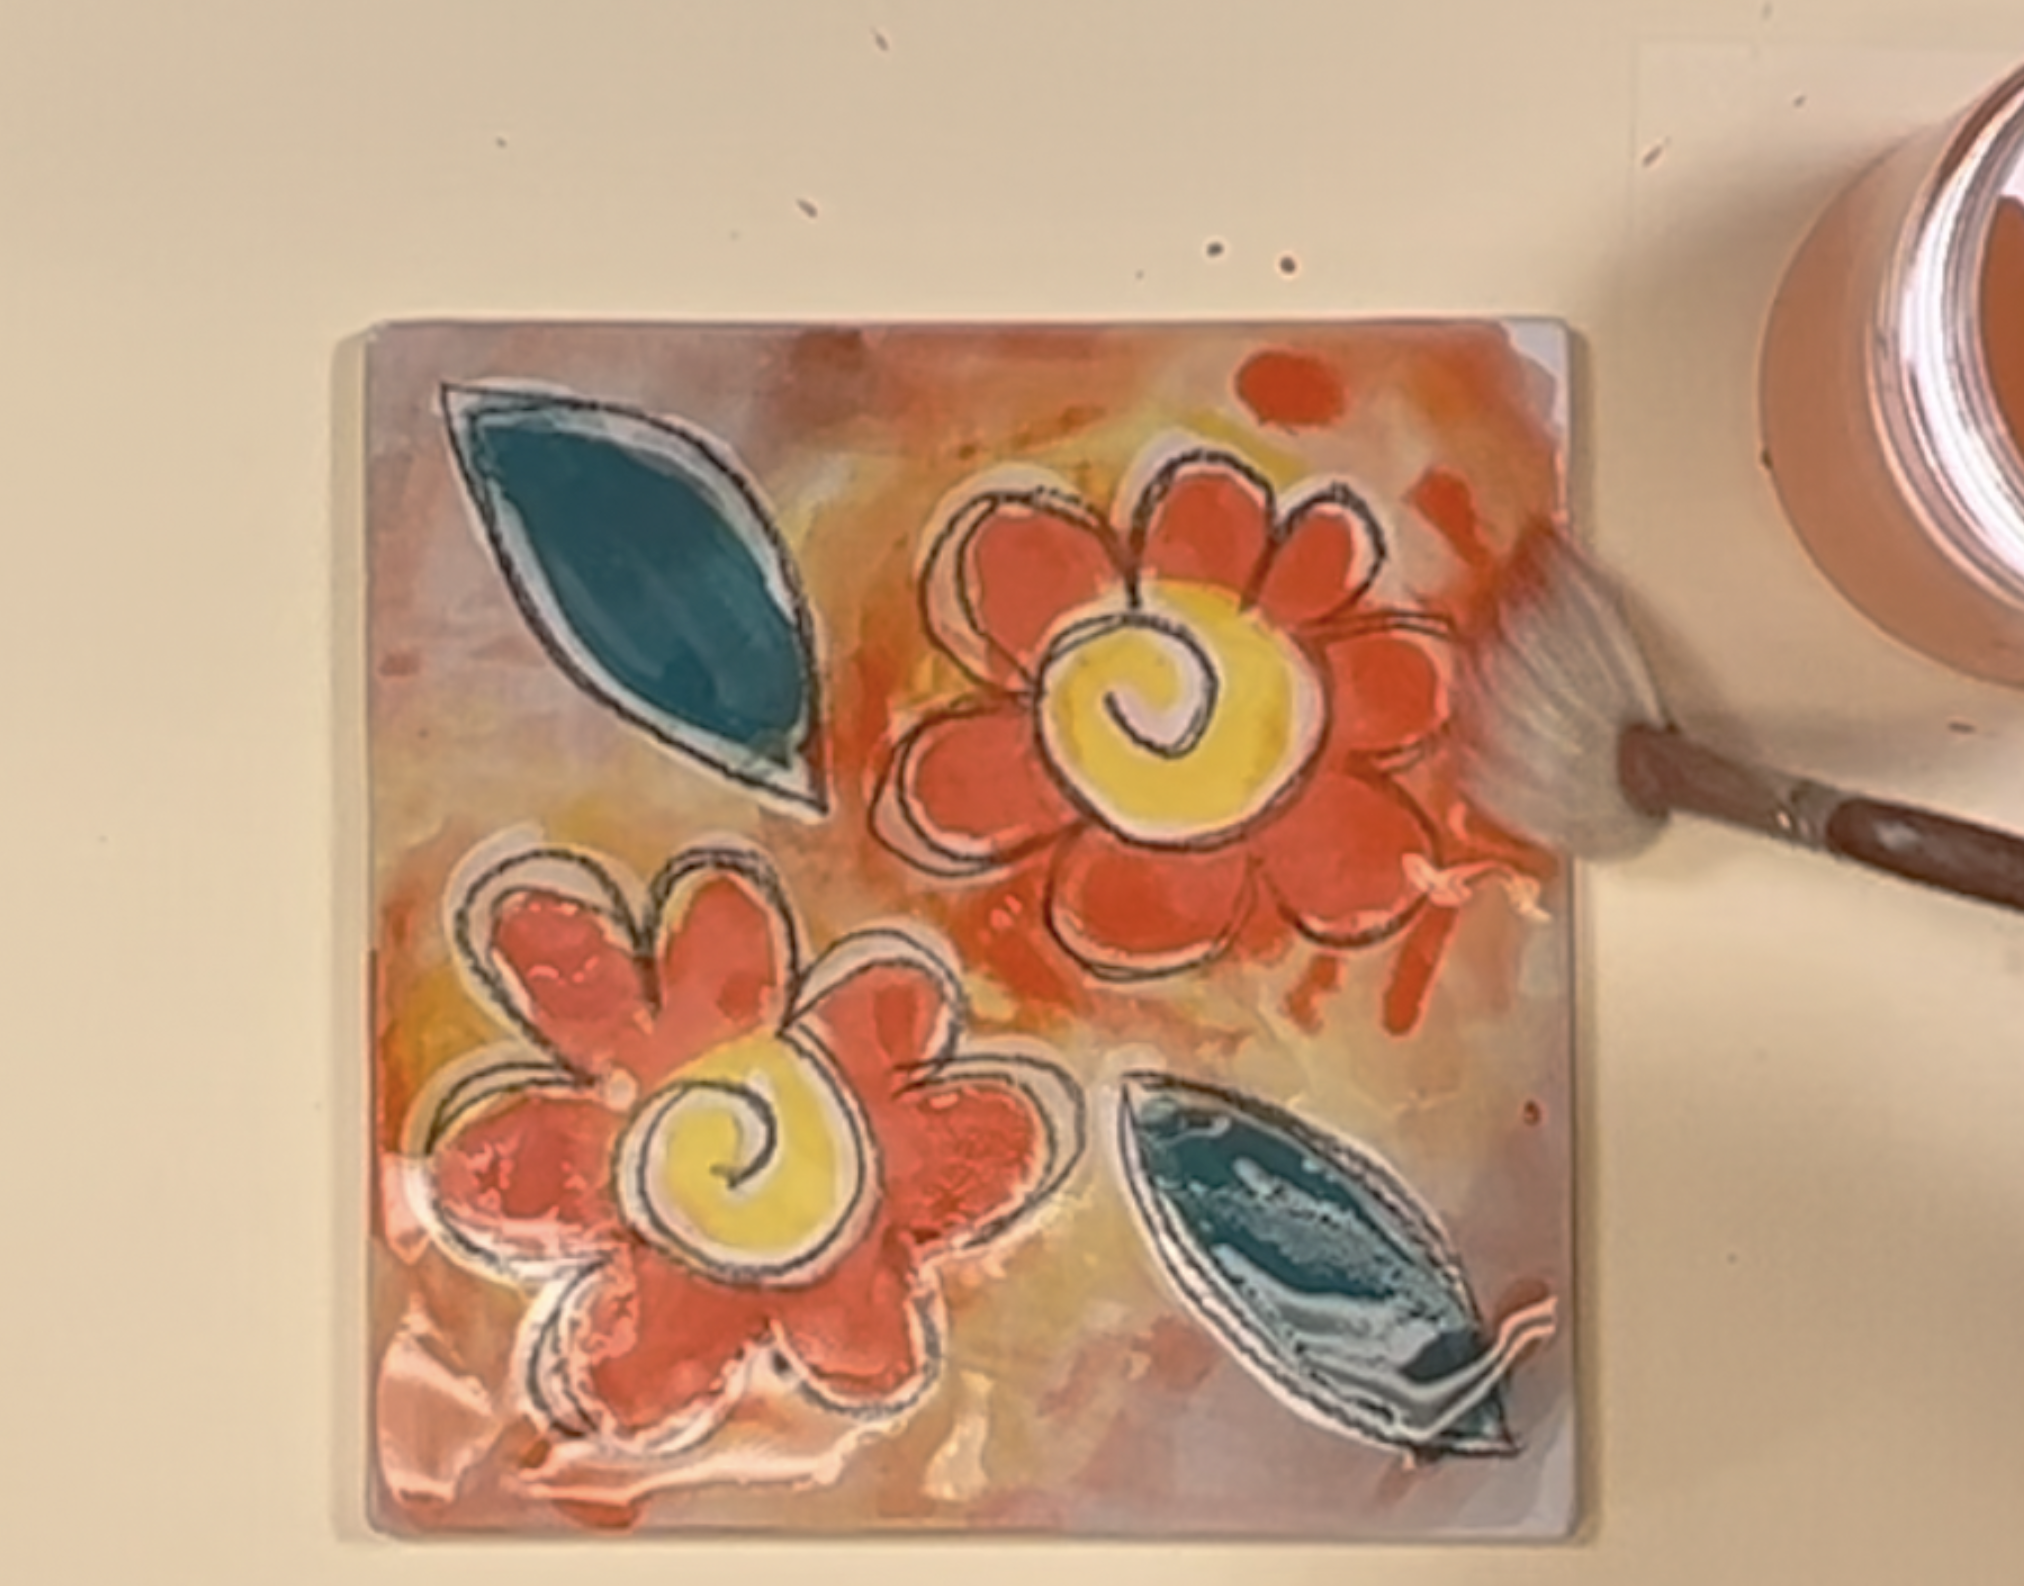
When the resist is completely dry, use a wet brush to blend color around your design. Don’t over-wet the areas of dry glue resist.
Outline the Design
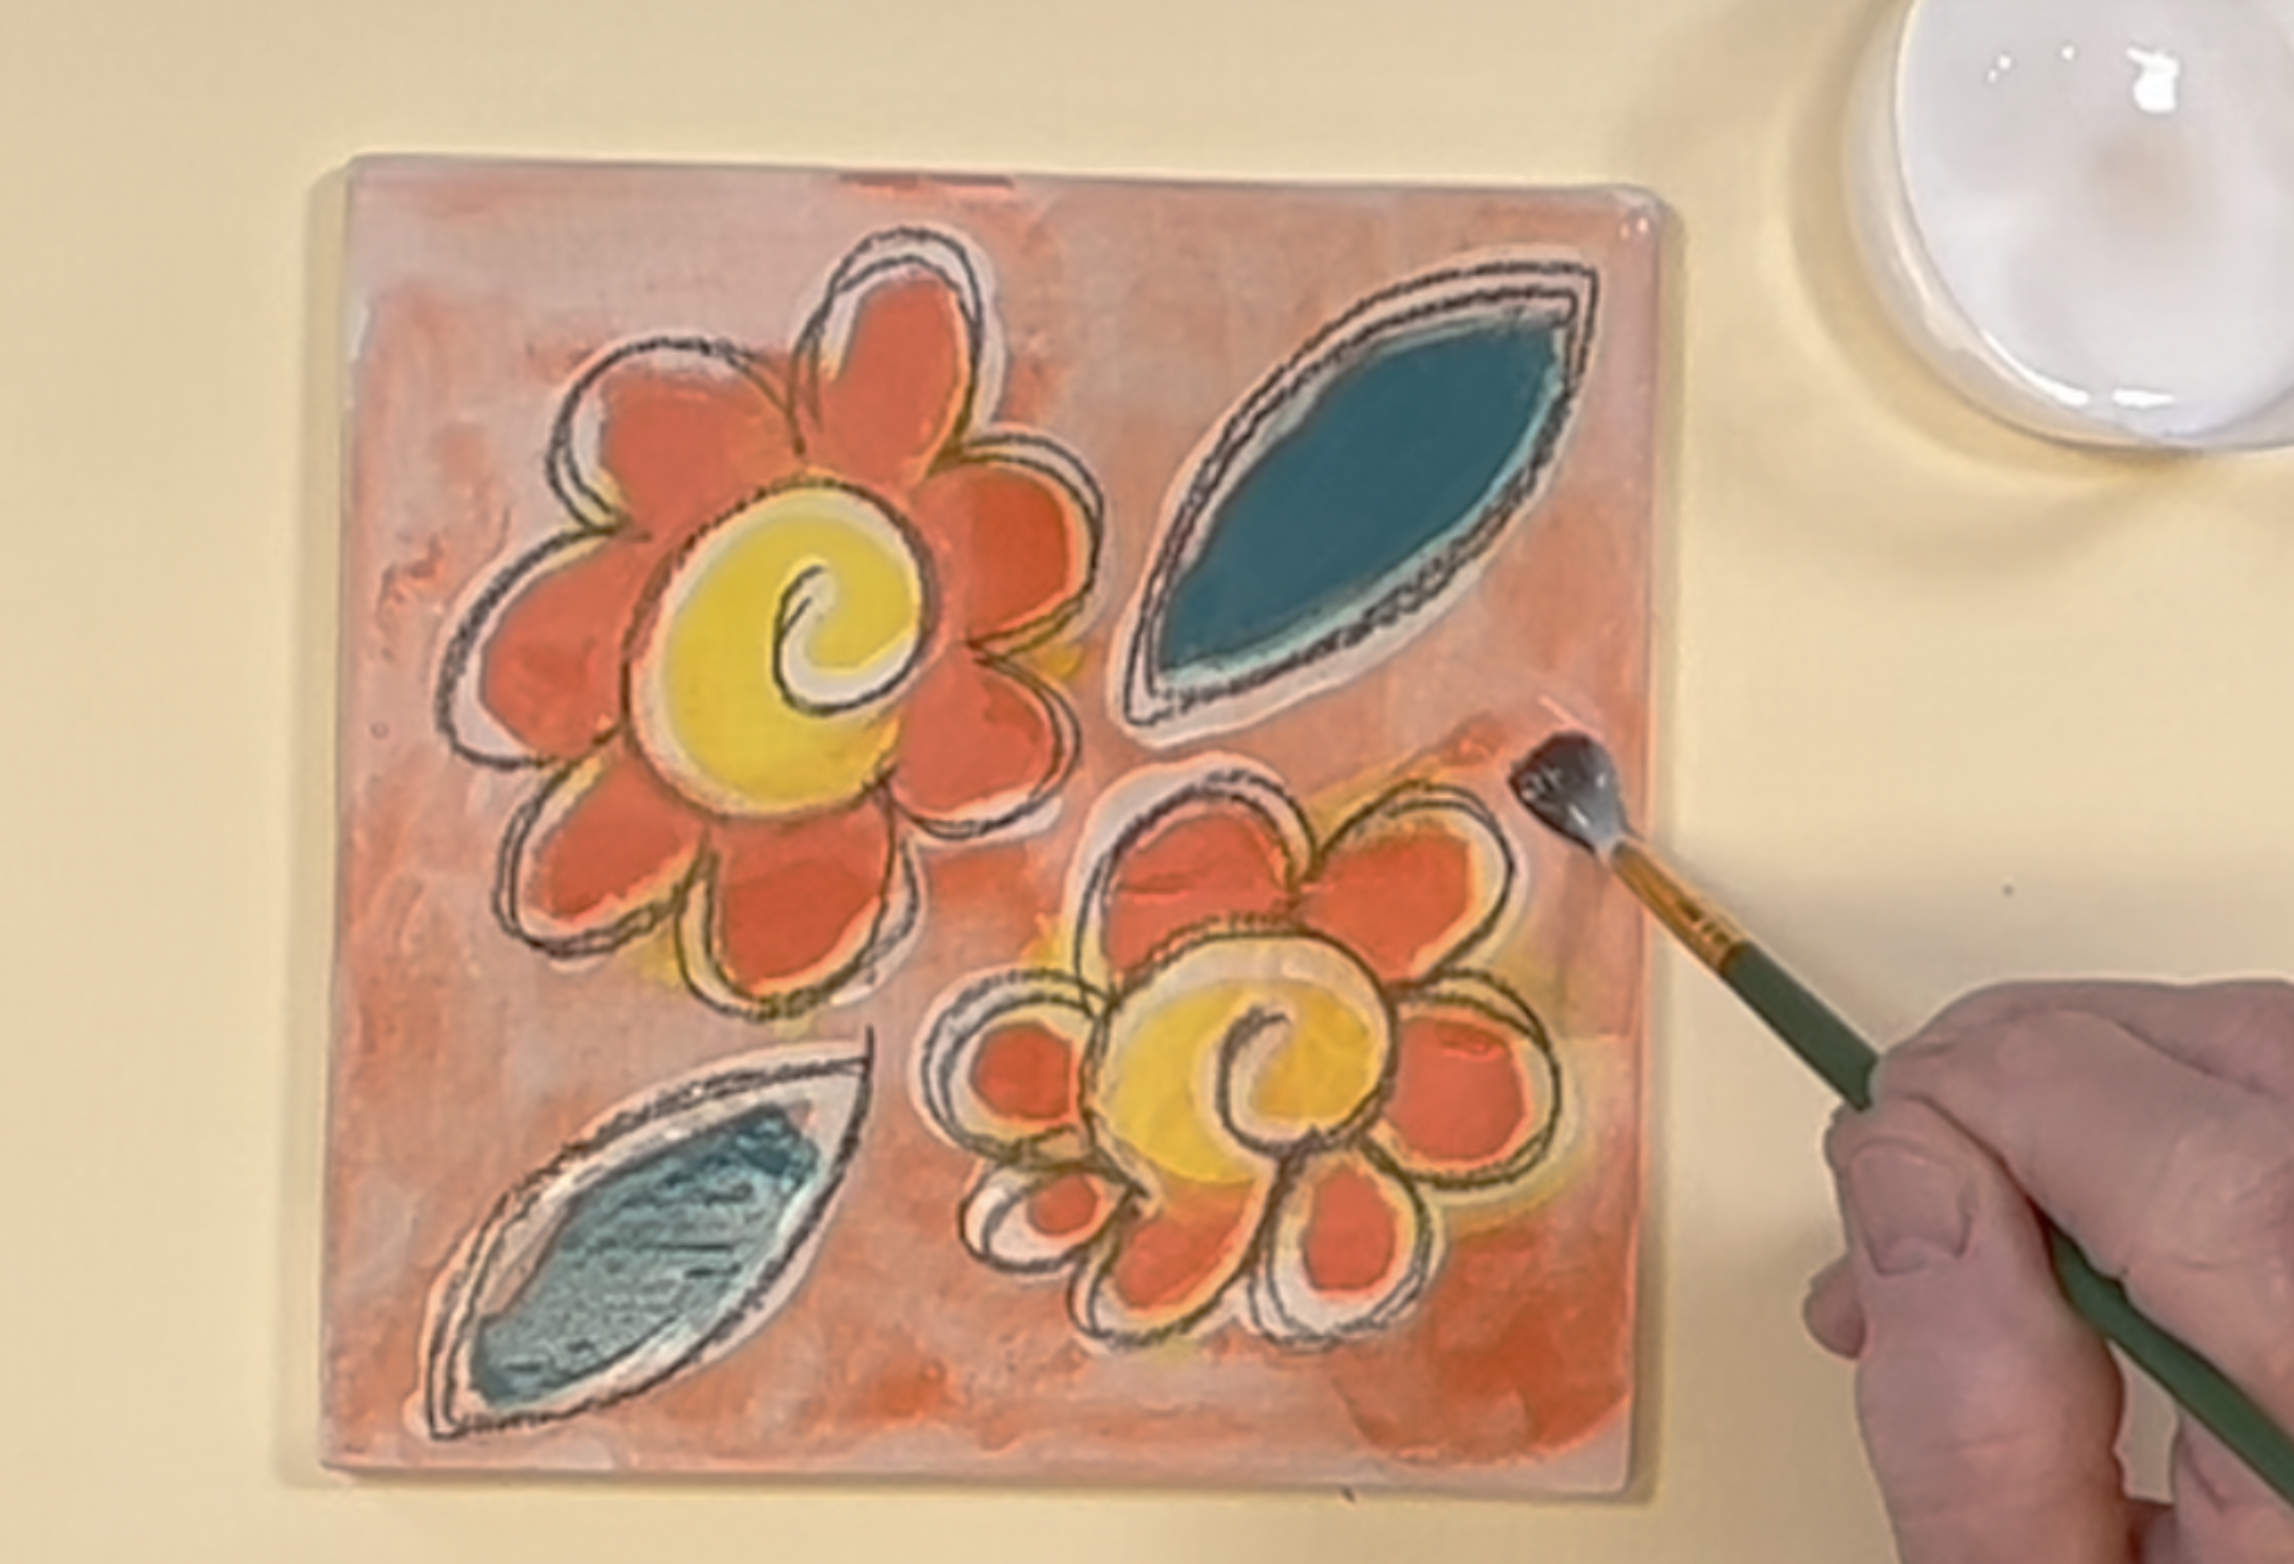
Let the water dry. Paint white glue on the background leaving a small space around the design.
Create Contrast with Black Underglaze
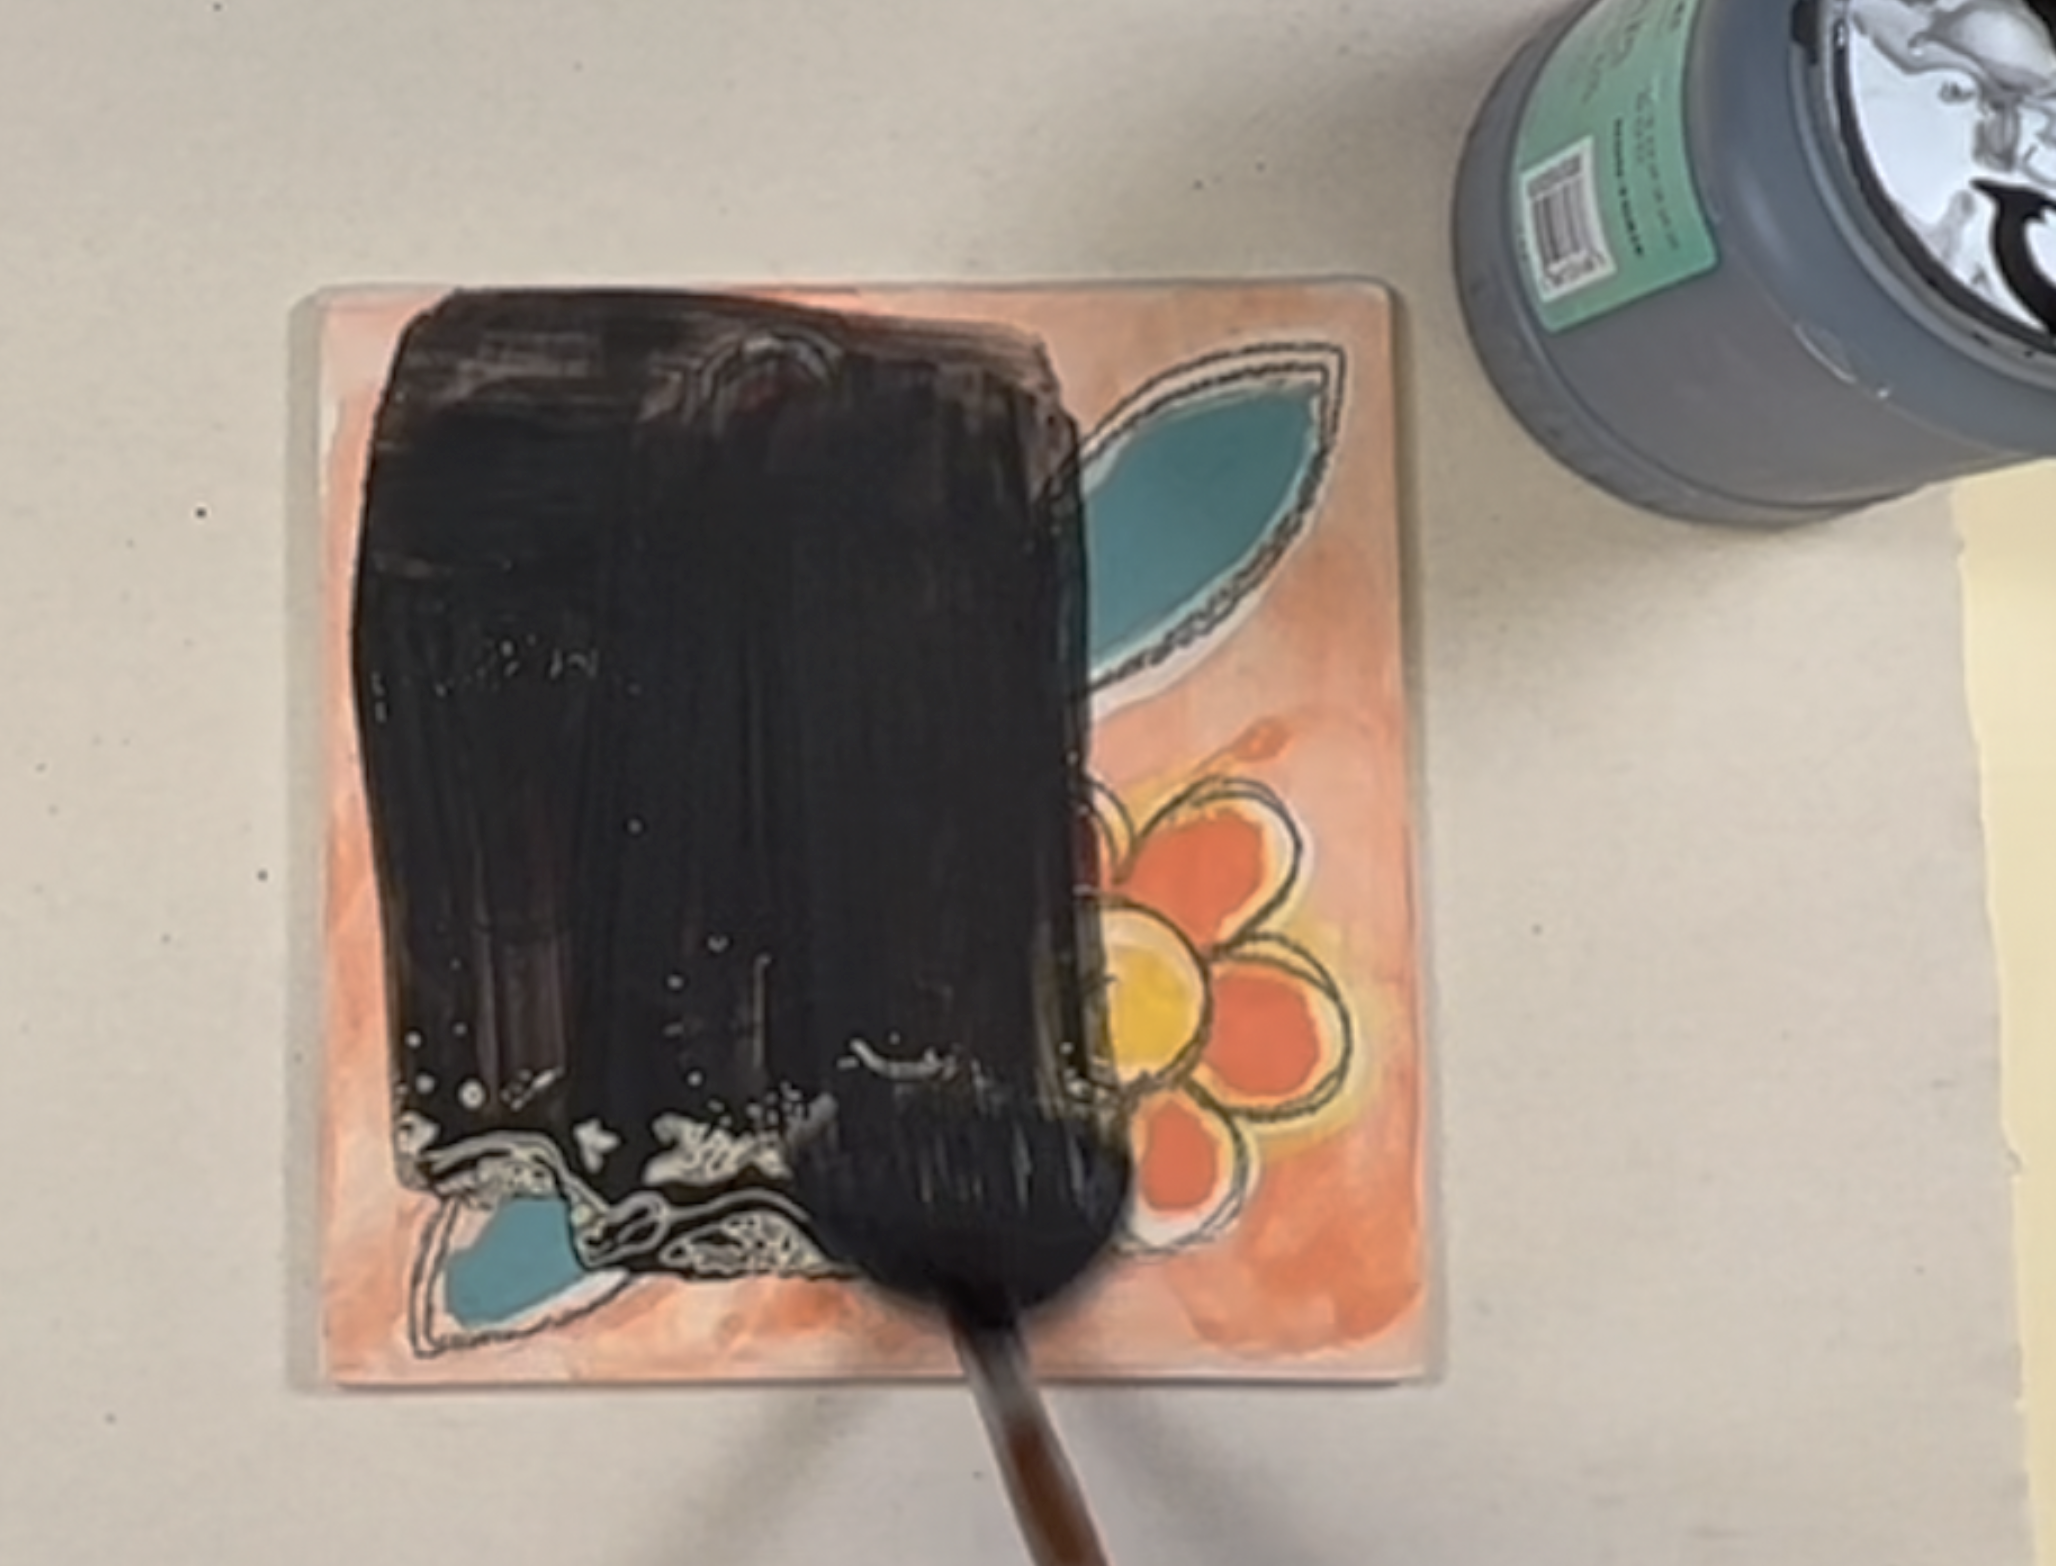
Brush on a coat of Jet Black Velvet Underglaze (or another contrasting color of Velvet Underglaze) and let it sit on the surface for a couple of minutes.
Rinse Excess Underglaze
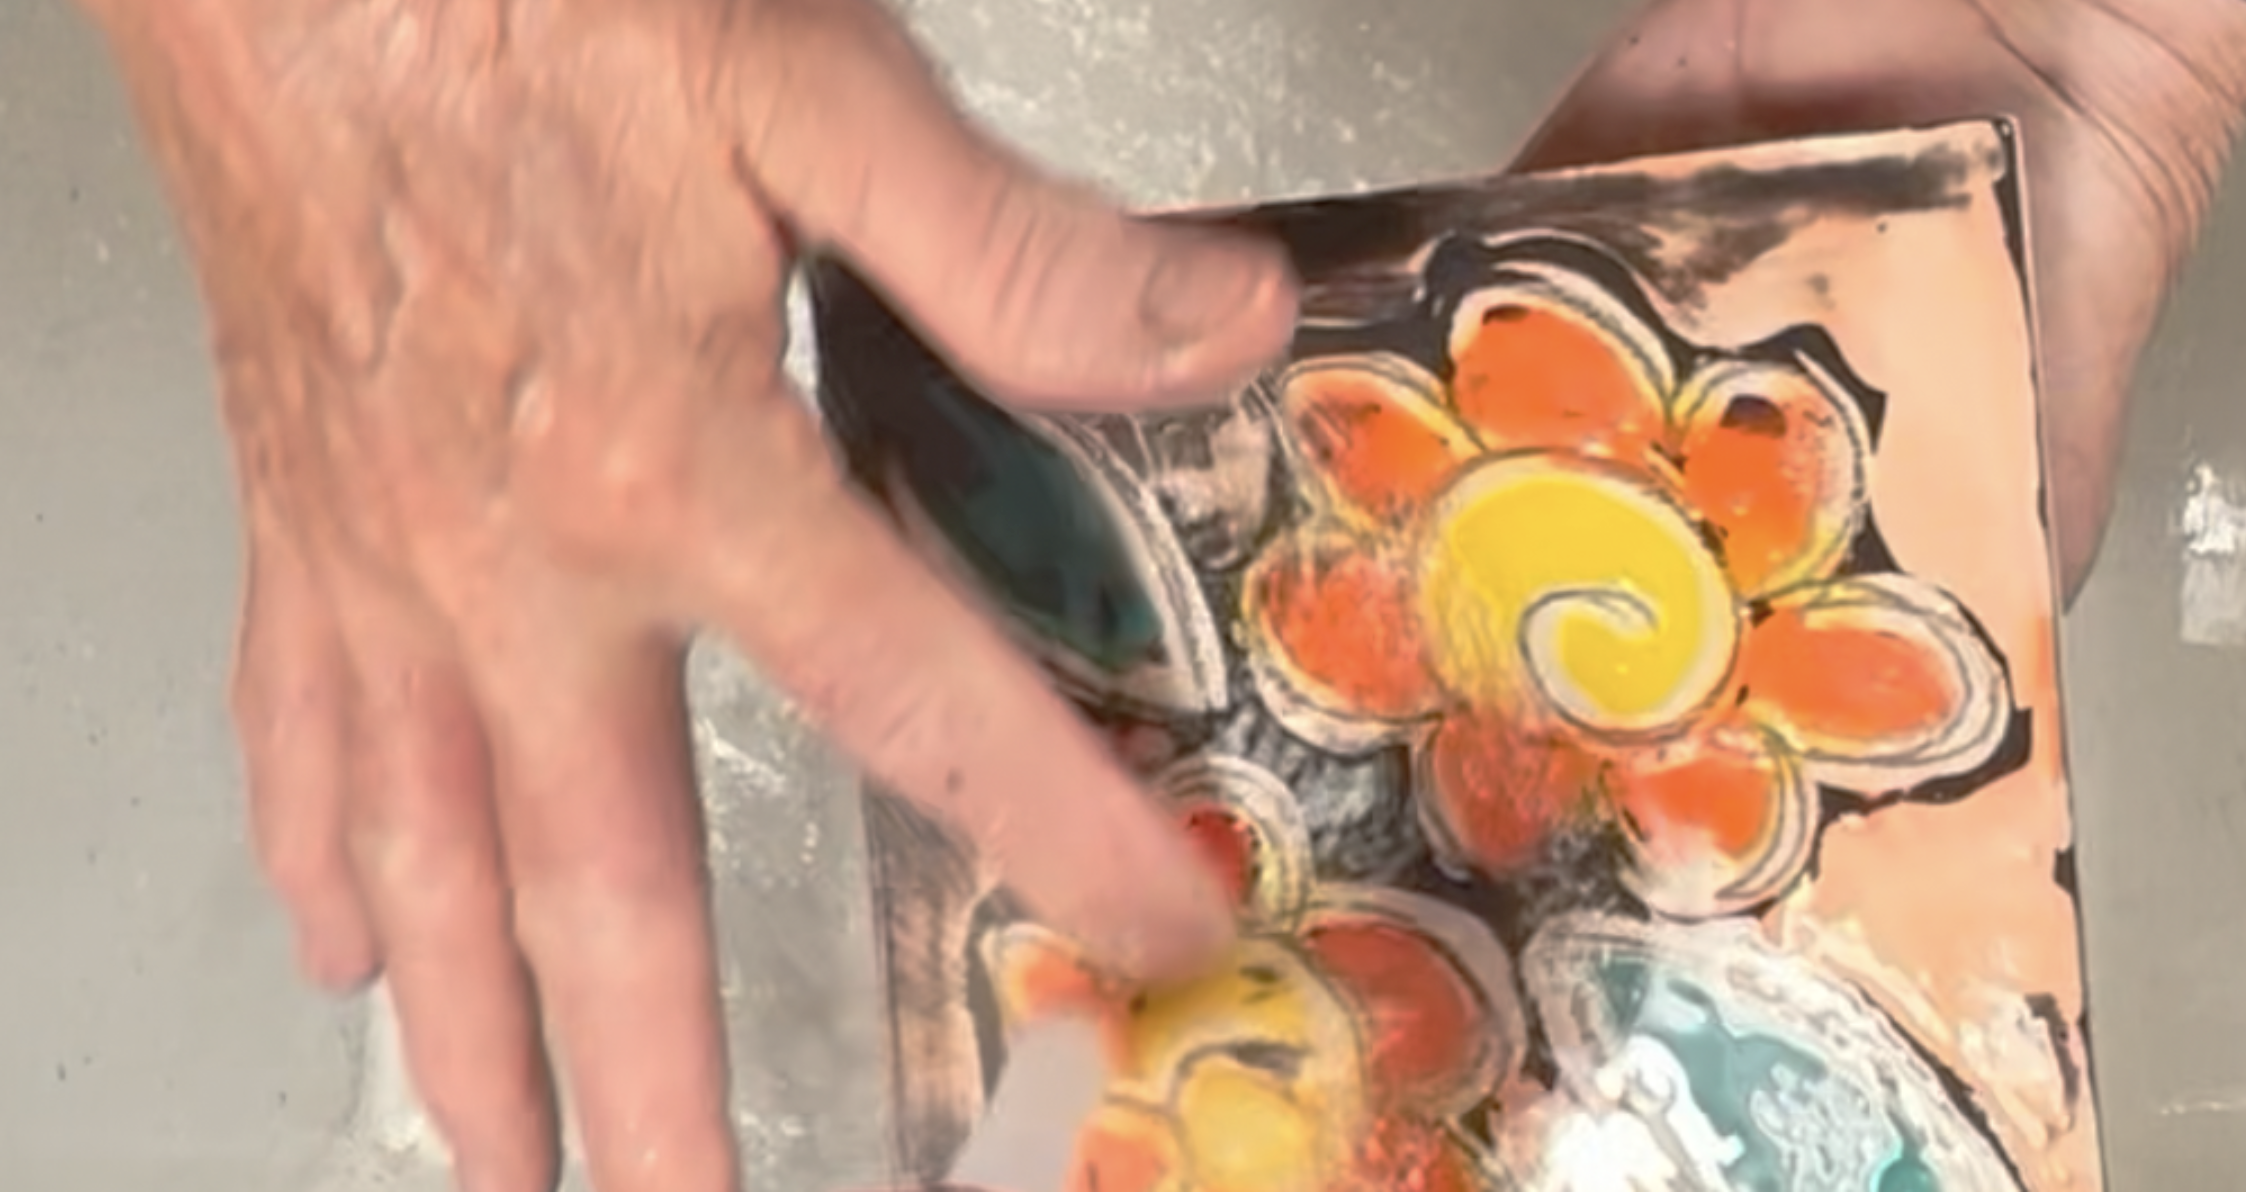
Hold the tile under running water to rinse off the excess underglaze.
Fire & Glaze
Fire unglazed tile to Cone 06-04 to “burn off” the resist (with bisque or low-fire glaze load). Apply AMACO LG-10 Clear Transparent Glaze and fire to Cone 05 at medium speed.
Presentations
Download step-by-step slideshow presentations here:
Similar Lesson Plans


