


Colorful Stencil Tile

Ever wanted to try two types of art making at once? Now you can with our Ceramic Printing Inks! Give printmaking a try while still keeping the ceramic medium. With so many patterns and colors, the opportunities are endless! With 8 simple steps, you could have a beautifully printed tile wall in no time!
Supplies List
- AMACO Ceramic Printing Inks
- Lead Pencil
- Plastic Stencil
- Low Fire Bisque Tile
- Paintbrush or Sponge
- AMACO LG-10 Clear Transparent

Mark the Tile Center
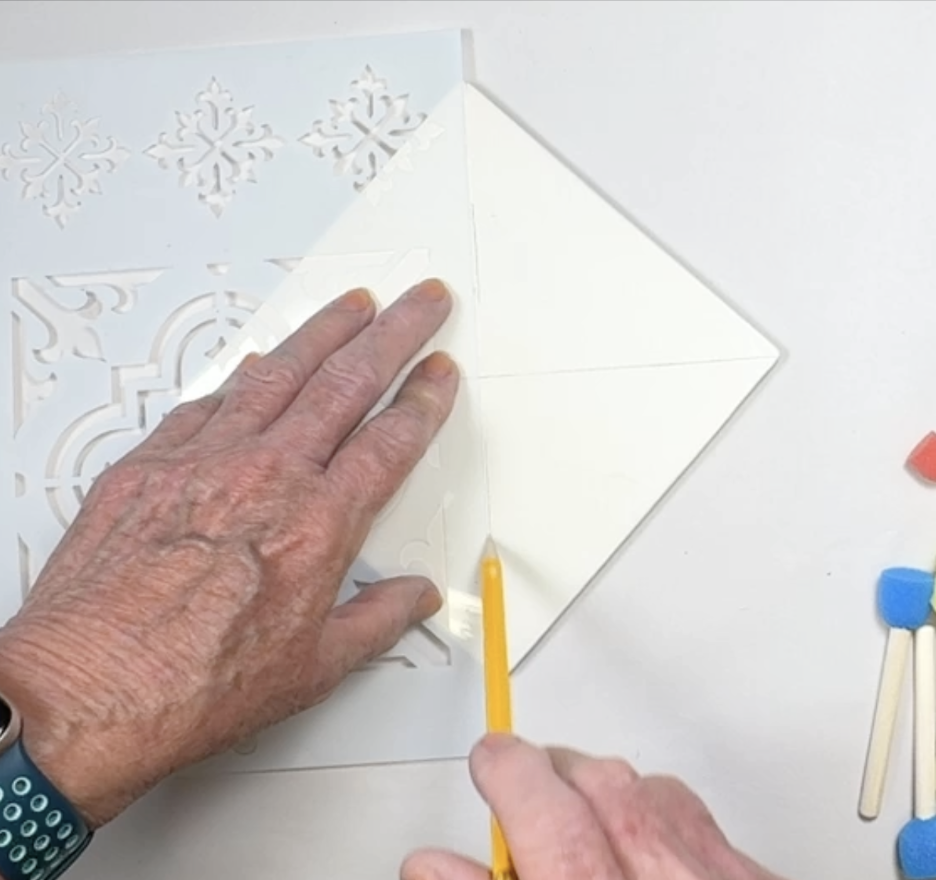
Draw a diagonal line from corner to corner with a pencil on a bisqued tile, creating an X.
Position the Stencil
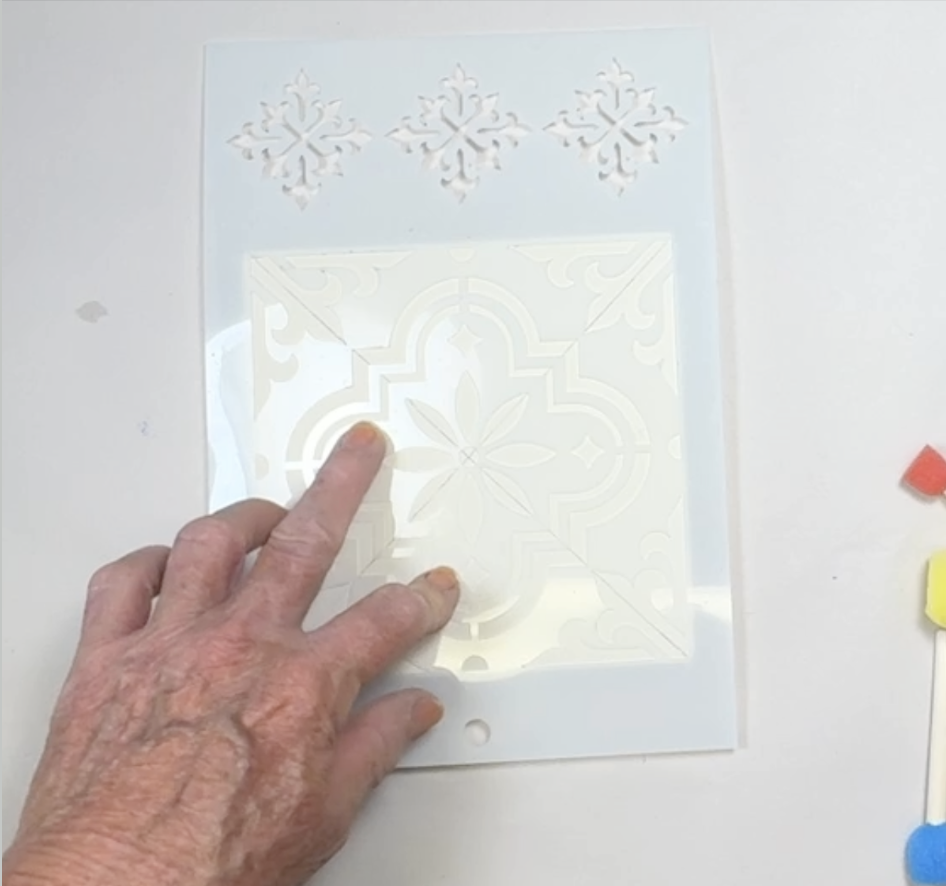
Center your stencil on the tile.
Choose Your Printing Tool
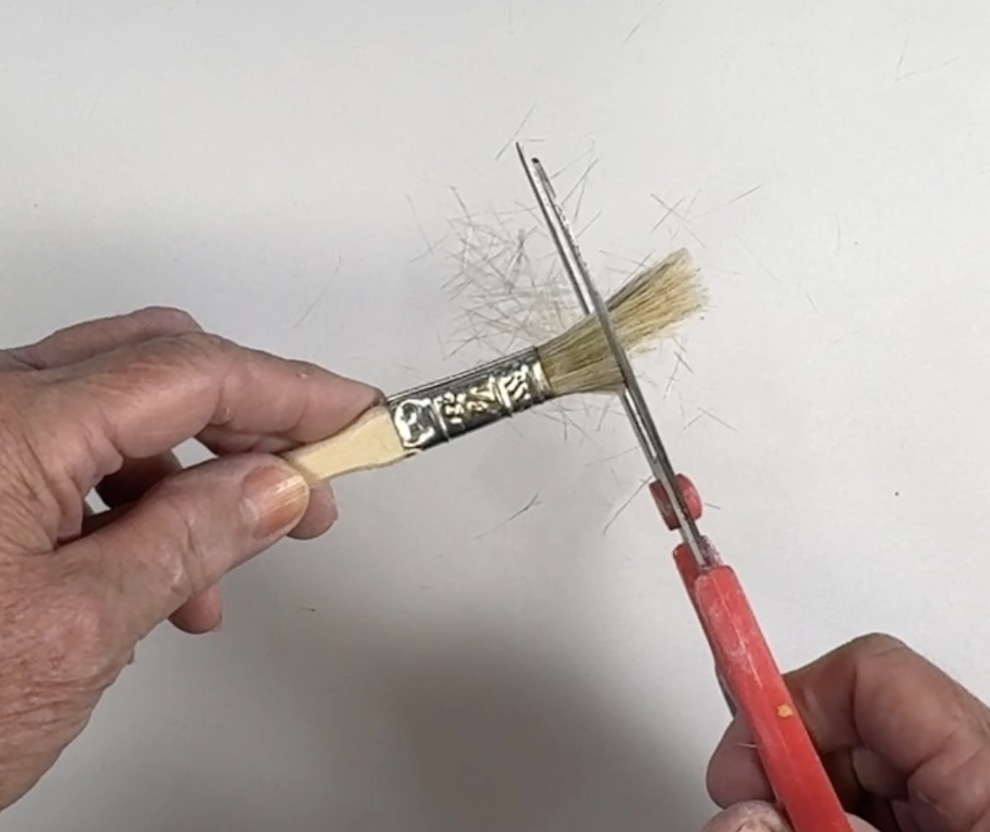
Buy a stencil brush, or make your own. You can also use a small sponge.
Apply the First Color
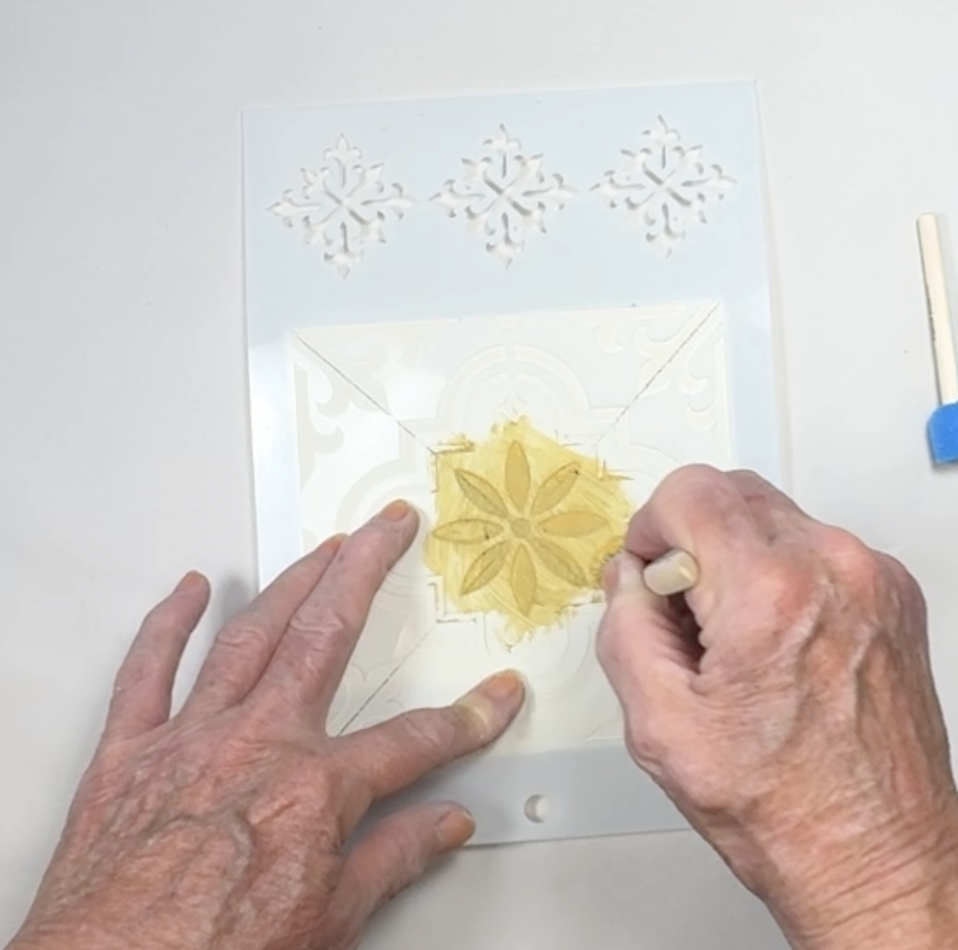
Use a stencil brush or small sponge to apply AMACO Ceramic Printing INKs.
Blend & Layer Colors
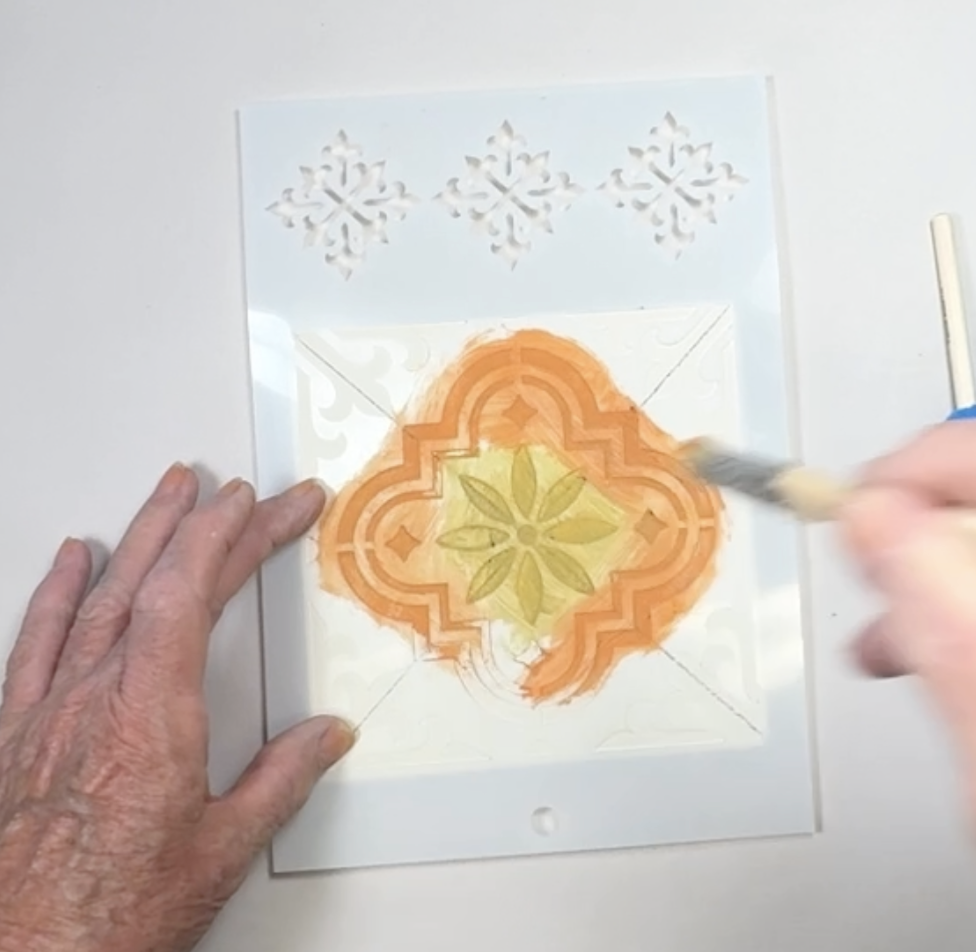
Colors can be blended!
Complete the Design
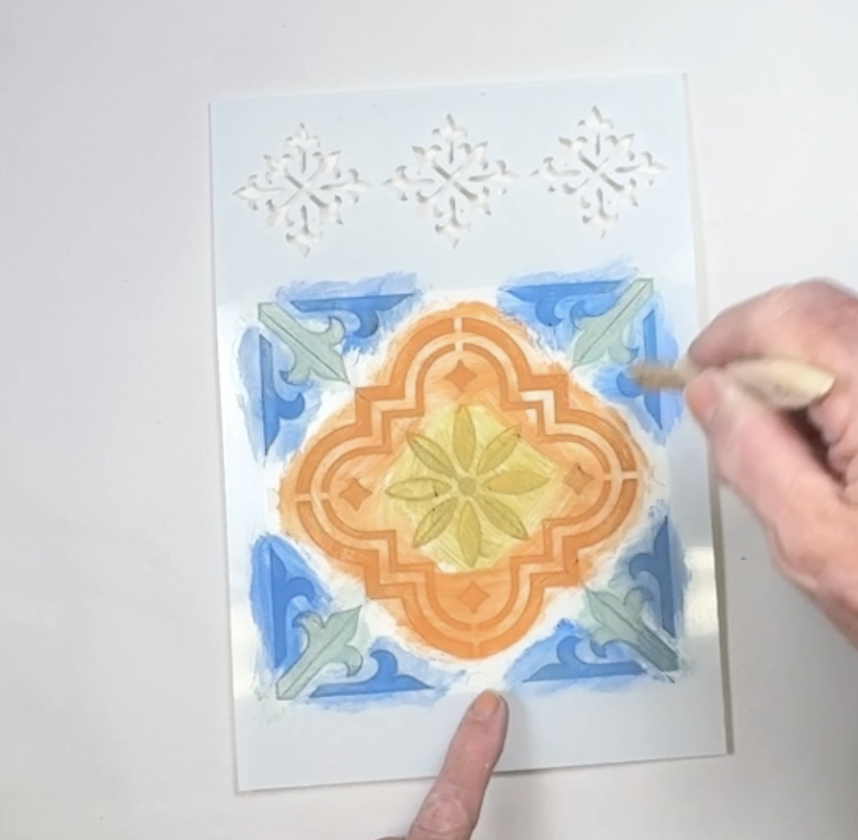
Add as many additional colors as you would like.
Glaze the Tile
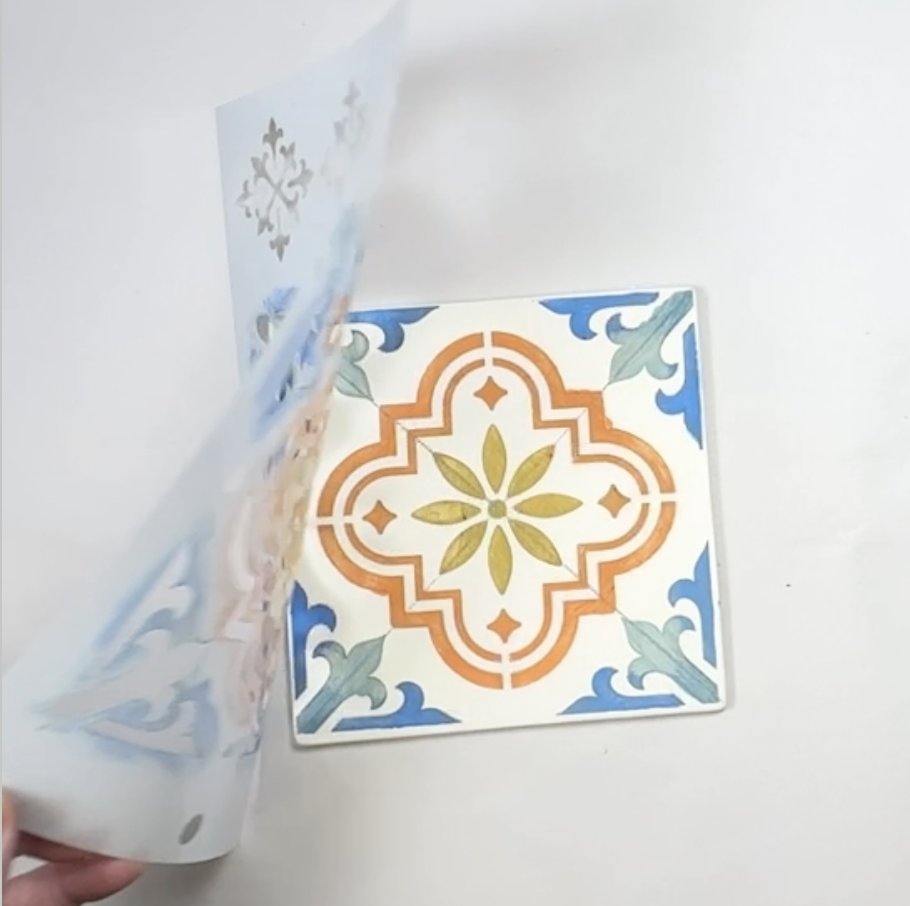
Remove the stencil and add 3 coats of AMACO LG-10 Clear Transparent.
Fire to Finish
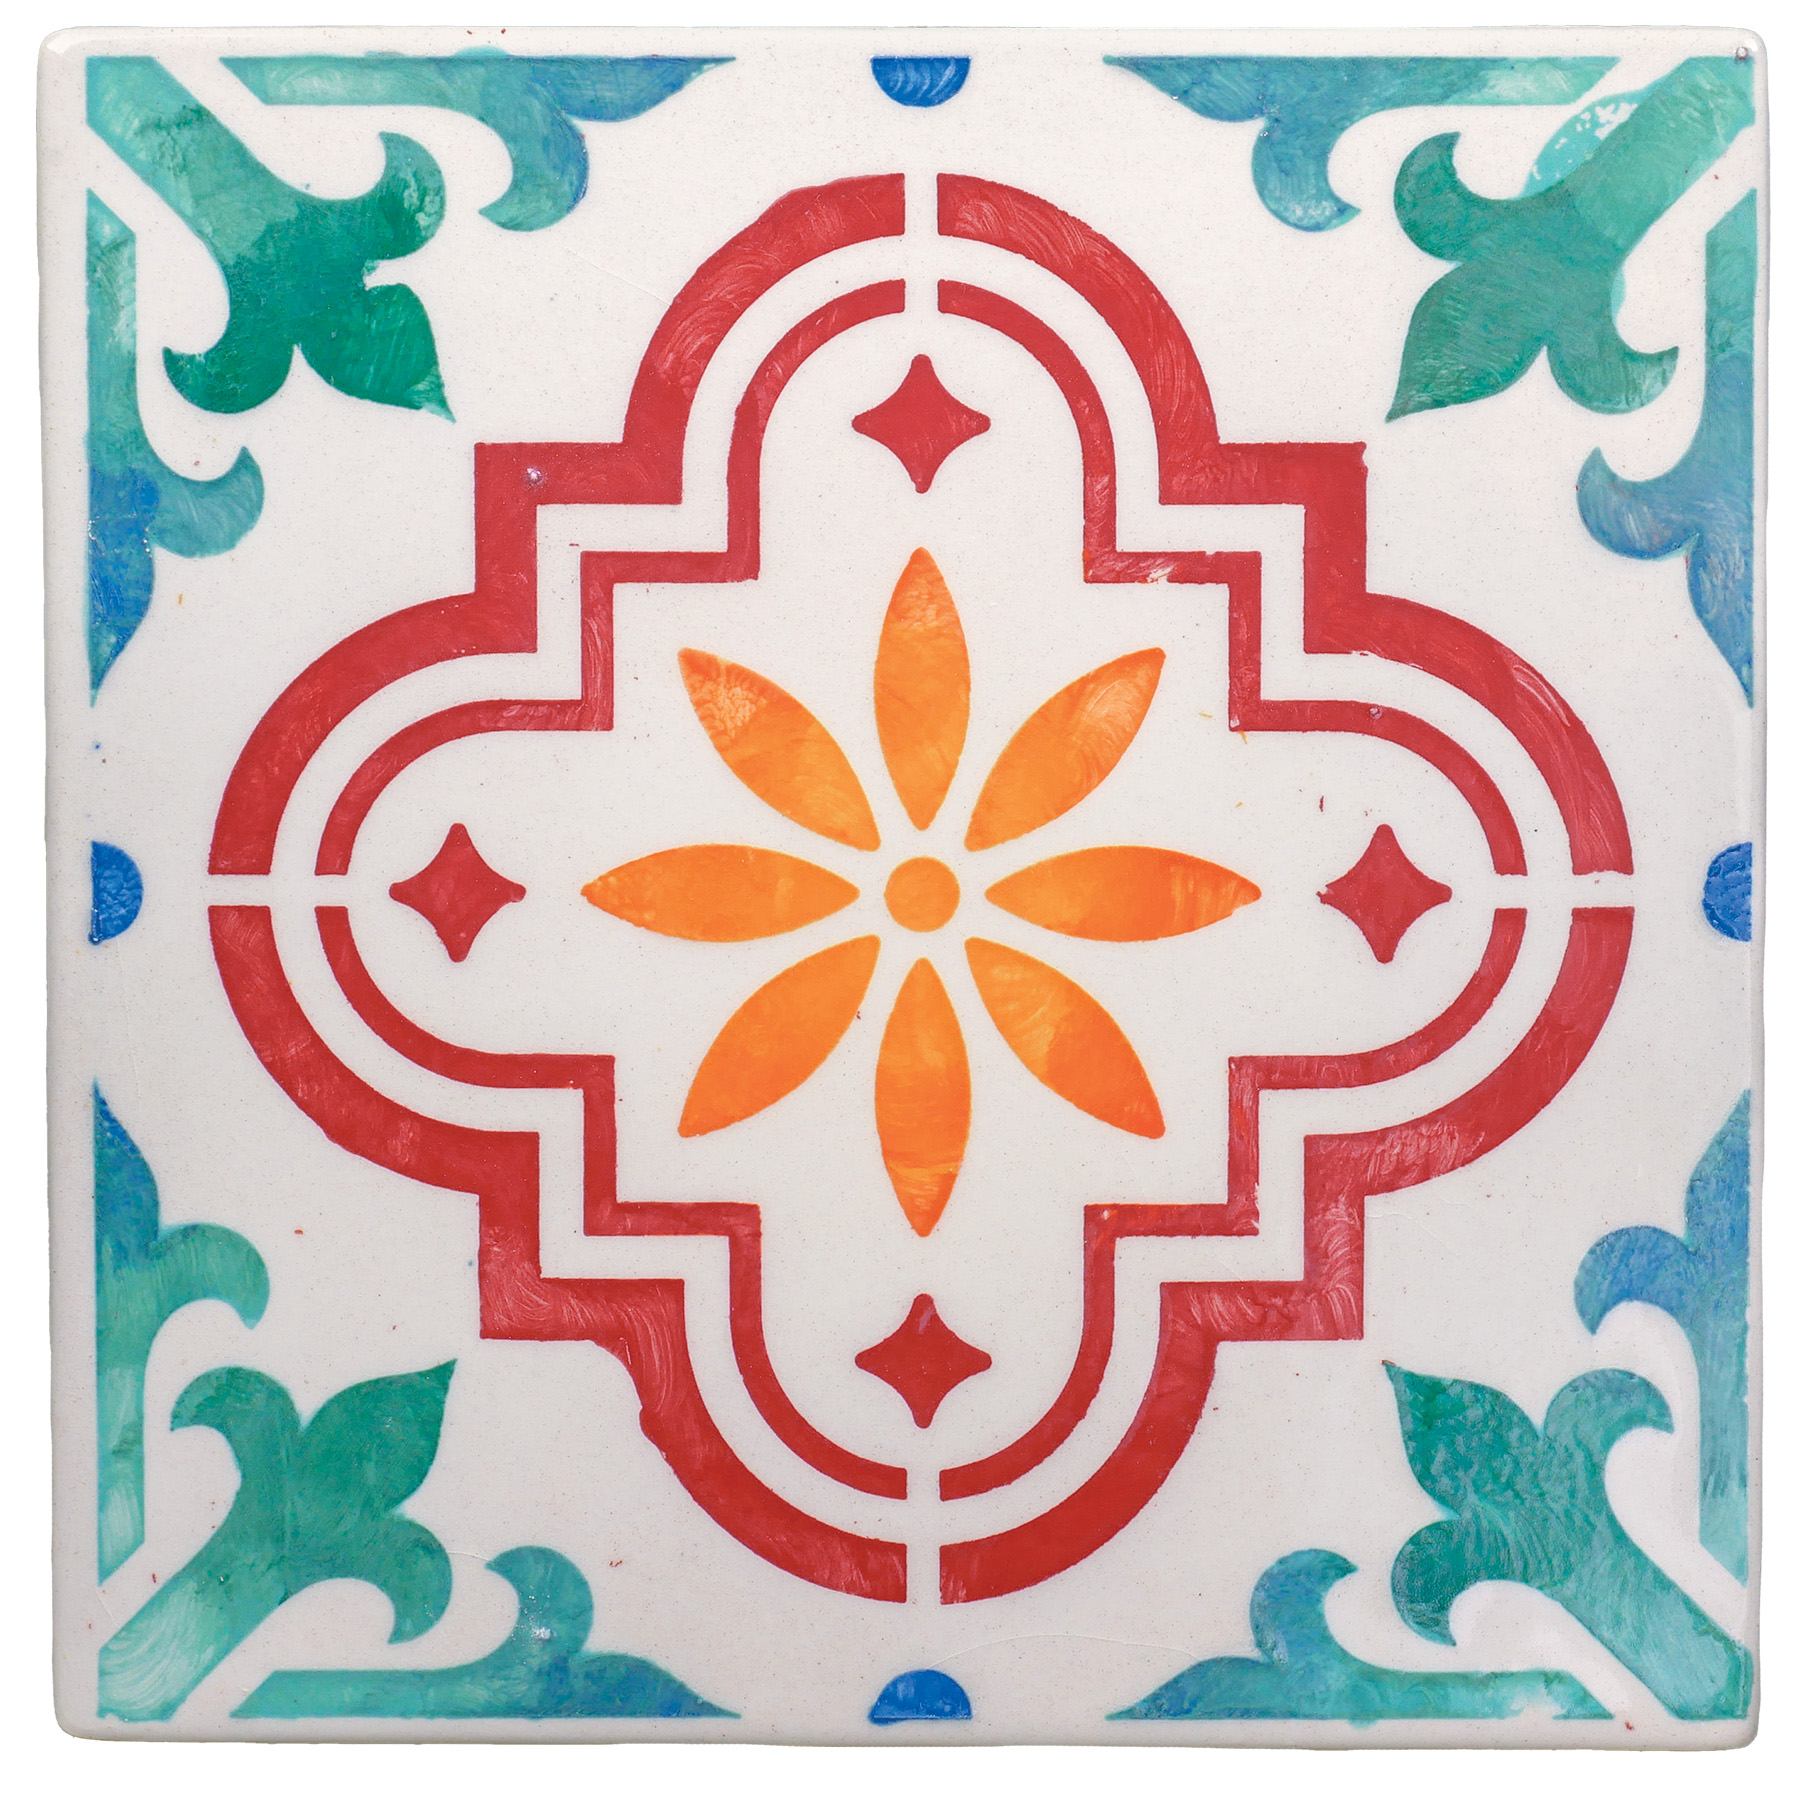
Fire tile to Cone 05.
Video
Presentations
Download step-by-step slideshow presentations here:
Similar Lesson Plans


