


Printmaking on Bisque

Discover a simple and creative way to combine printmaking and ceramics! In this lesson, students design custom craft foam stamps and use AMACO Ceramic Printing Inks to create layered prints on bisque tiles and cups. Explore color, pattern, and composition while building confidence with ceramic surface decoration techniques.
Supplies List
- AMACO Ceramic Printing INKs
- LG-10 Clear Transparent
- 6x6 Bisque Tile
- Bisque Cup w/ Straight Sides
- Adhesive Craft Foam
- Thick Craft Foam
- Scissors
- Sponges
- Small Paper Plates
- Newspaper
- Baby Wipes
- Silkscreens or Stencils

Goals & Objectives
In this lesson, you will explore surface decoration by using AMACO Ceramic Inks and handmade craft foam stamps to create layered designs on bisque tiles and objects.
This process allows you to experiment with stamping patterns and motifs onto bisque surfaces, learning how to build visual depth through layering, overlapping, and color variation. Once the printed designs are dry, you can apply a transparent or semi-transparent glaze to reveal how colors interact beneath and above the glaze layer, emphasizing the relationship between texture, translucency, and design.
Bisque Tile
Prepare the Craft Foam
Cut the craft foam and adhesive craft foam into three sizes: 3"x3", 1.5"x3", and 2"x2". You should be left with 3 thick foam pieces and 3 adhesive foam pieces.
Create the Stamps
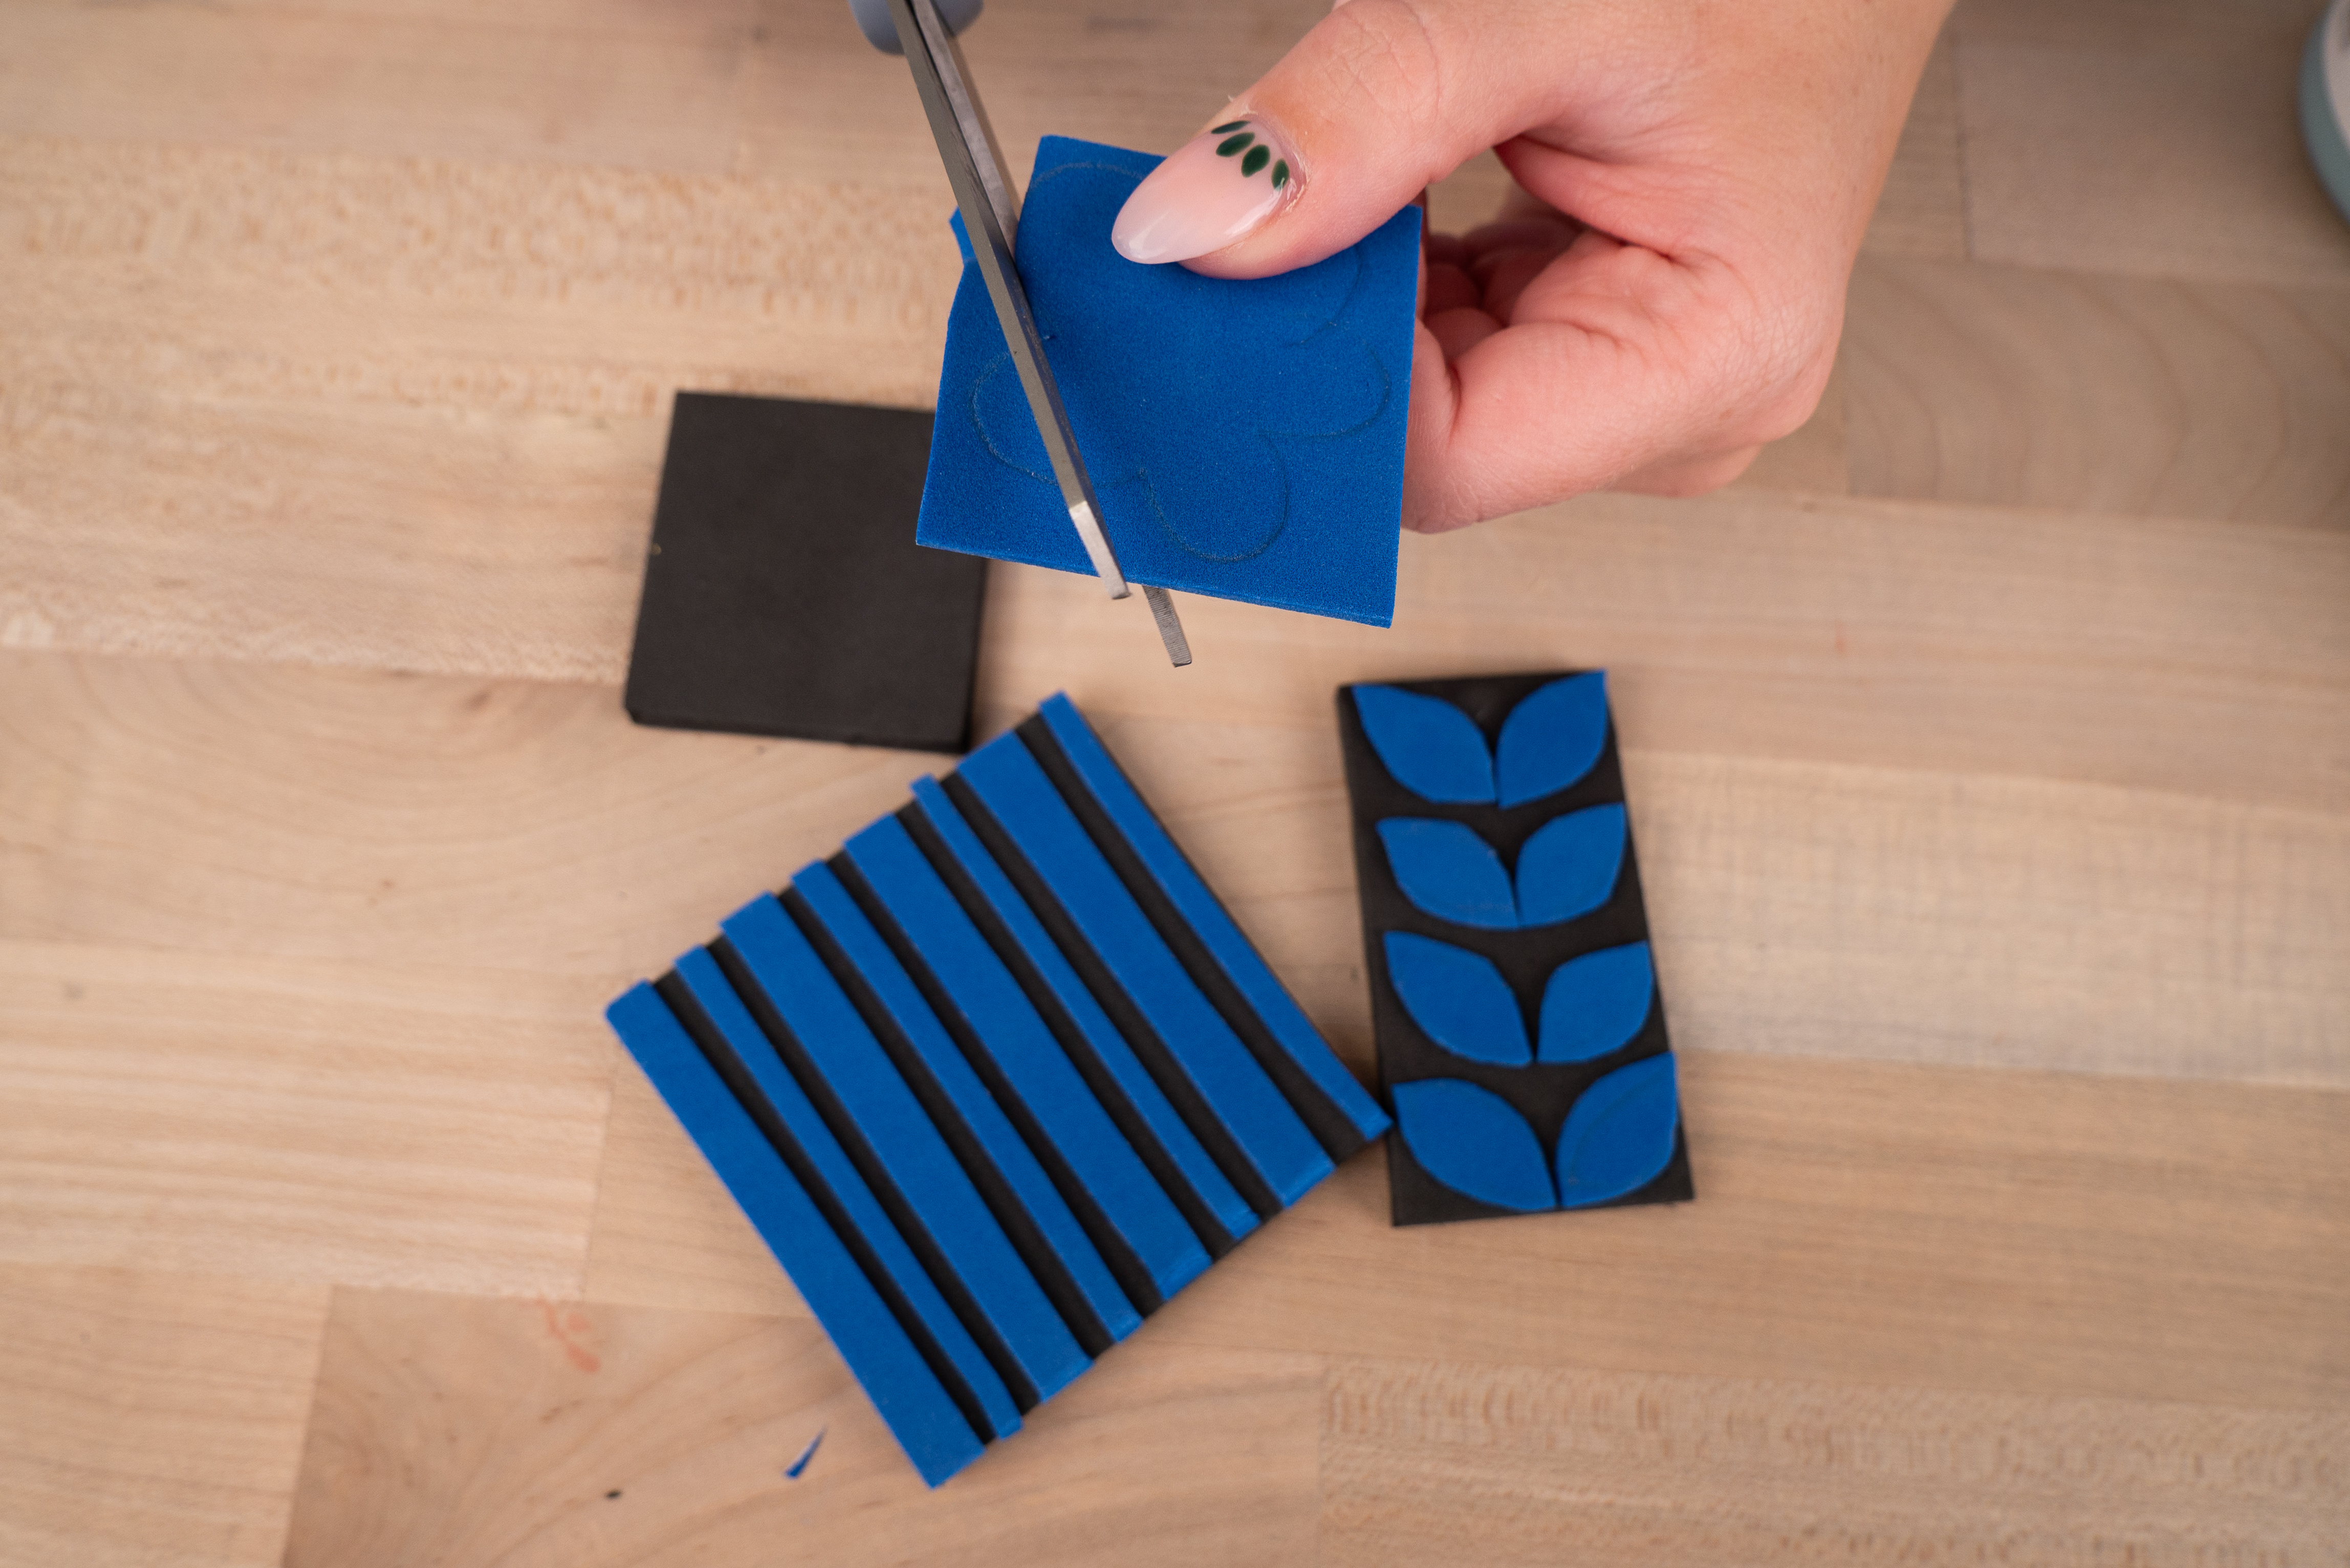
Cut the adhesive foam into small, simple shapes. Stick the shapes to your thick foam to create stamps. The largest stamp will be used for the background of your design, the medium for the middle ground, and the smallest will be the foreground.
Ink the First Stamp
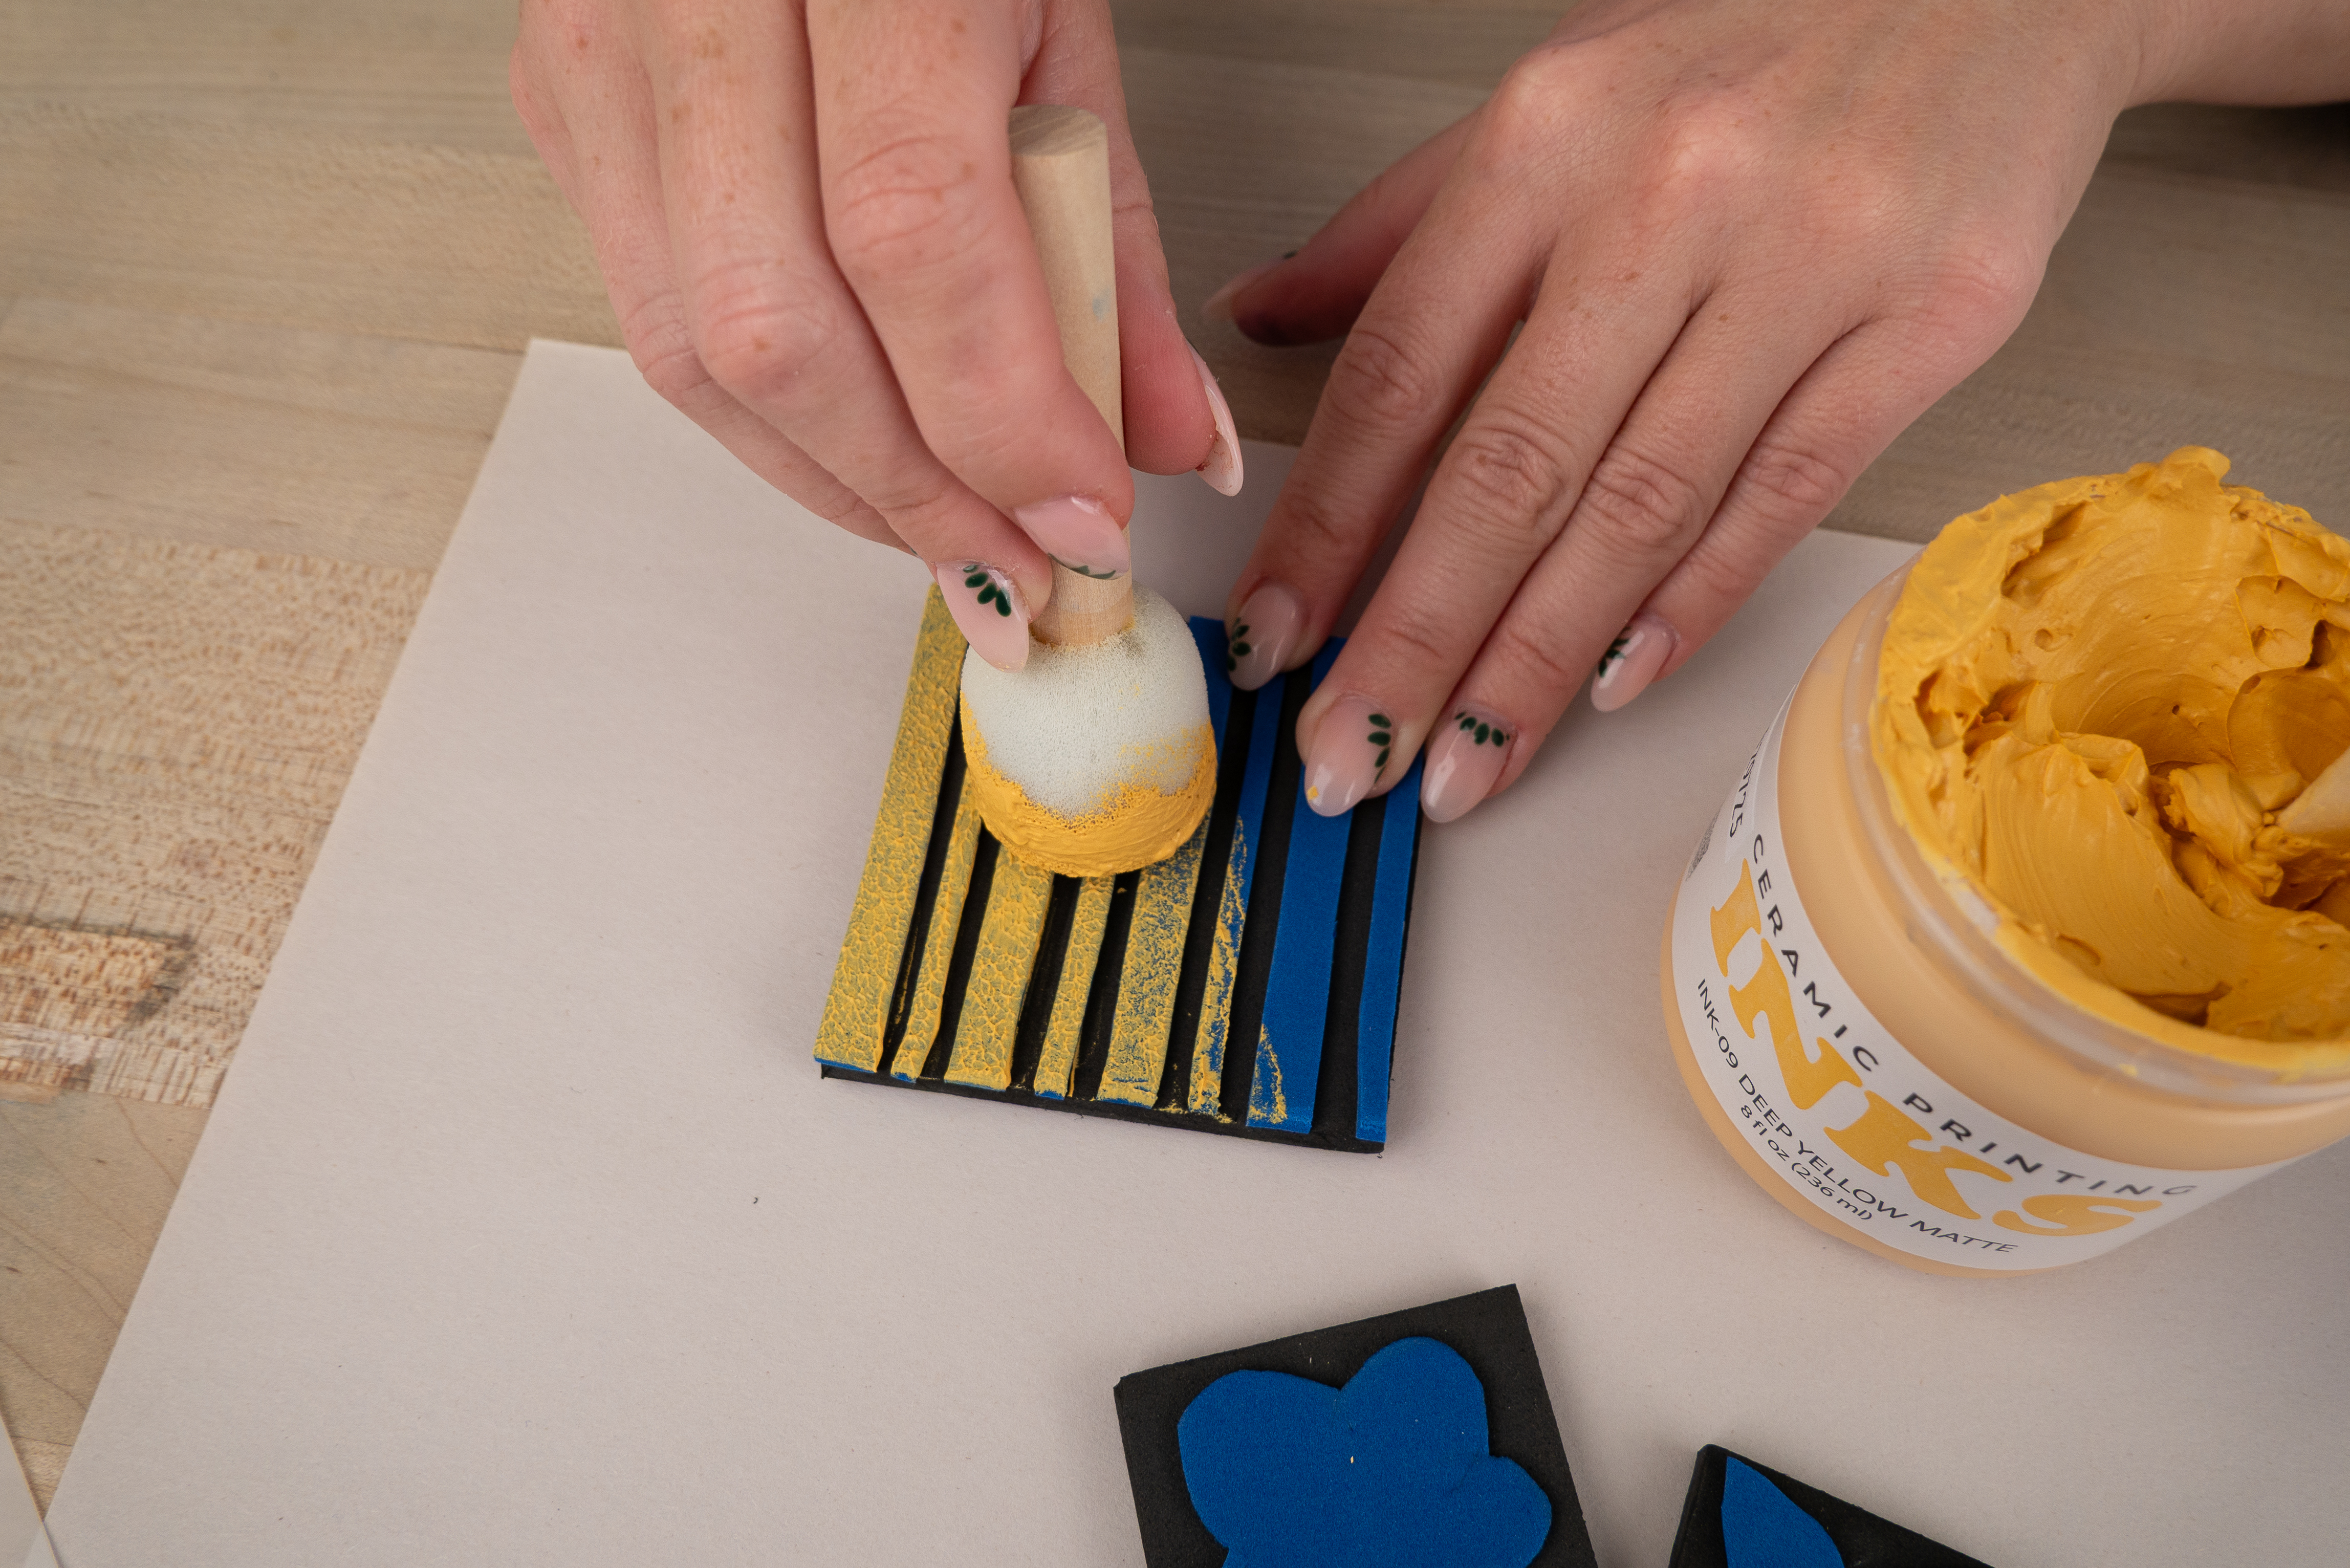
Using a sponge, dab on a thin coat of your lightest Ink to the largest craft foam stamp. You will know you have applied enough when the Ink has covered the color of the adhesive craft foam.
Print the Background
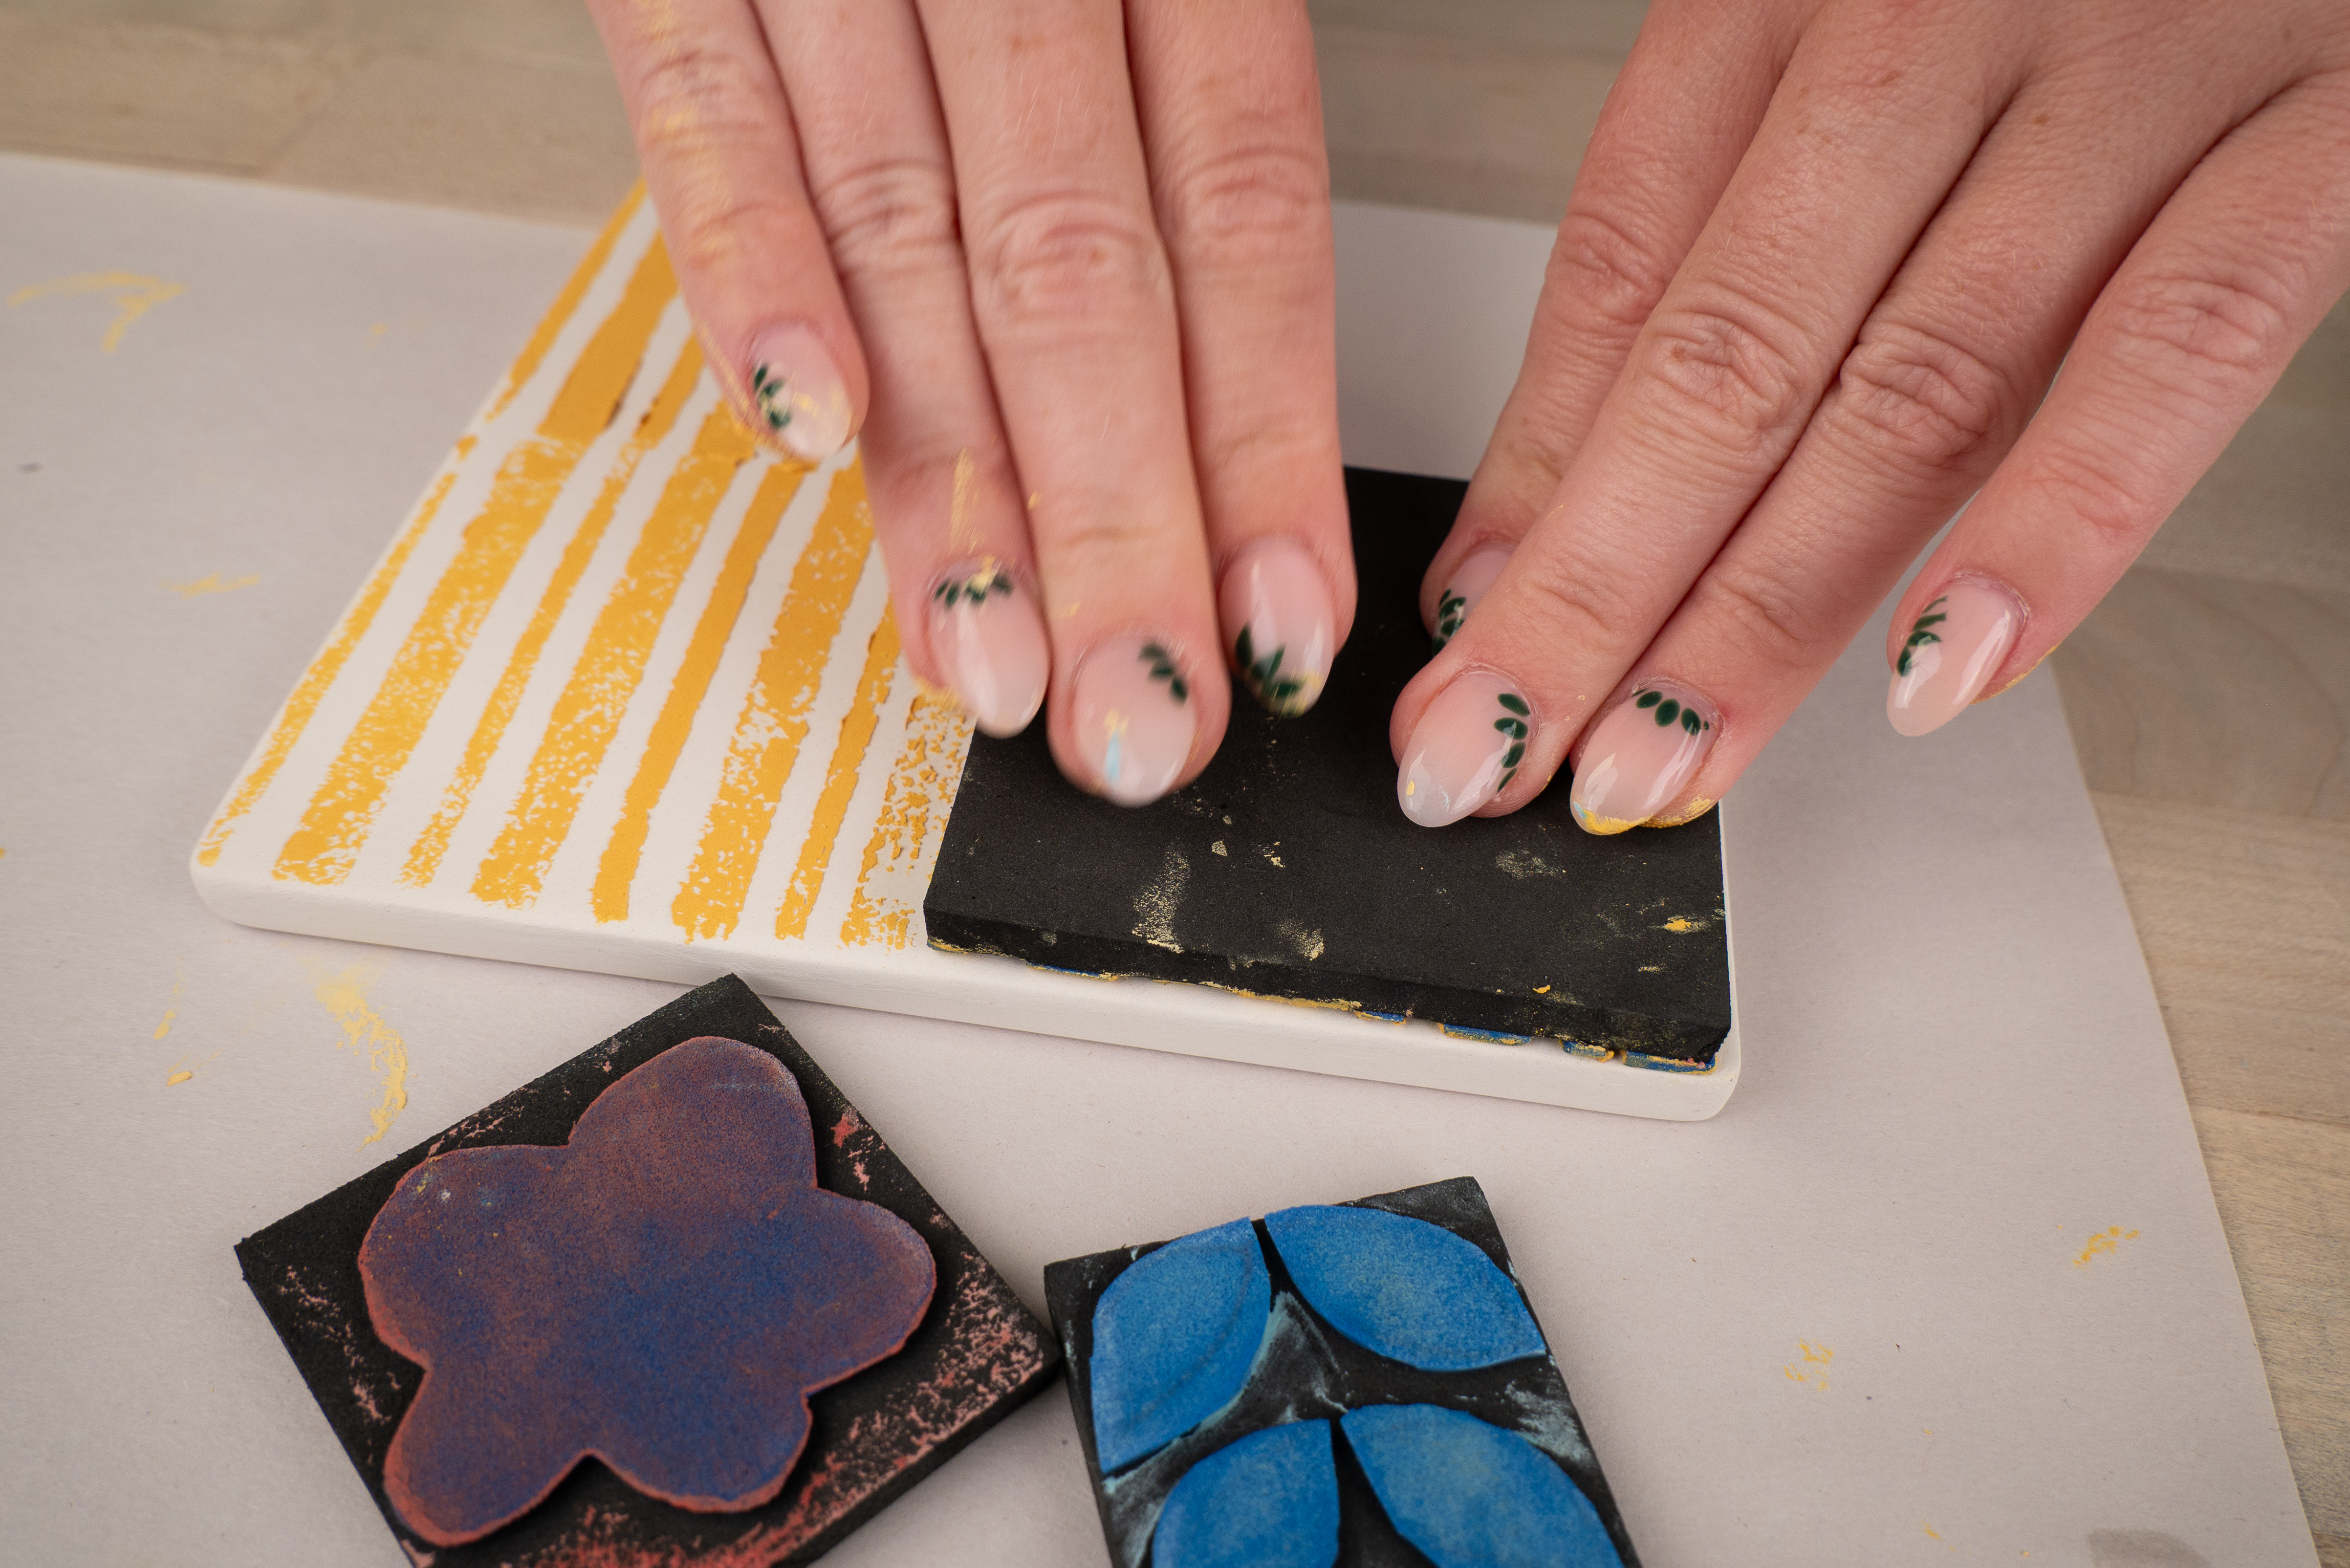
Press your stamp on to the tile to create your background. Repeat as desired.
Ink & Print Middle Ground
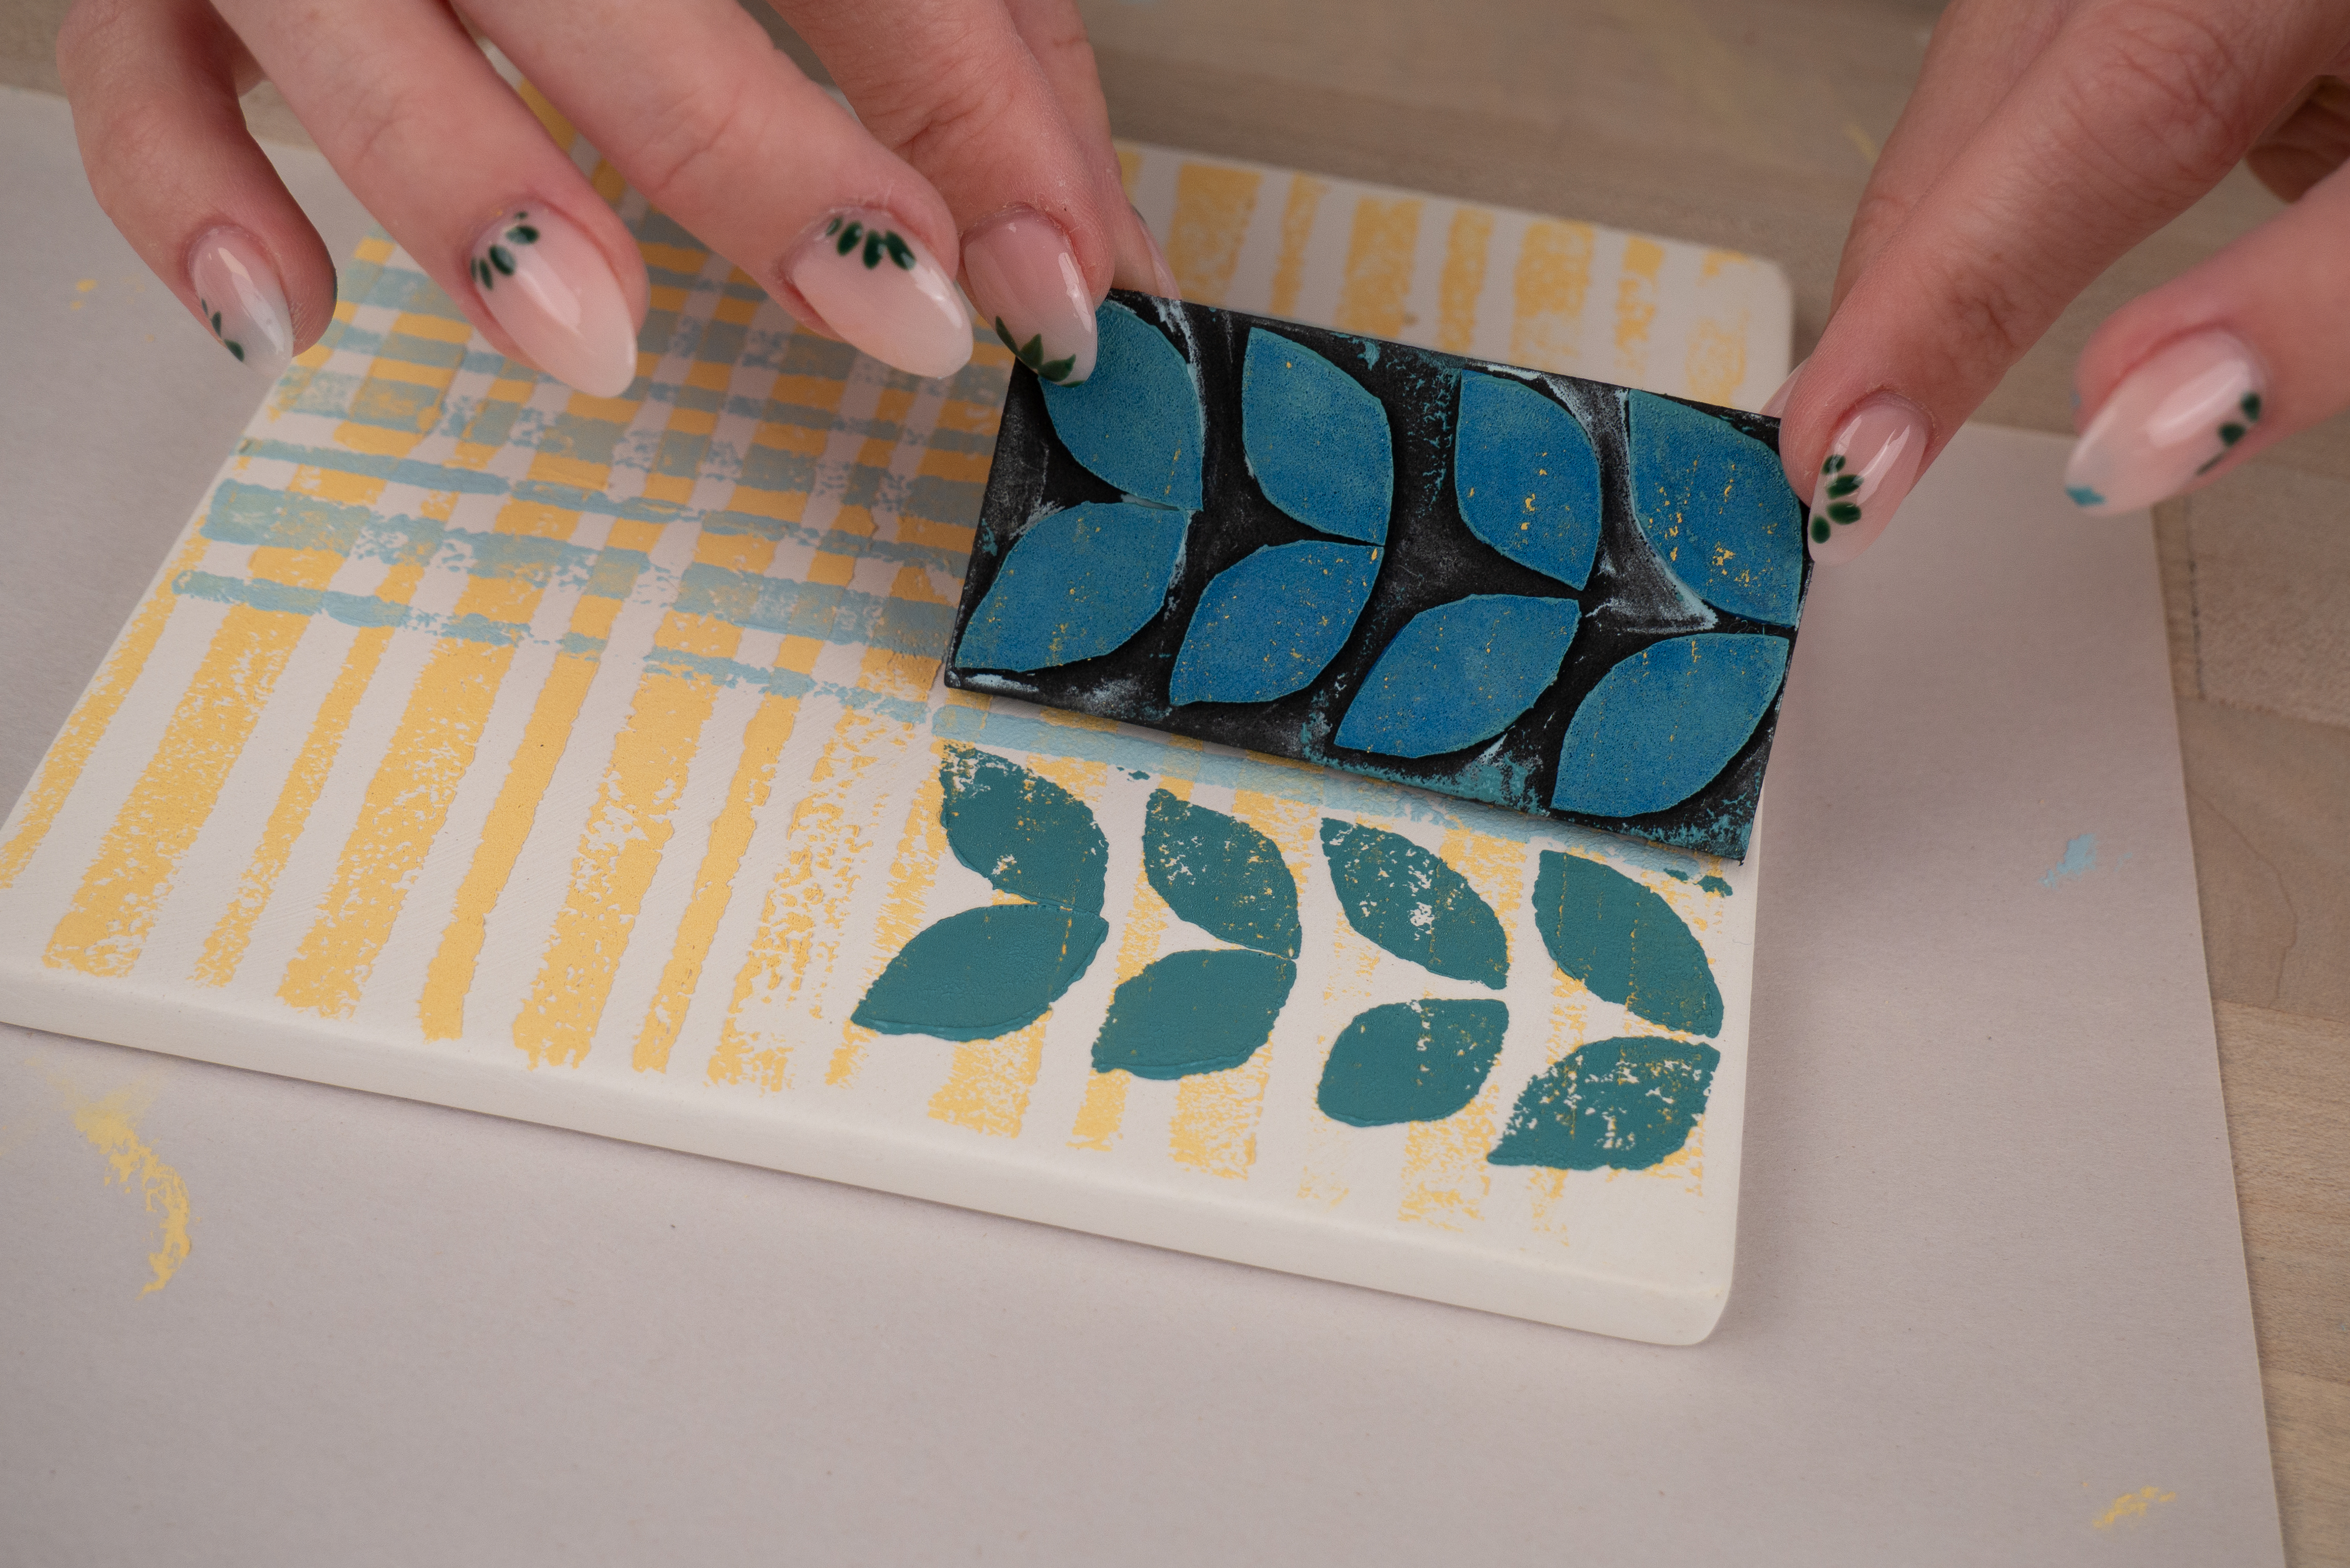
Ink the medium stamp with a darker colored Ink. Press it onto the tile to create the middle ground of the design. Repeat as desired.
Glaze
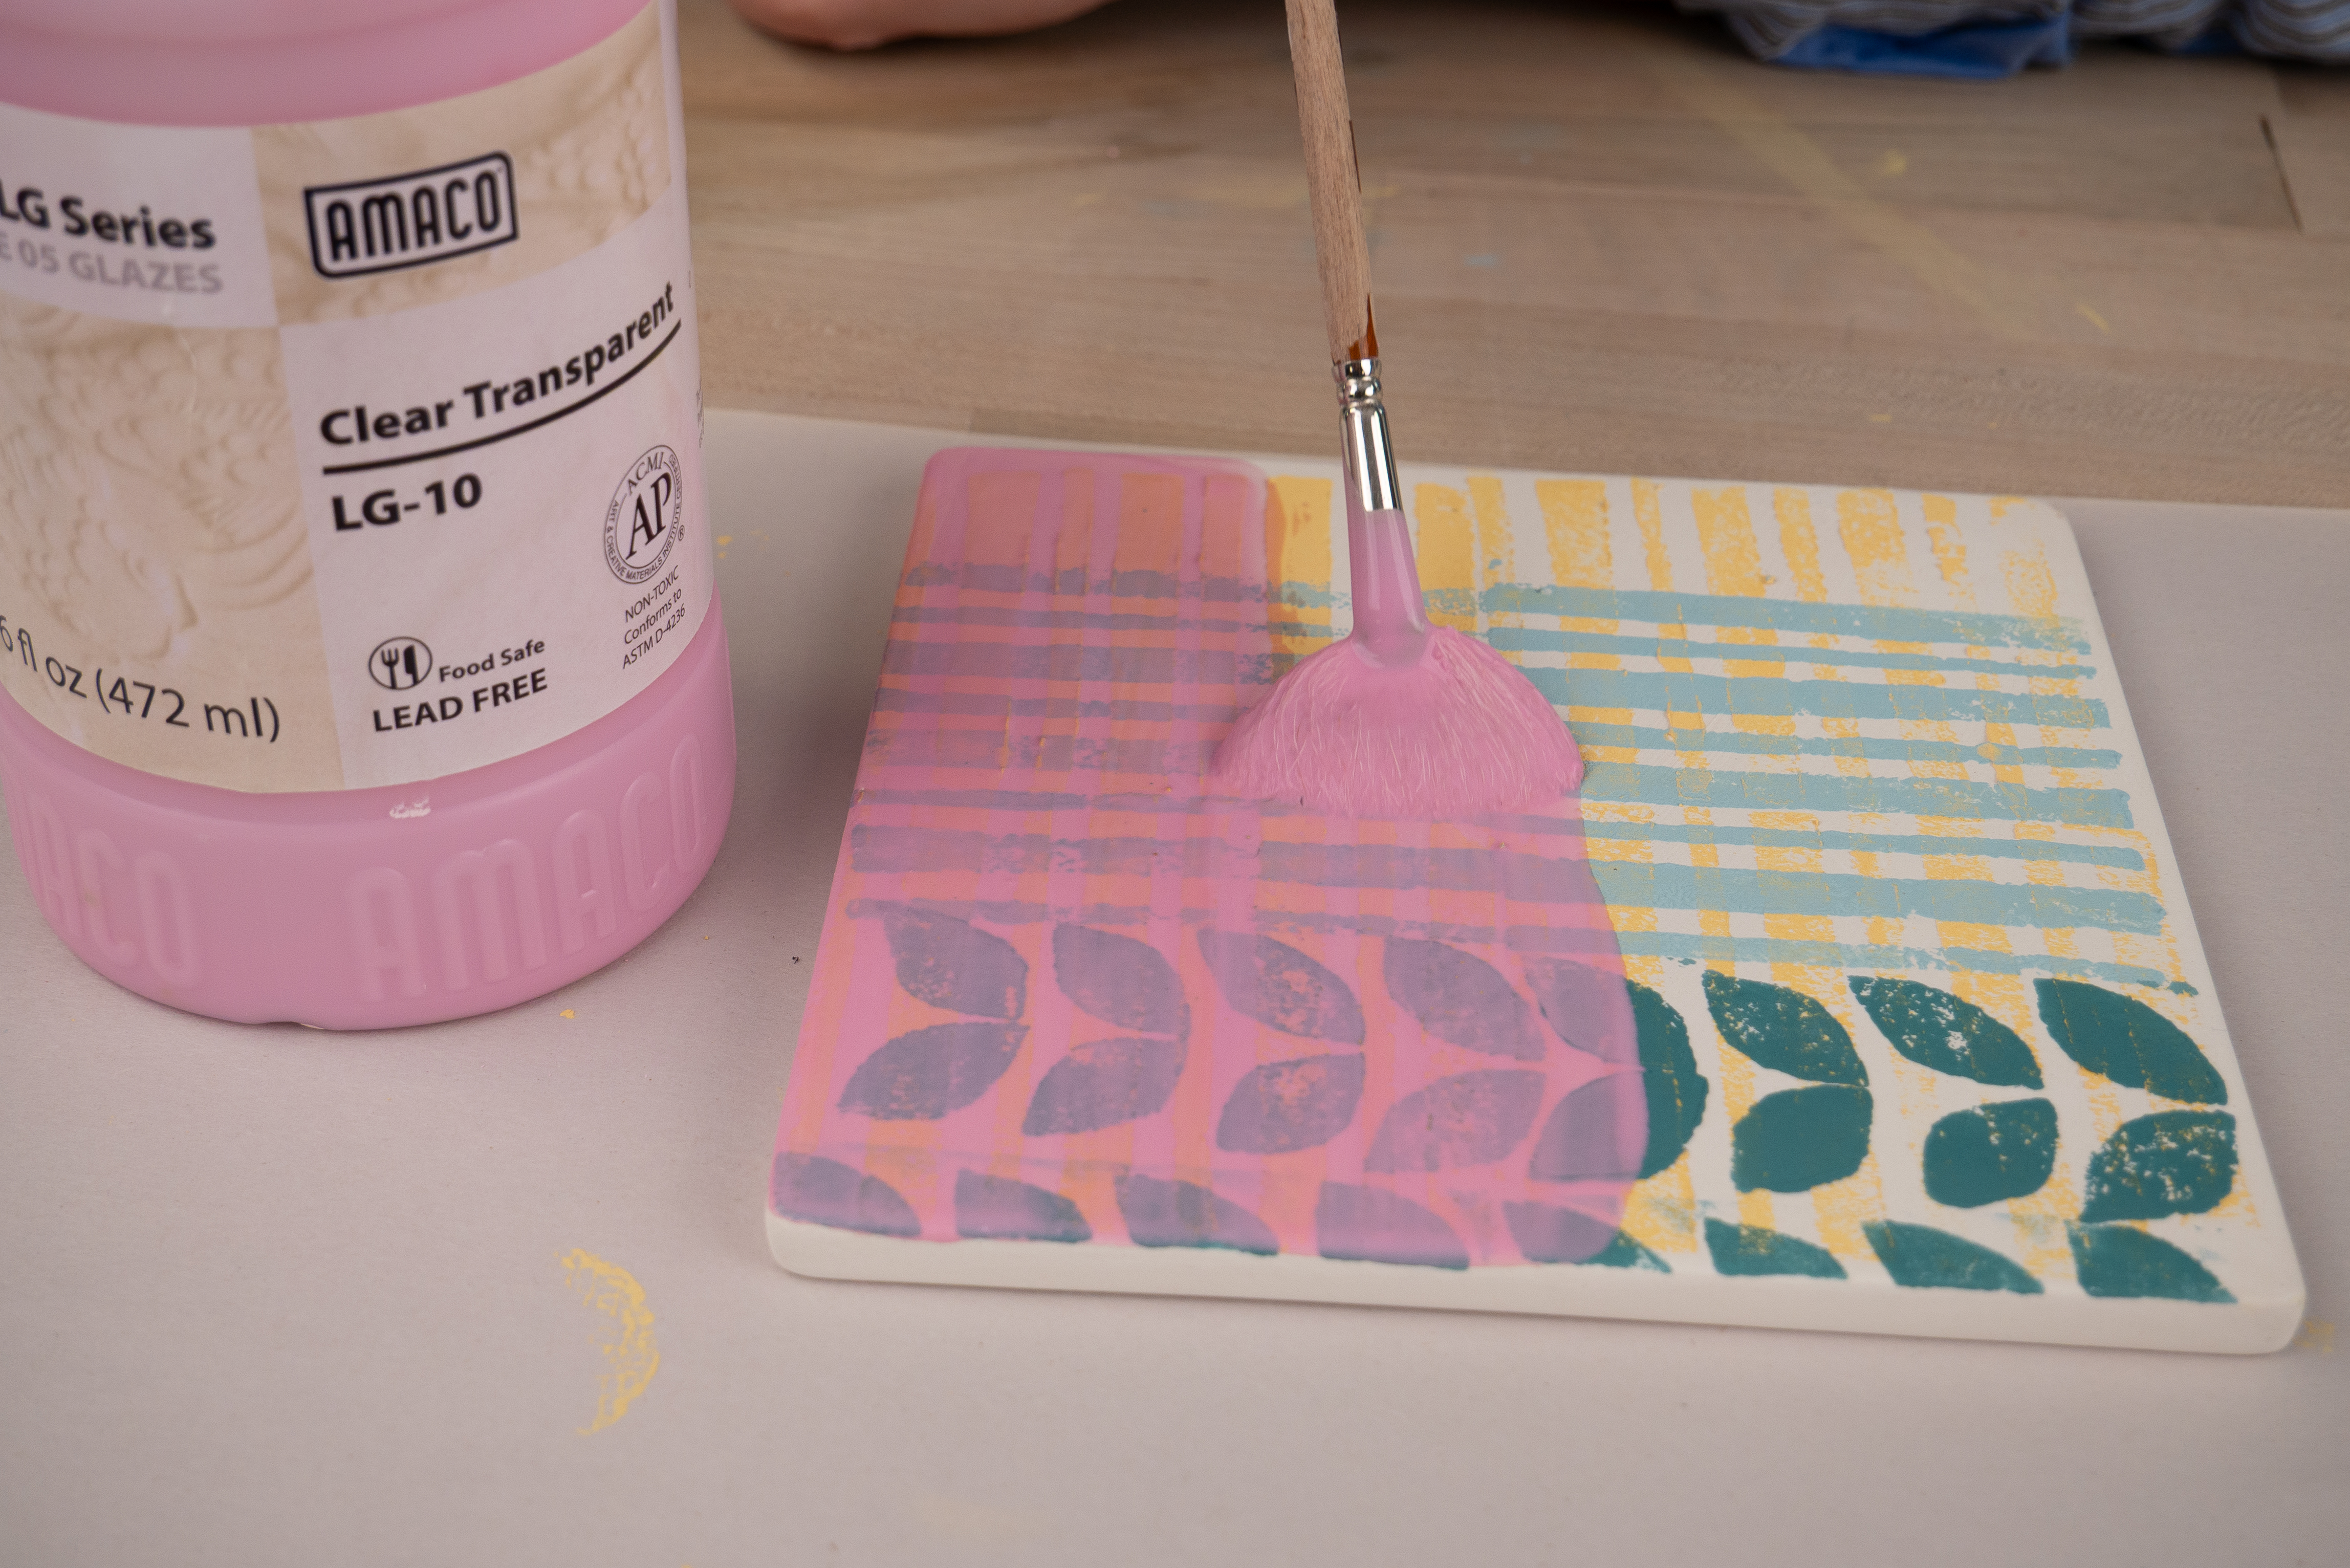
Brush one to two coats of LG-10 Clear Transparent glaze over the design and set your tile aside to dry.
Print Foreground
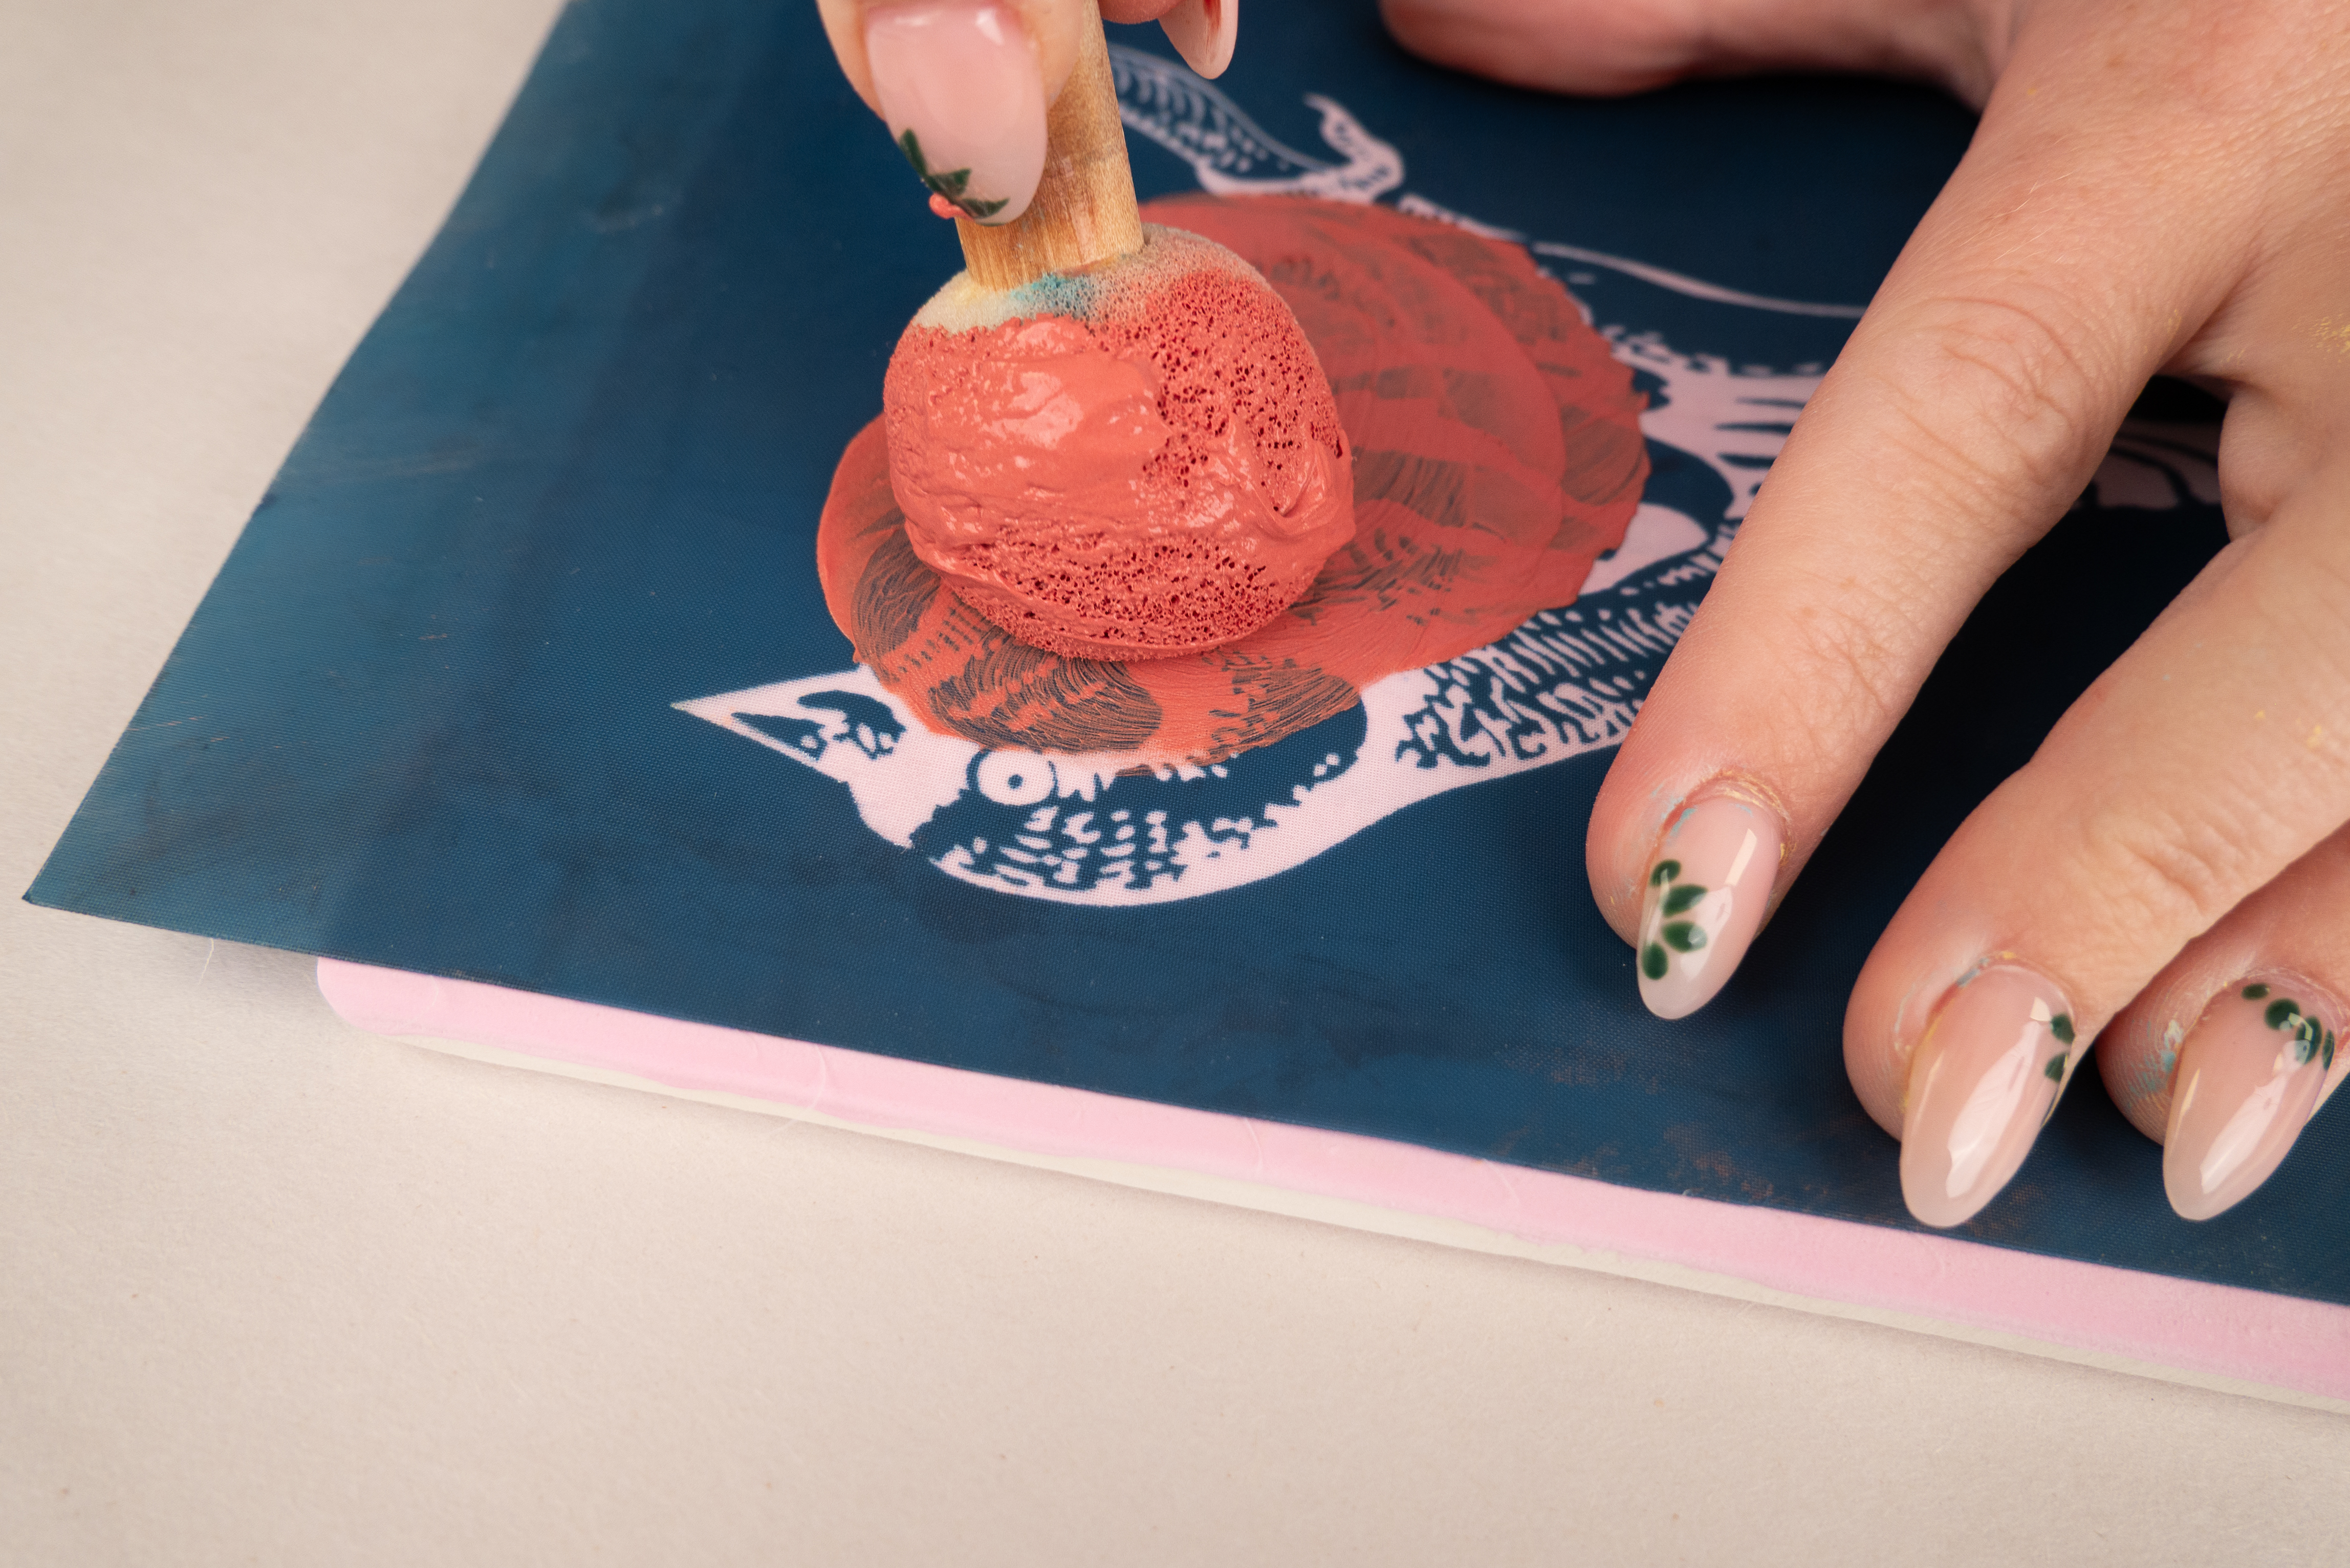
Once your glaze is dry to the touch, you can use a darker or contrasting Inks color to silkscreen over your design.
If it fails, try again! Silk screening can be tricky. Try flipping over your screen.
Alternative: Use your smallest stamp or a stencil to complete your design.
Fire Tile
Fire your tile to Cone 05.
Bisque Cup
Print the Background
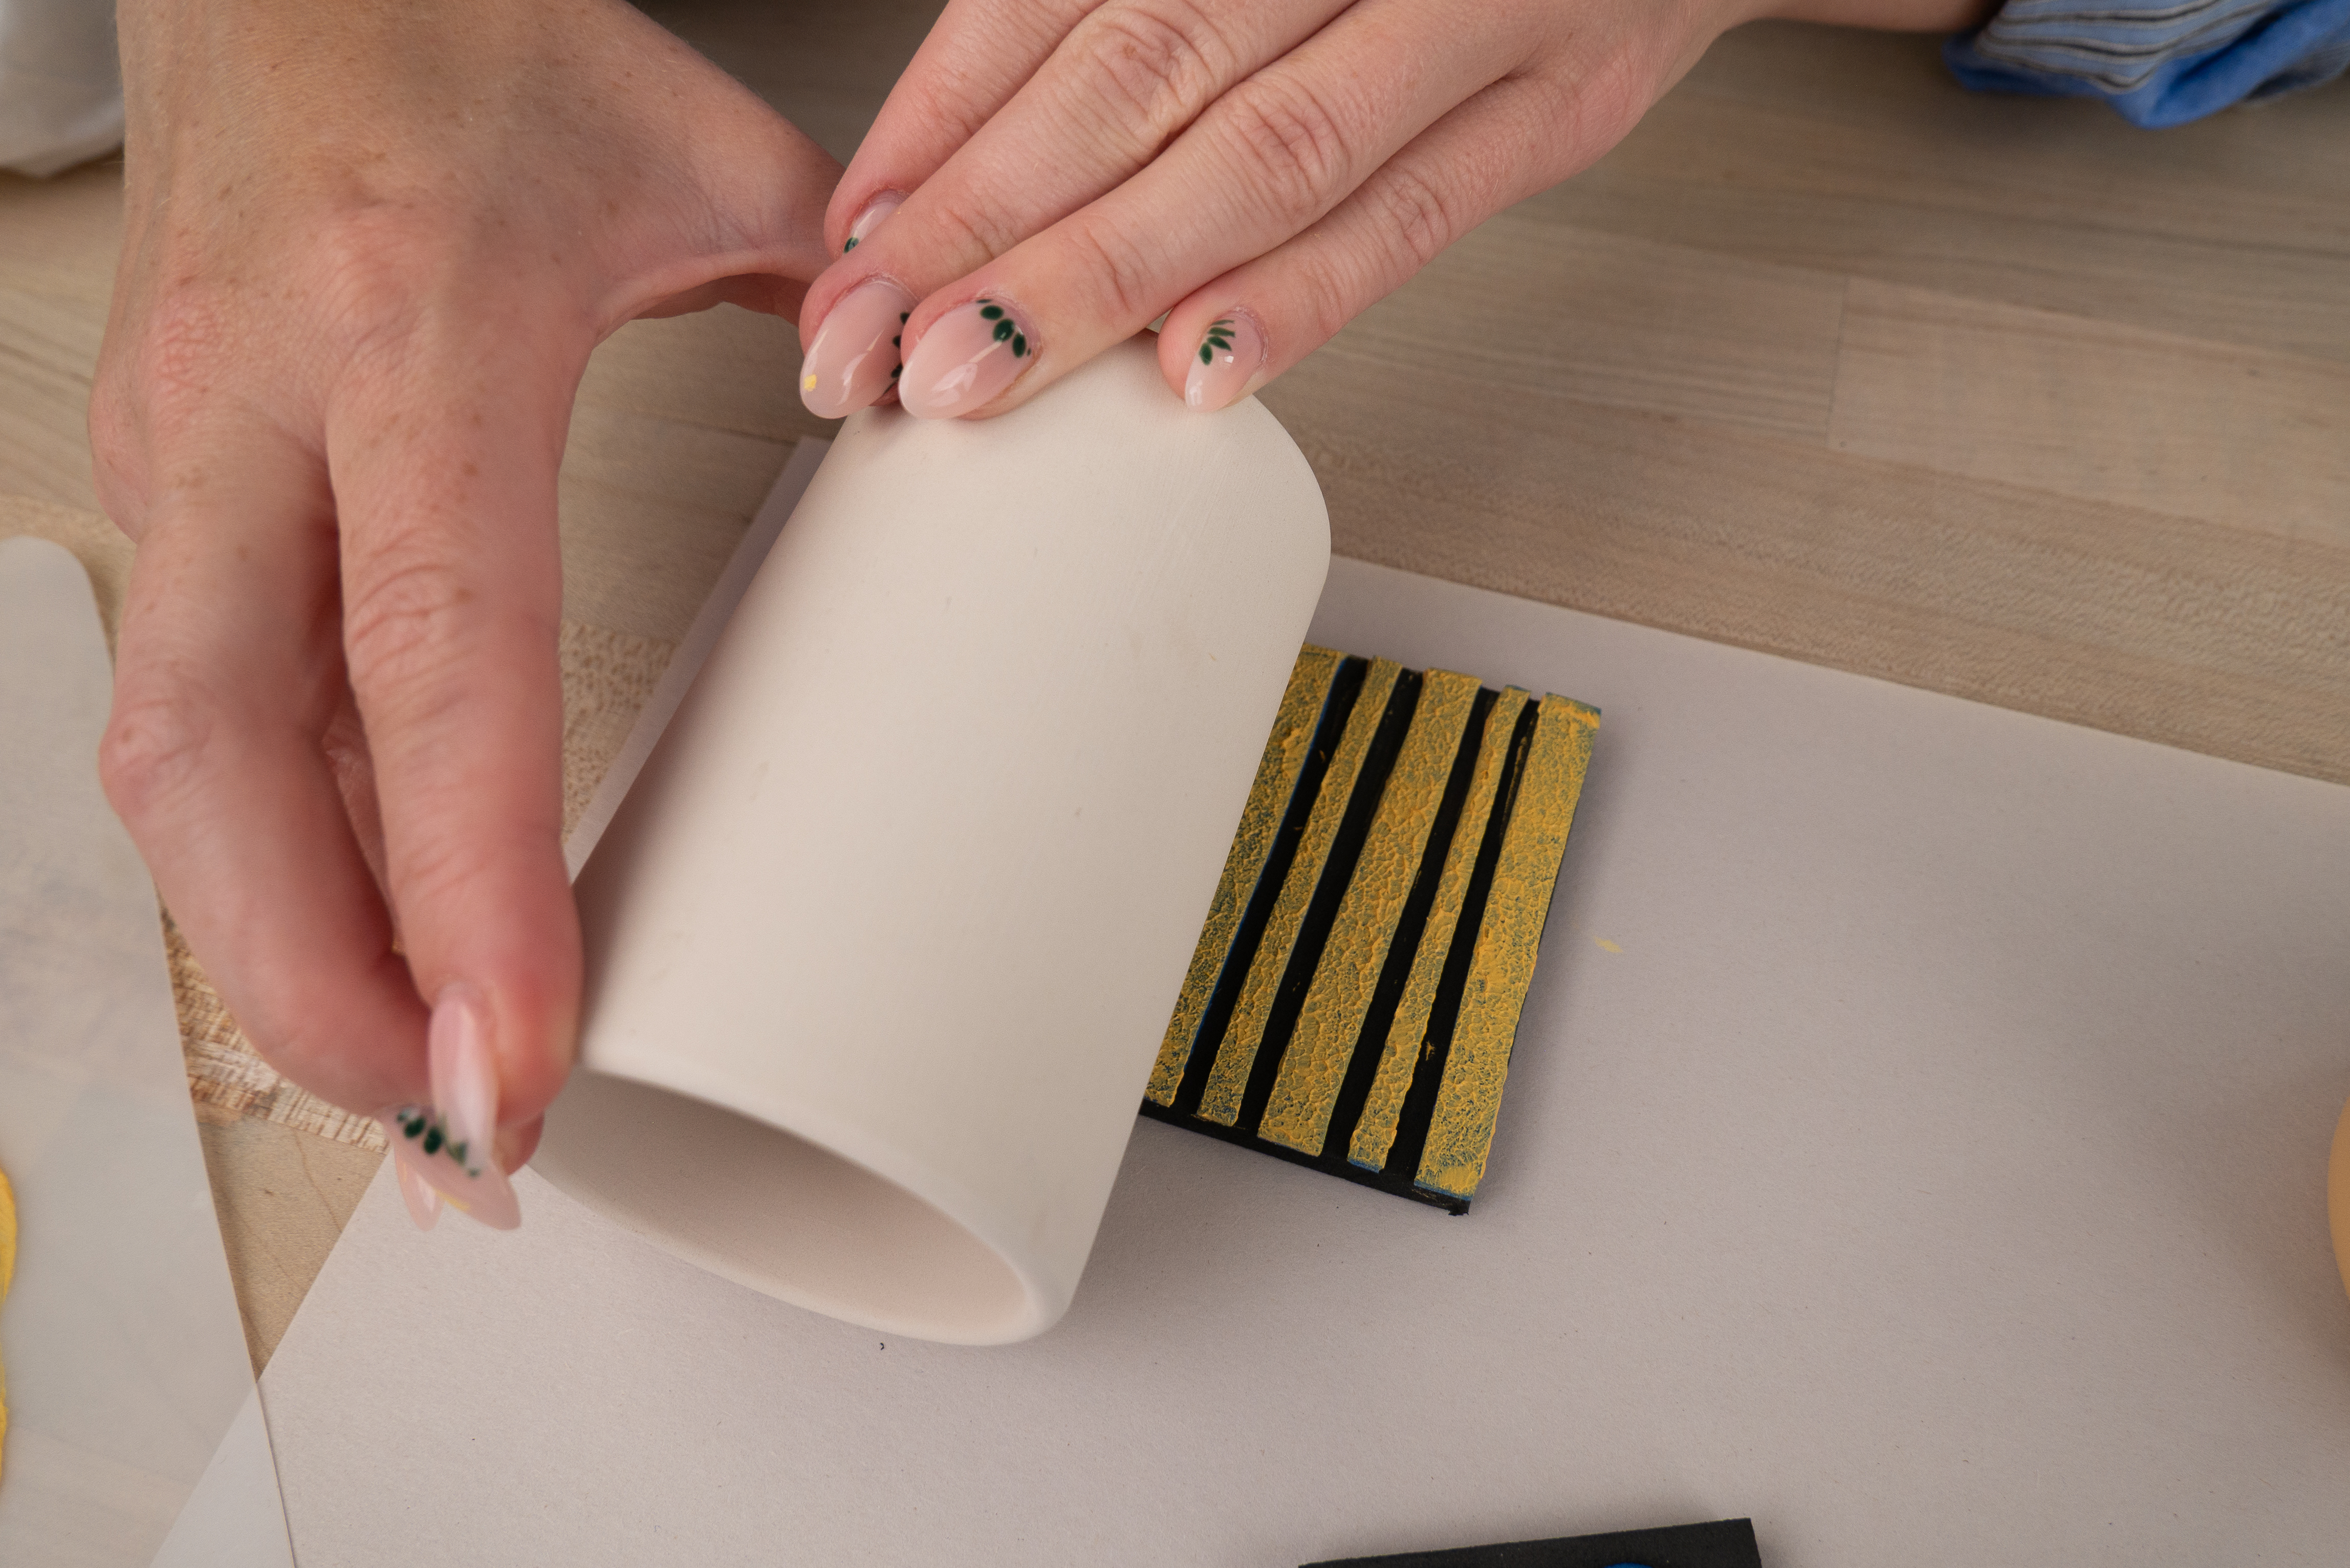
Using the lightest color Ink and a sponge, apply a thin coat of Ink to the largest craft foam stamp. Lightly roll your bisque cup over the large, inked stamp. Repeat this step until you have gone all the way around the cup. This works best with straight sided cups.
Hint: Pressing too hard on the stamp may cause your design to slide. Use light to medium pressure and roll the cup back and forth until design is fully transferred.
Quick Tip!
Use baby wipes to clean stamps as needed.
Print the Middle Ground
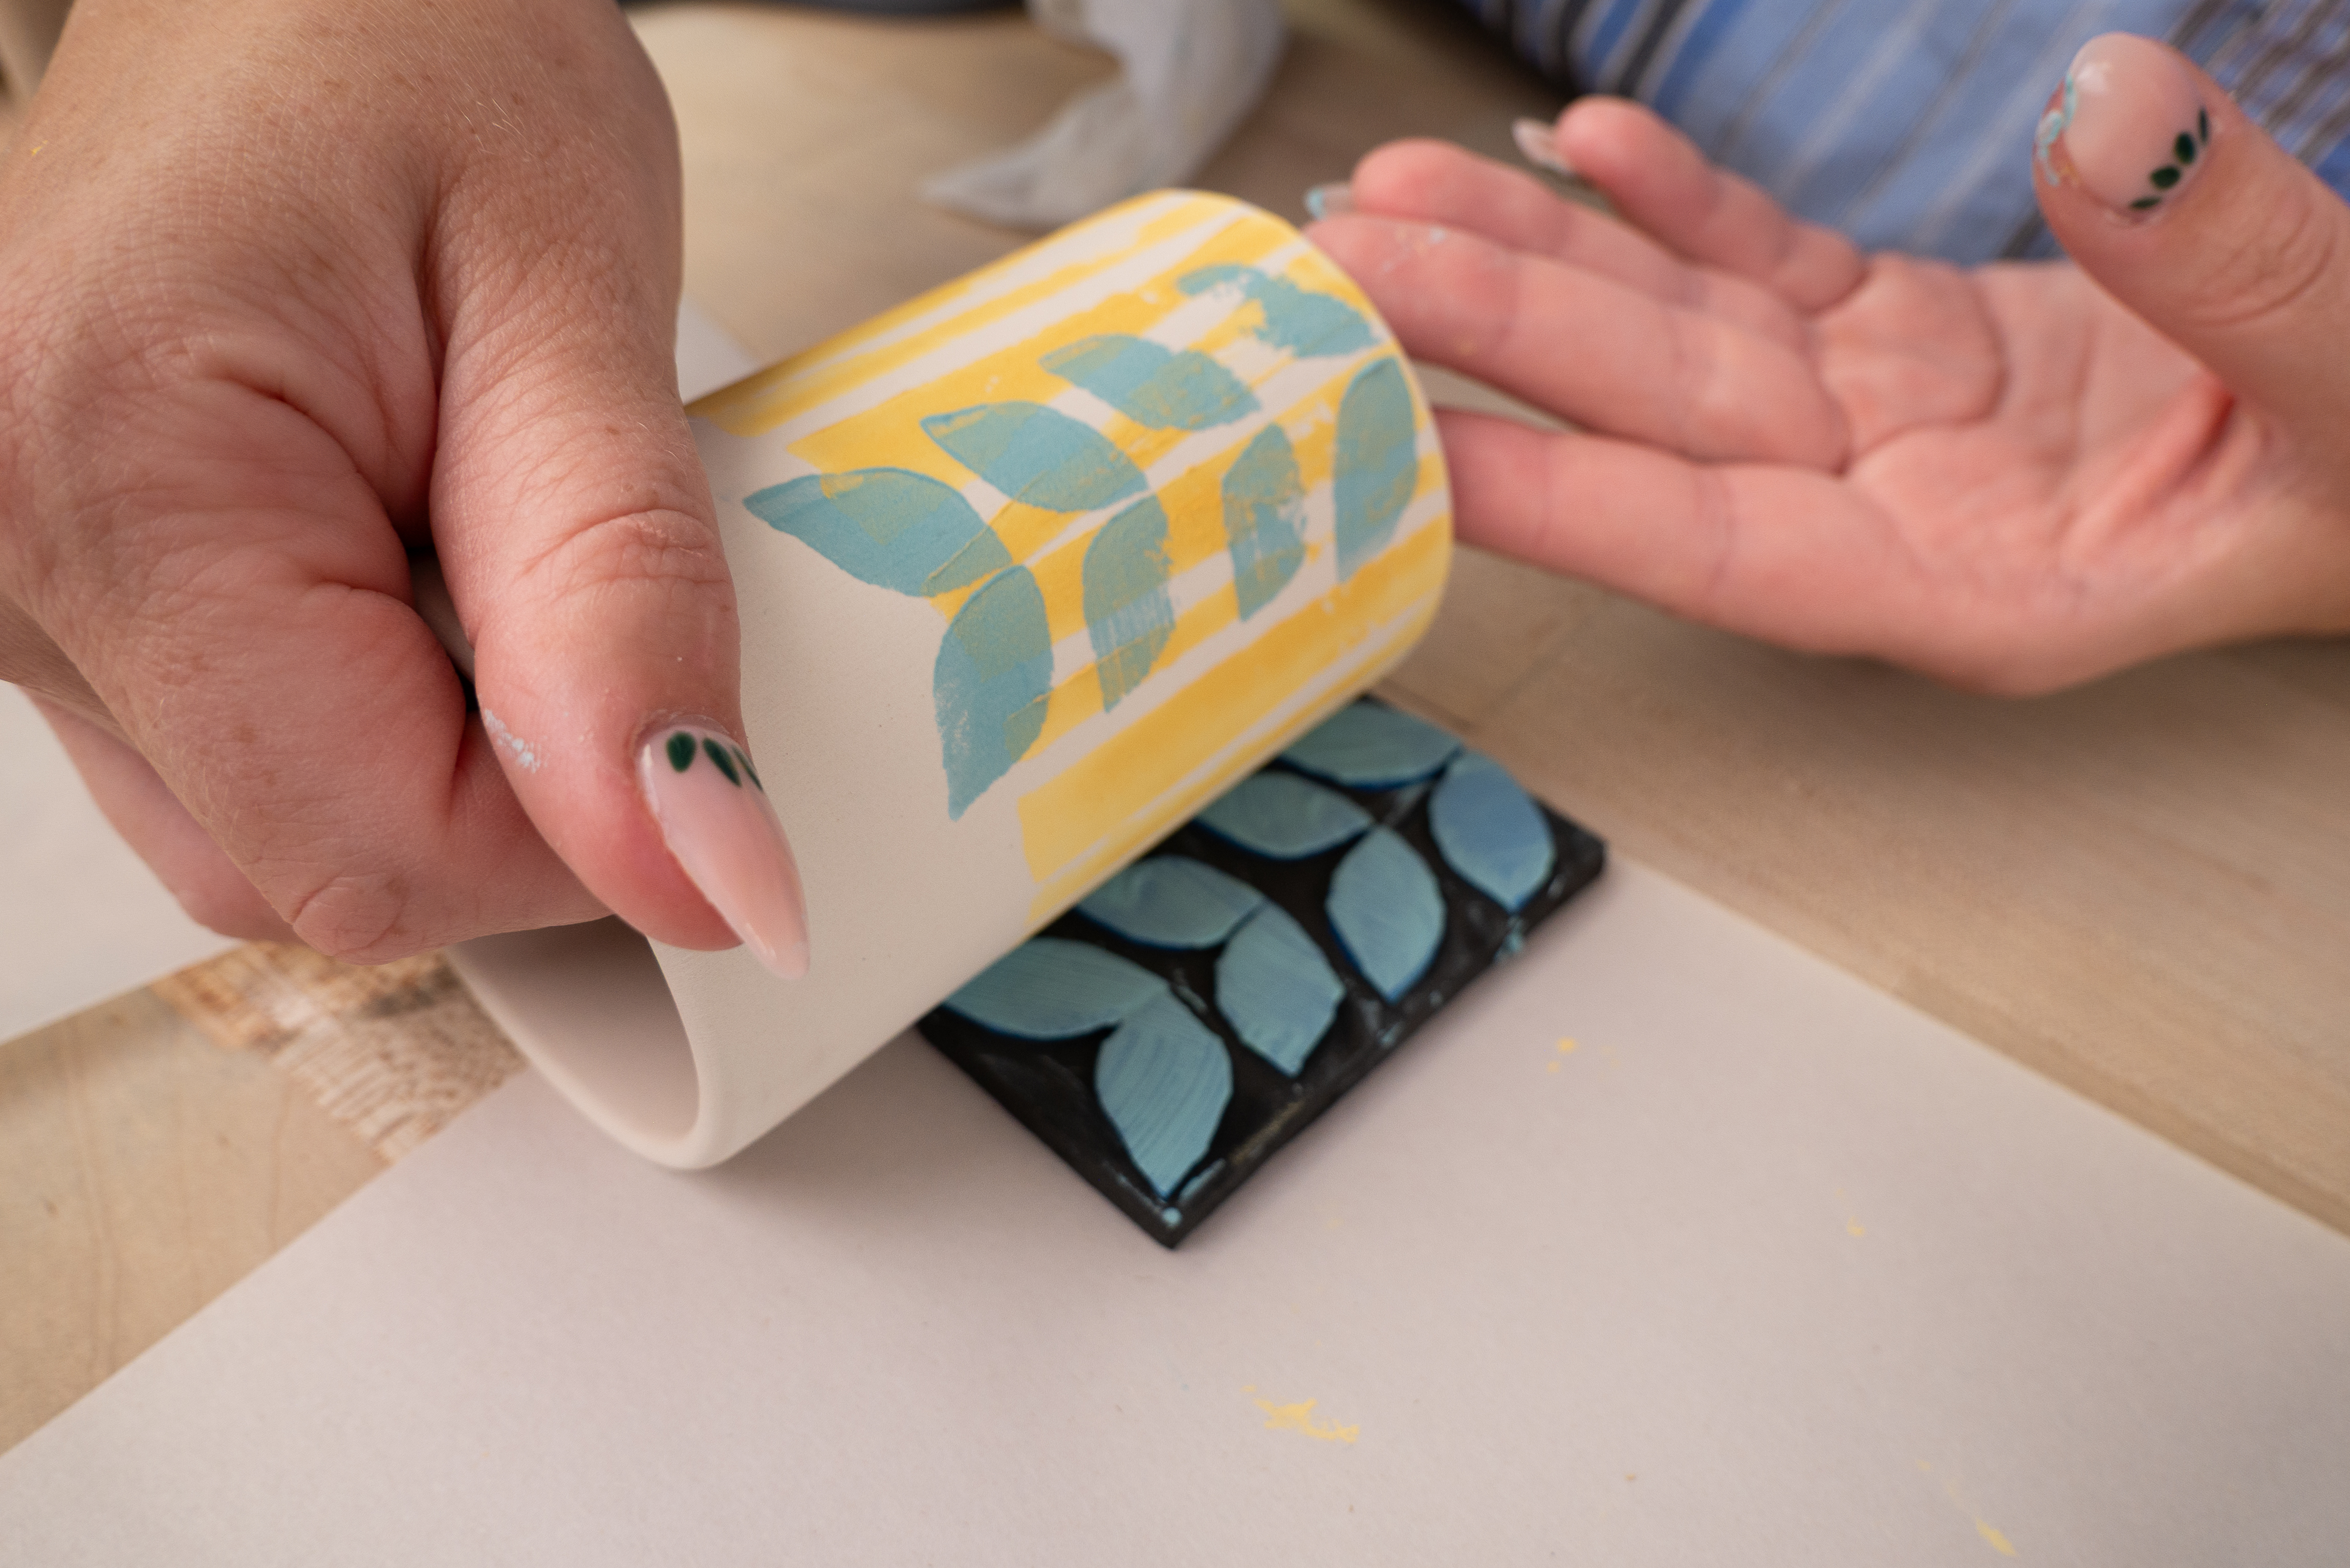
Ink the medium rectangular stamp with a darker colored Ink. Then roll the cup onto the stamp to create the middle ground of the design. Repeat as desired.
Print the Foreground
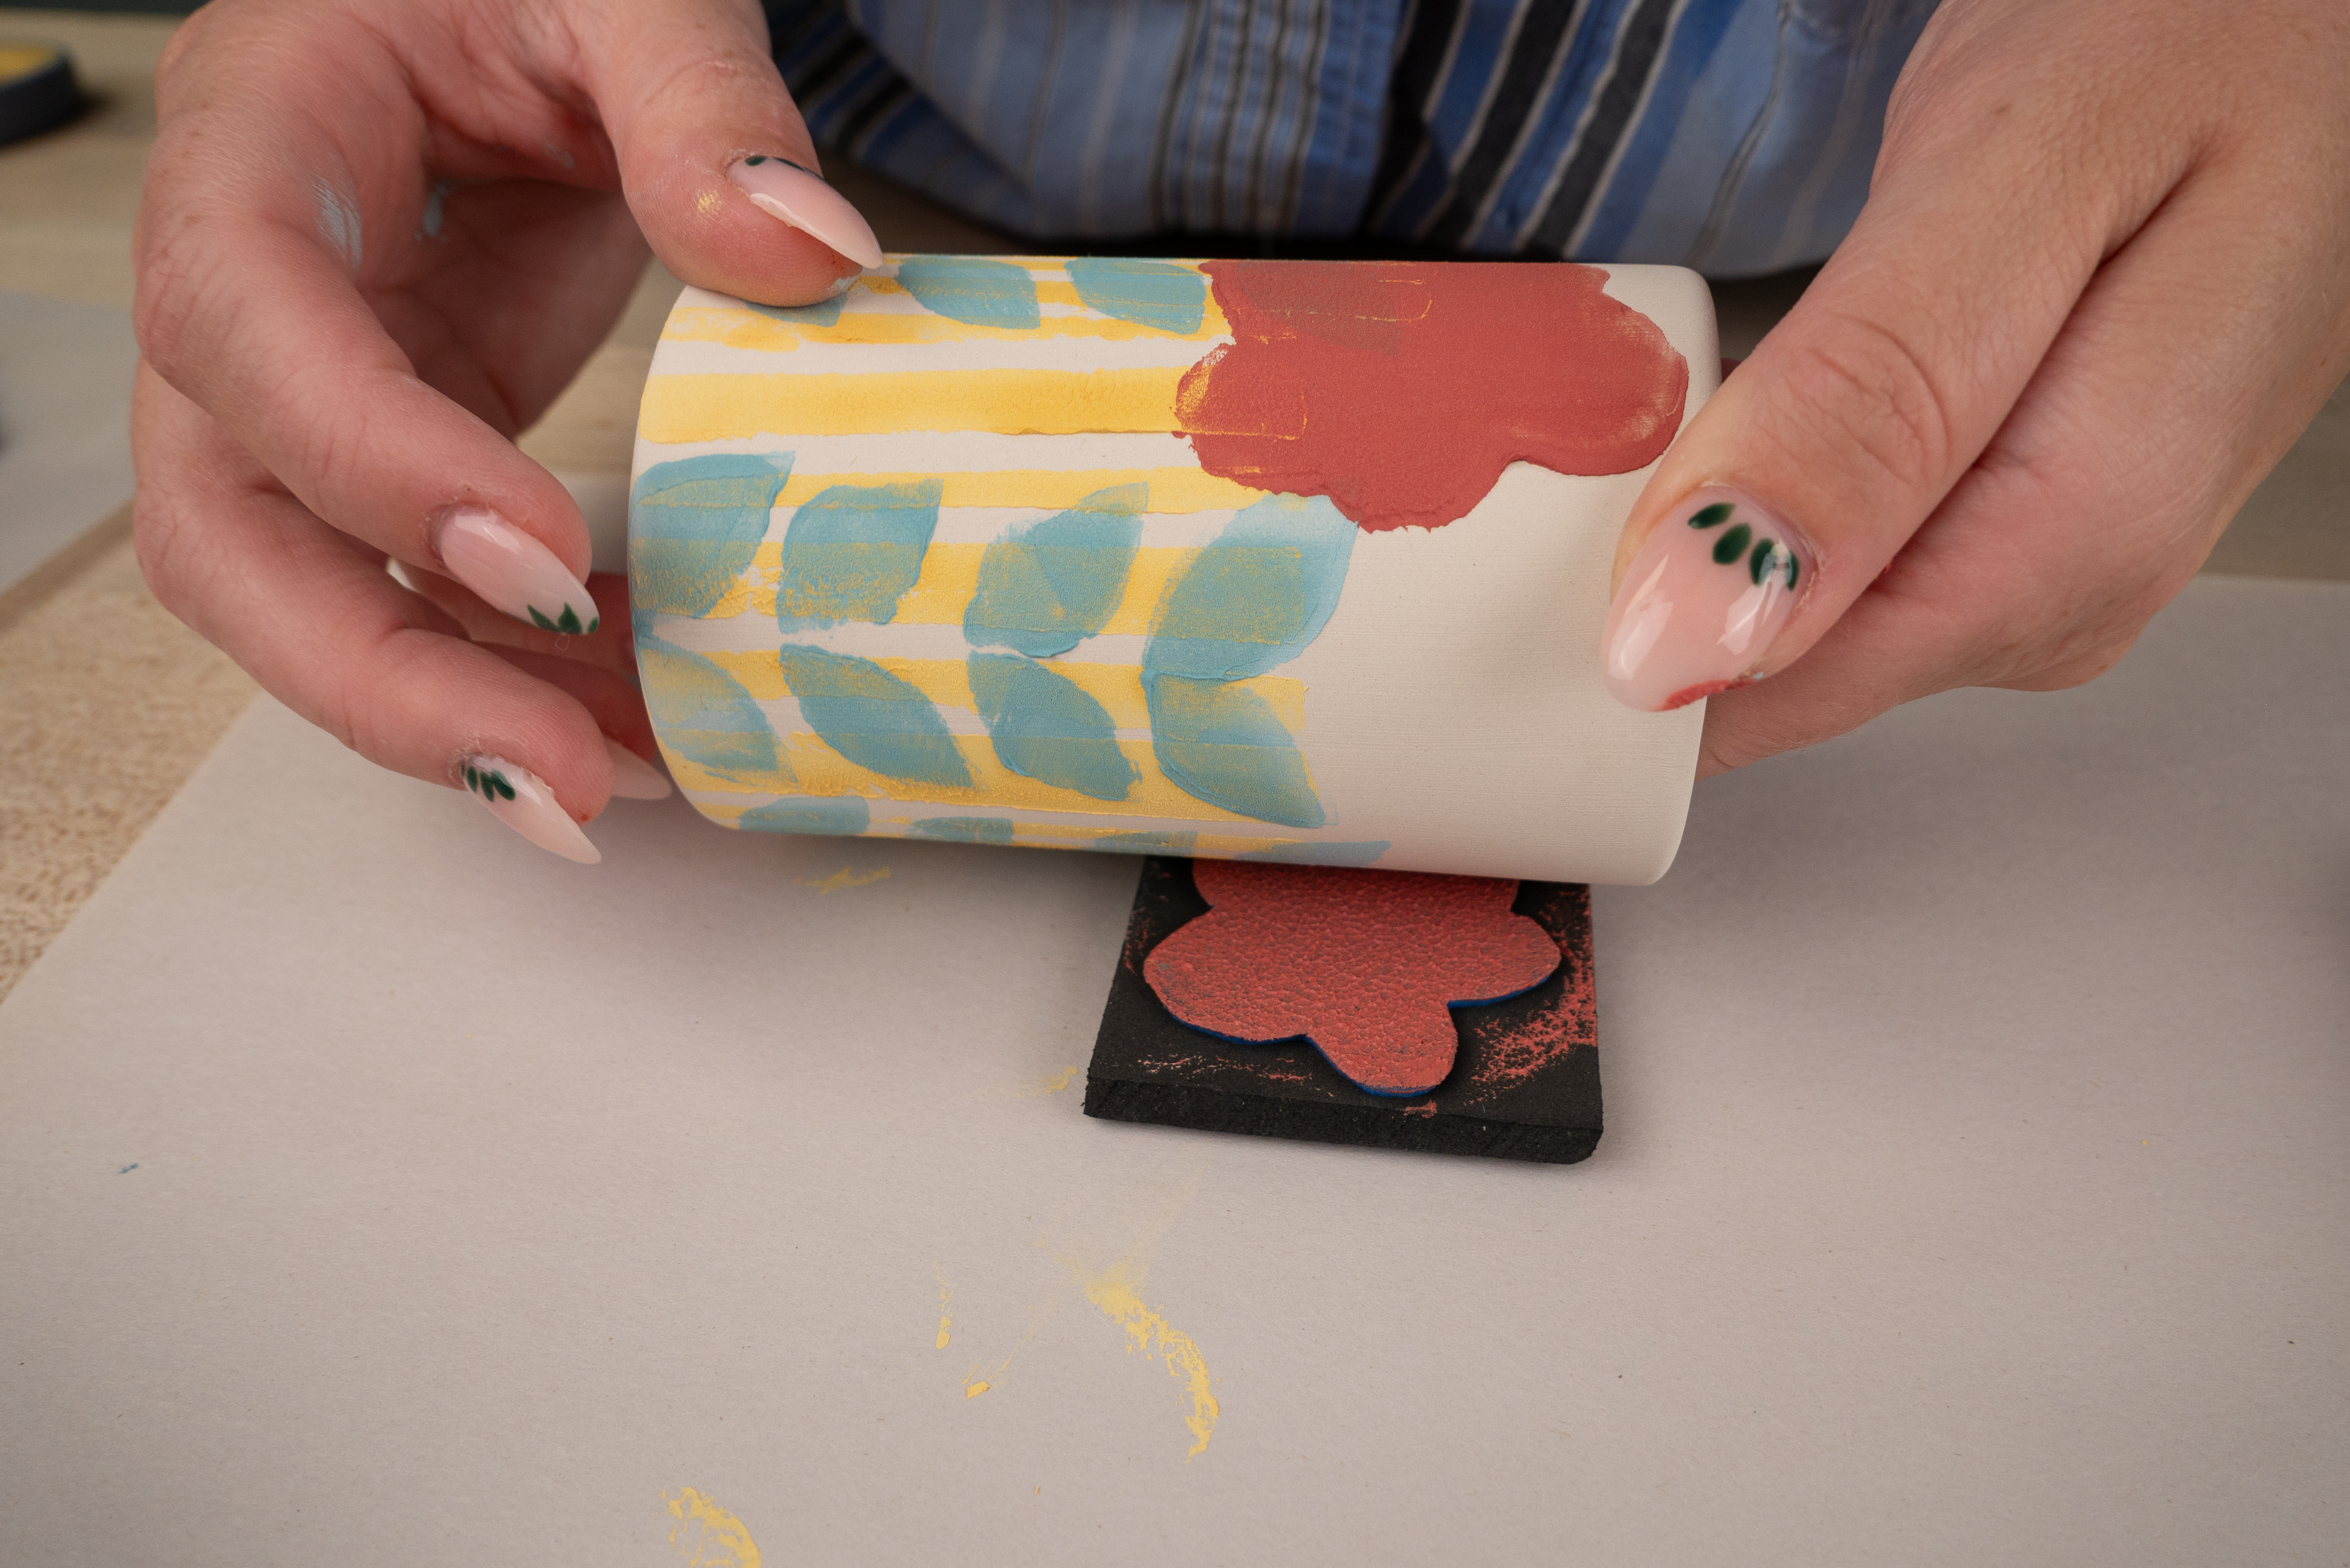
Ink the smallest stamp with a contrasting color then roll it onto the cup to create the foreground. Repeat as desired.
Glaze & Fire
When you are satisfied with your design, brush 1-2 coats of LG-10 Clear Transparent over your cup and fire your cup to Cone 05.
Video
Similar Lesson Plans


