


Monoprints on Clay and Bisque
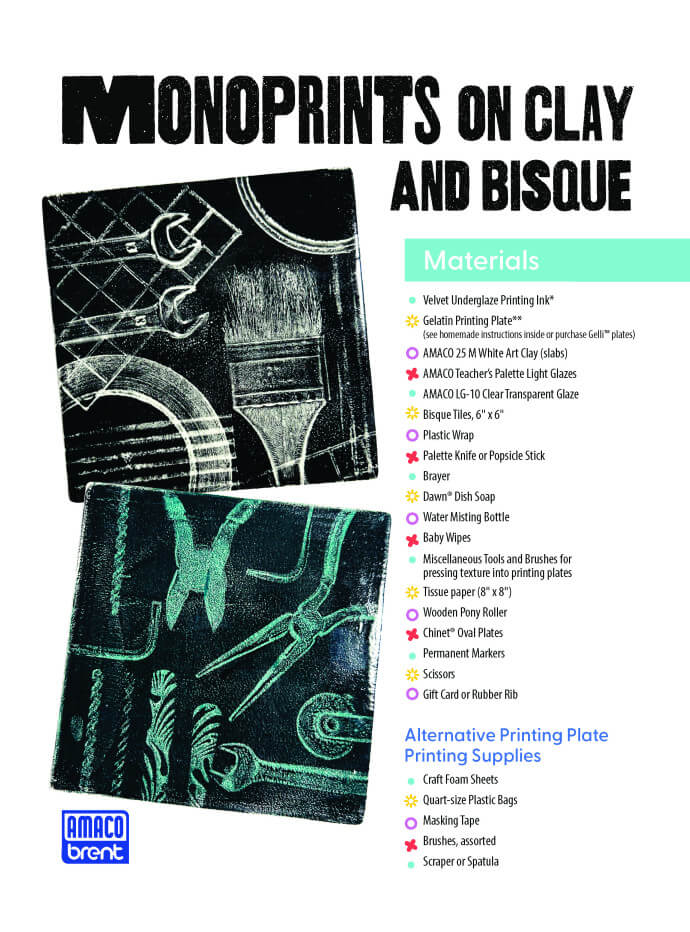
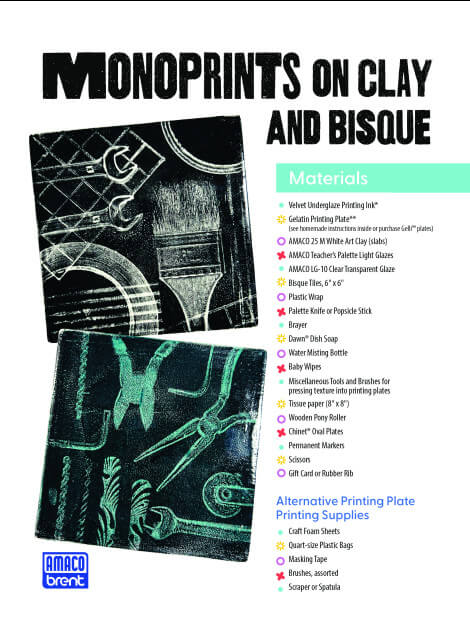
Experience the fun of printmaking by learning how to make monoprints on clay!
Supplies List
- AMACO Ceramic Printing INKs
- Gelatin Printing Plate
- AMACO No. 25M White Art Clay (slabs)
- AMACO Teacher's Palette Light Glazes
- AMACO LG-10 Clear Transparent Glaze
- Bisque Tile, 6"x6"
- Plastic Wrap
- Palette Knife or Popsicle Stick
- Brayer
- Dawn® Dish Soap
- Water Misting Bottle
- Baby Wipes
- Miscellaneous Tools & Brushes for pressing texture into printing plates
- Tissue Paper, 8"x8"
- Wooden Pony Roller
- Chinet® Oval Plates
- Permanent Markers
- Scissors
- Gift Card or Rubber Rib
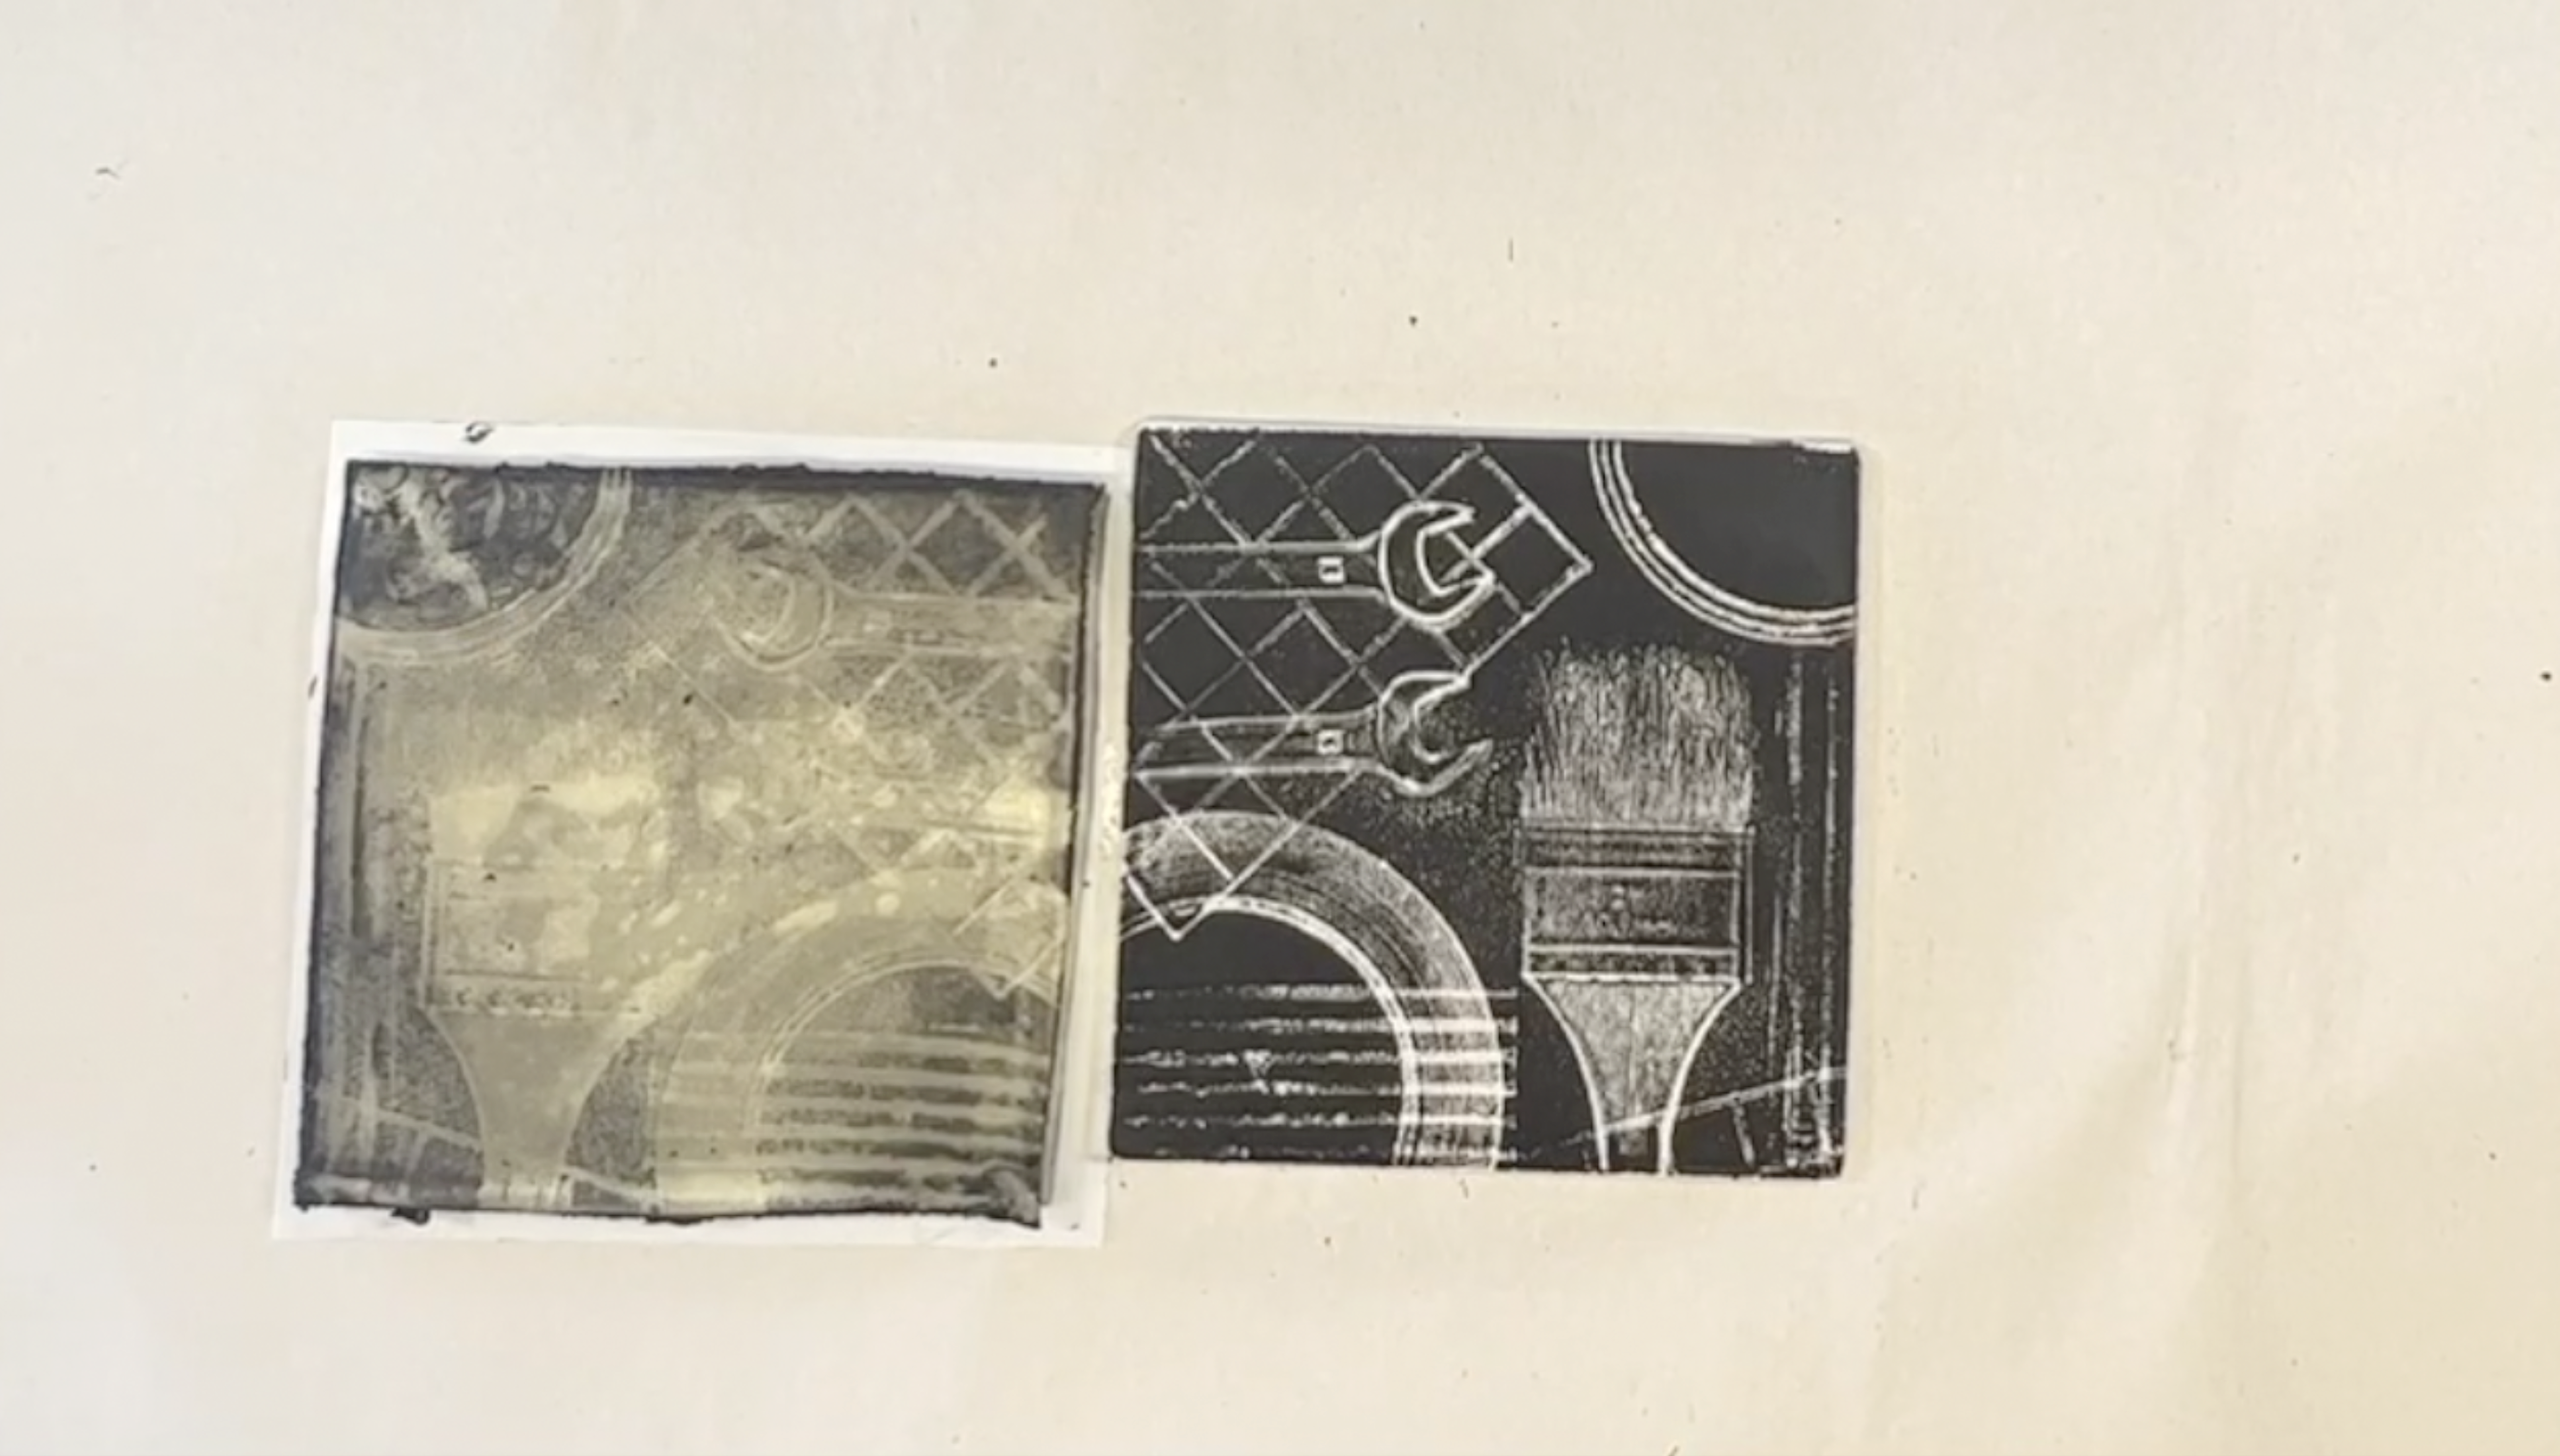
Printing from a Gelatin Plate
Ink the Gelatin Plate
Spread the AMACO Ceramic Printing INK onto the gelatin printing plate with a palette knife or popsicle stick.
Add Dish Soap
Add just one drop of dish soap onto the INK.
Spread the INK
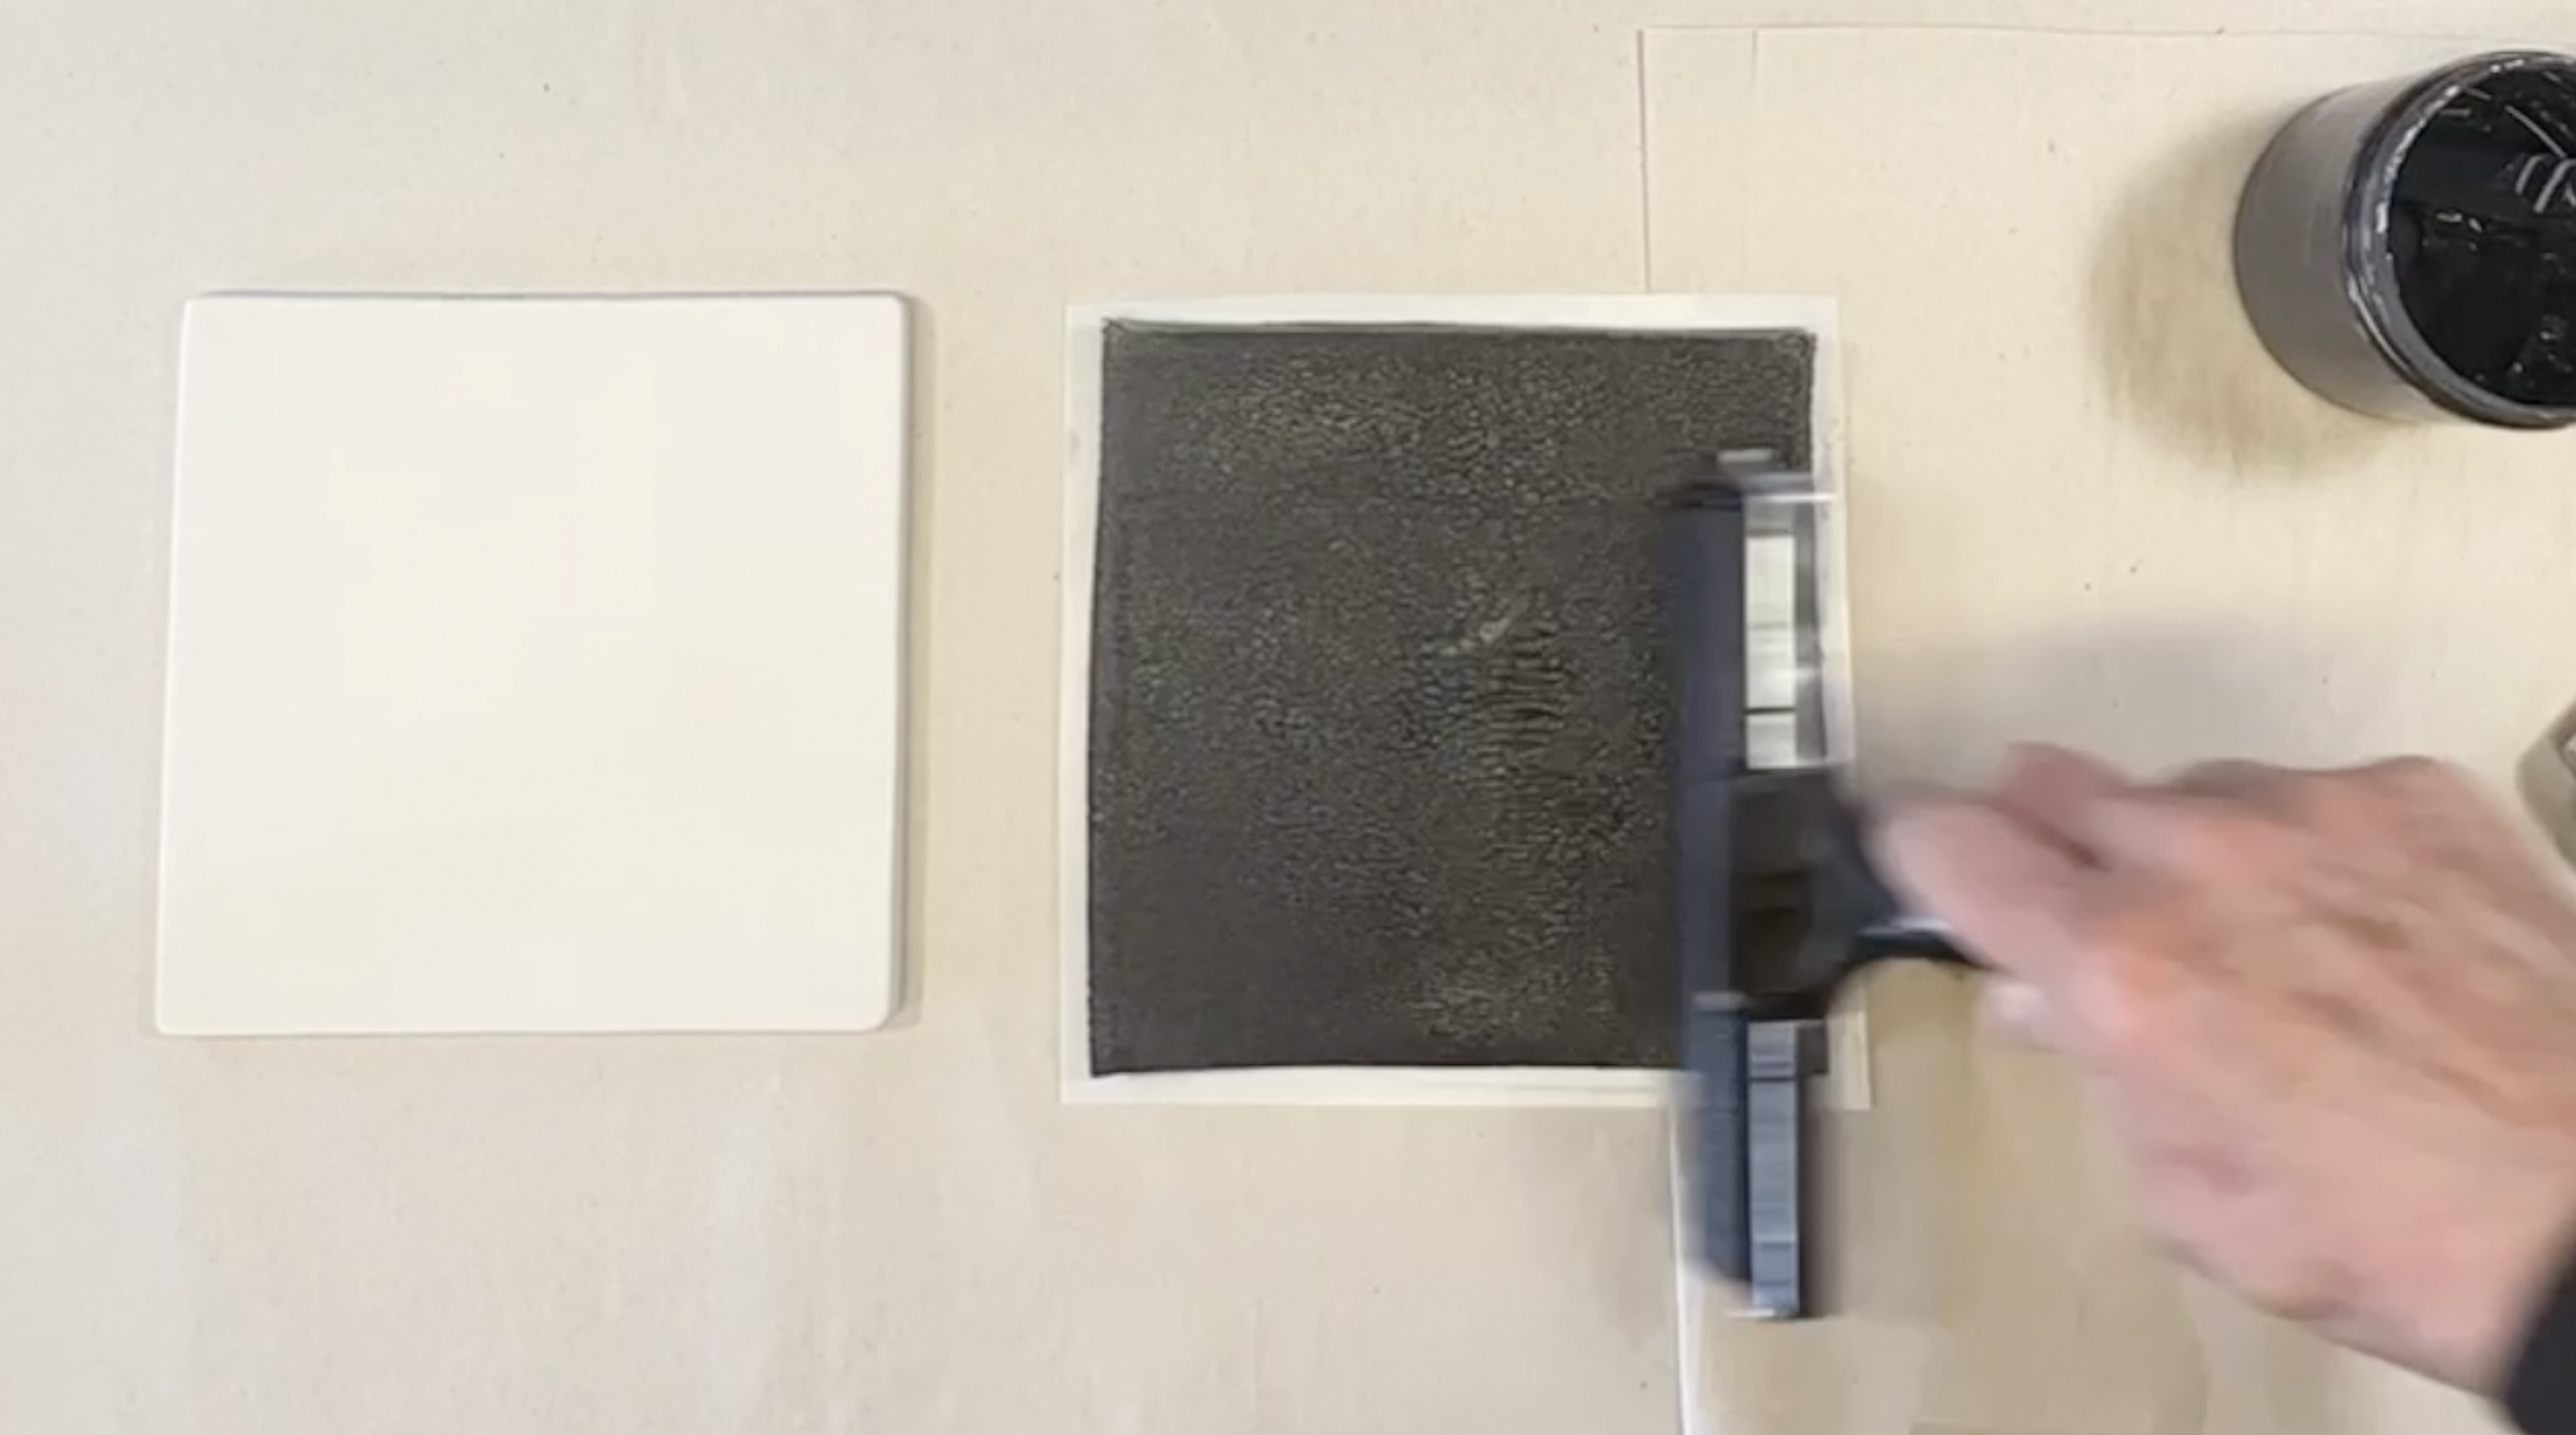
Use a brayer to evenly roll the INK on the gelatin printing plate.
Create Texture
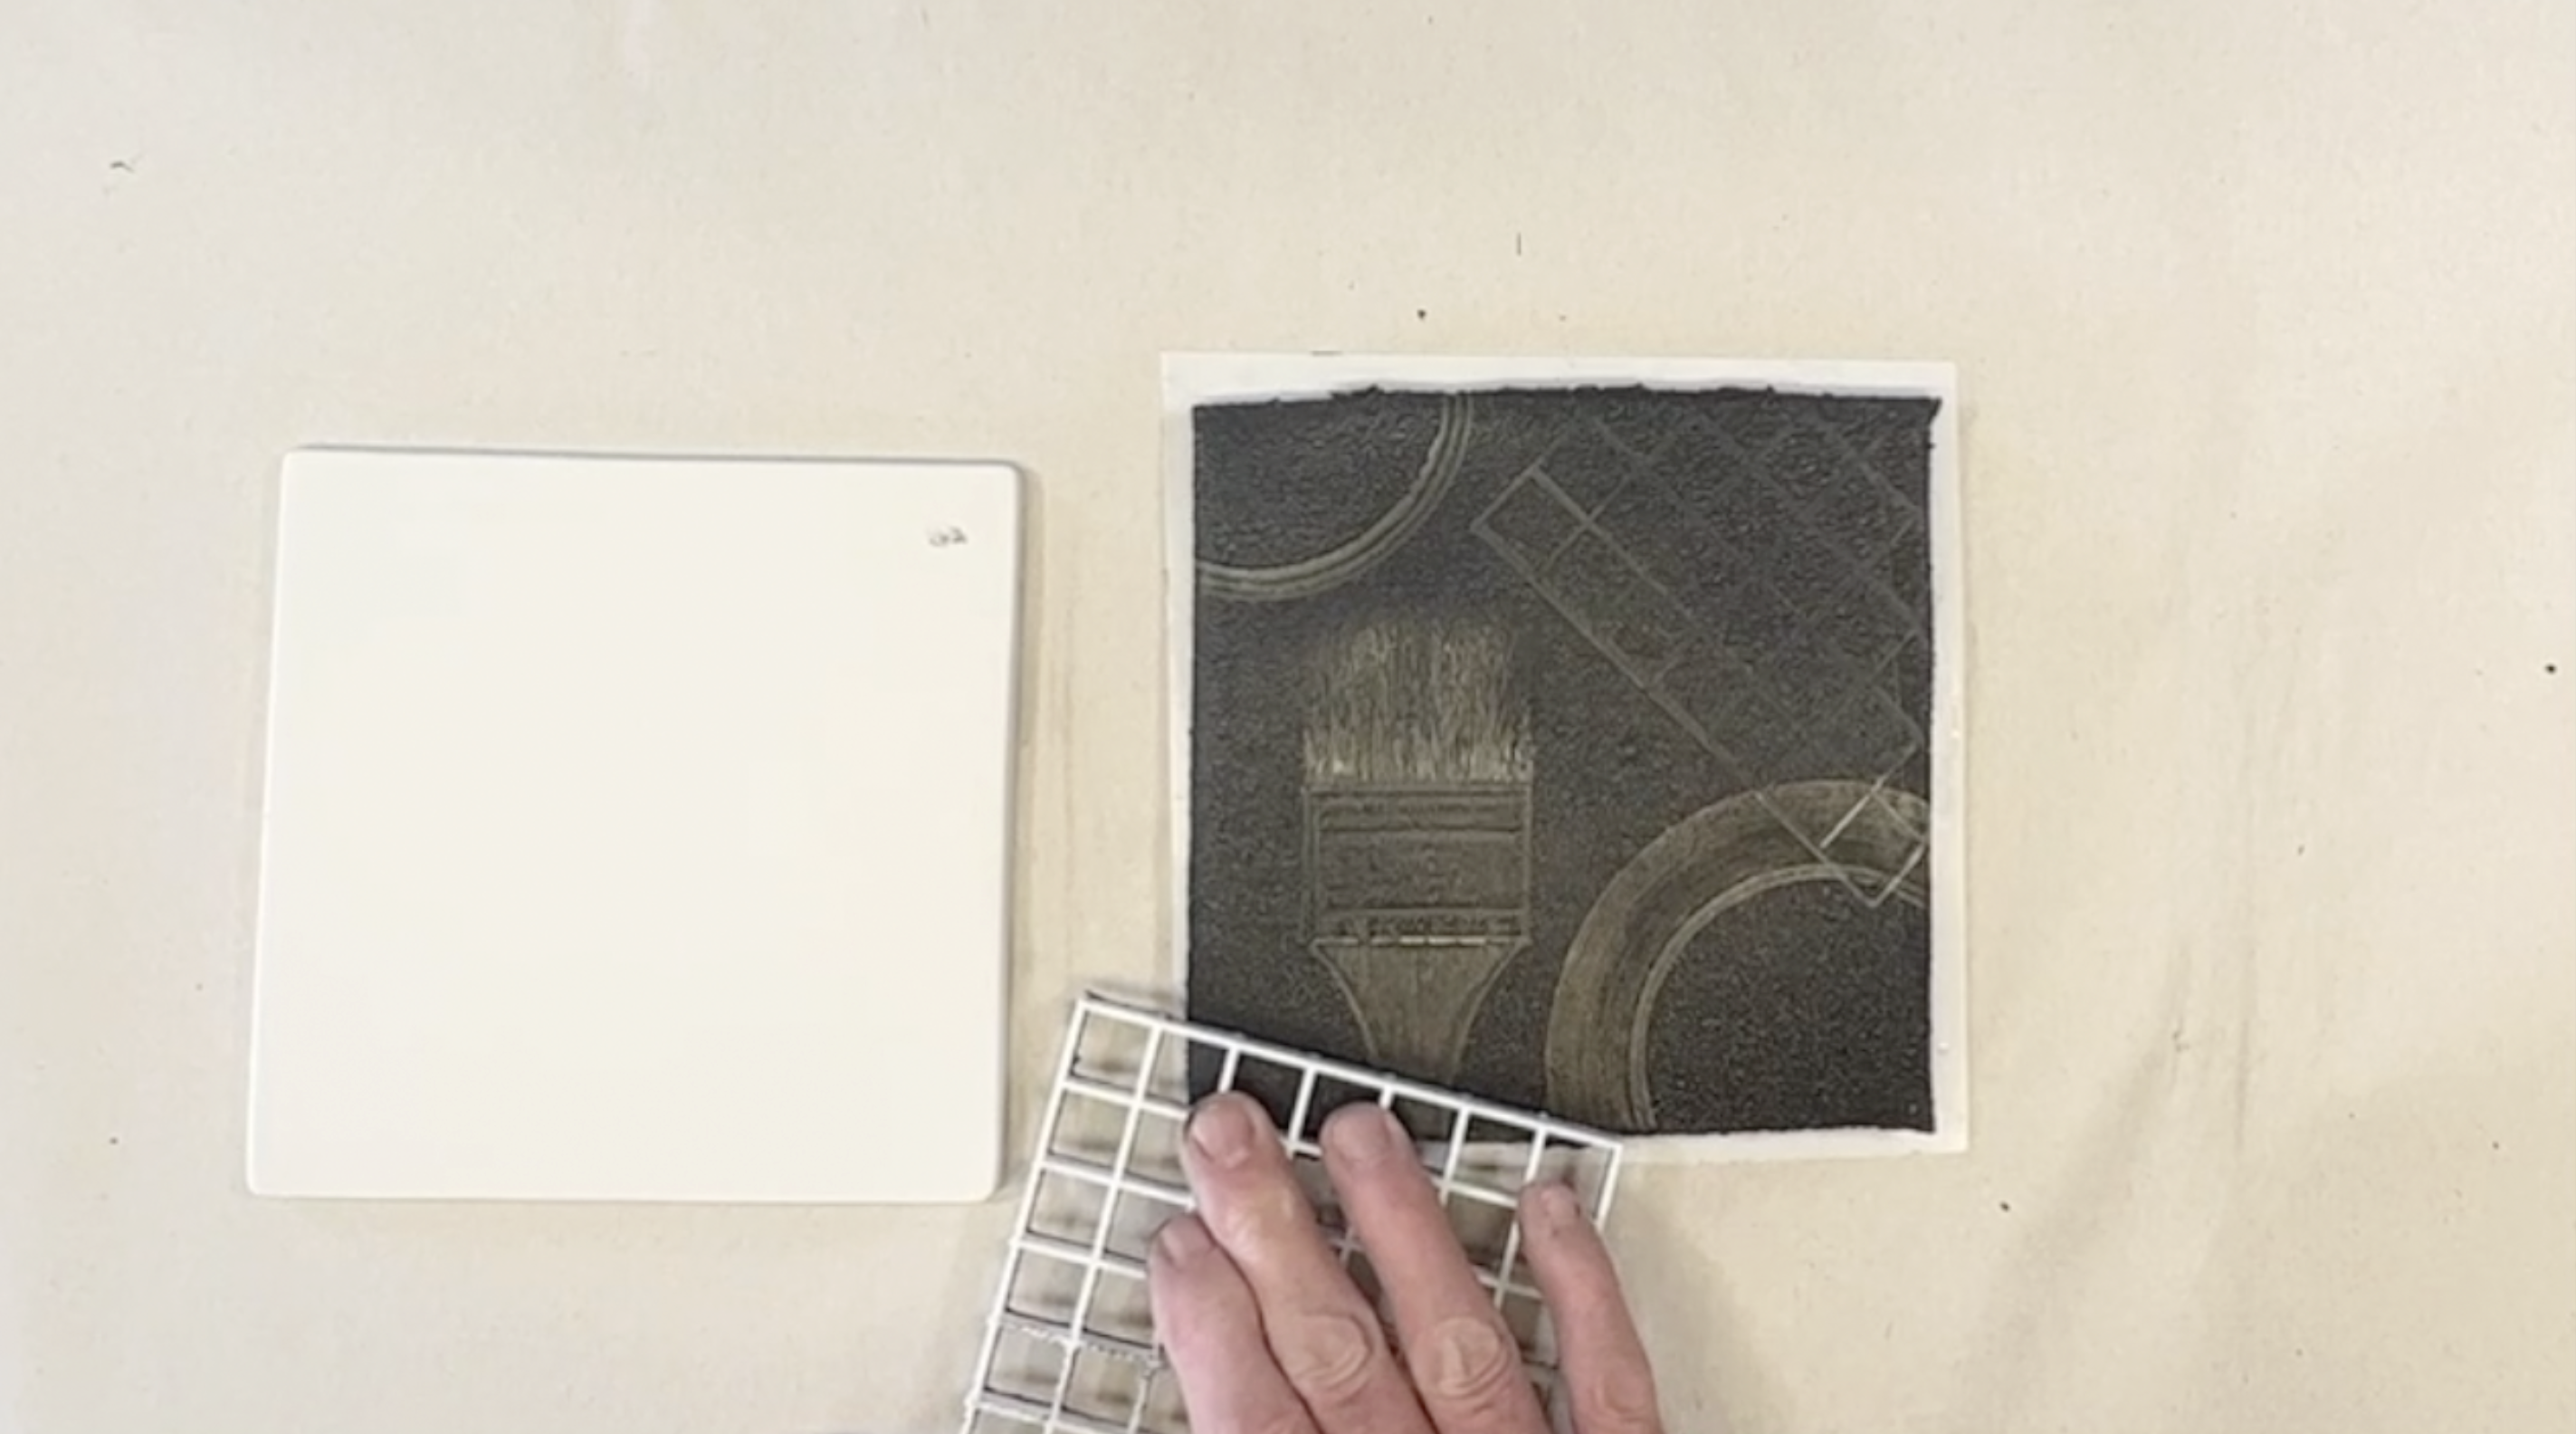
Use brushes, tools, corrugated cardboard, or other found objects to press onto the inked plate.
Transfer the Print to Bisque
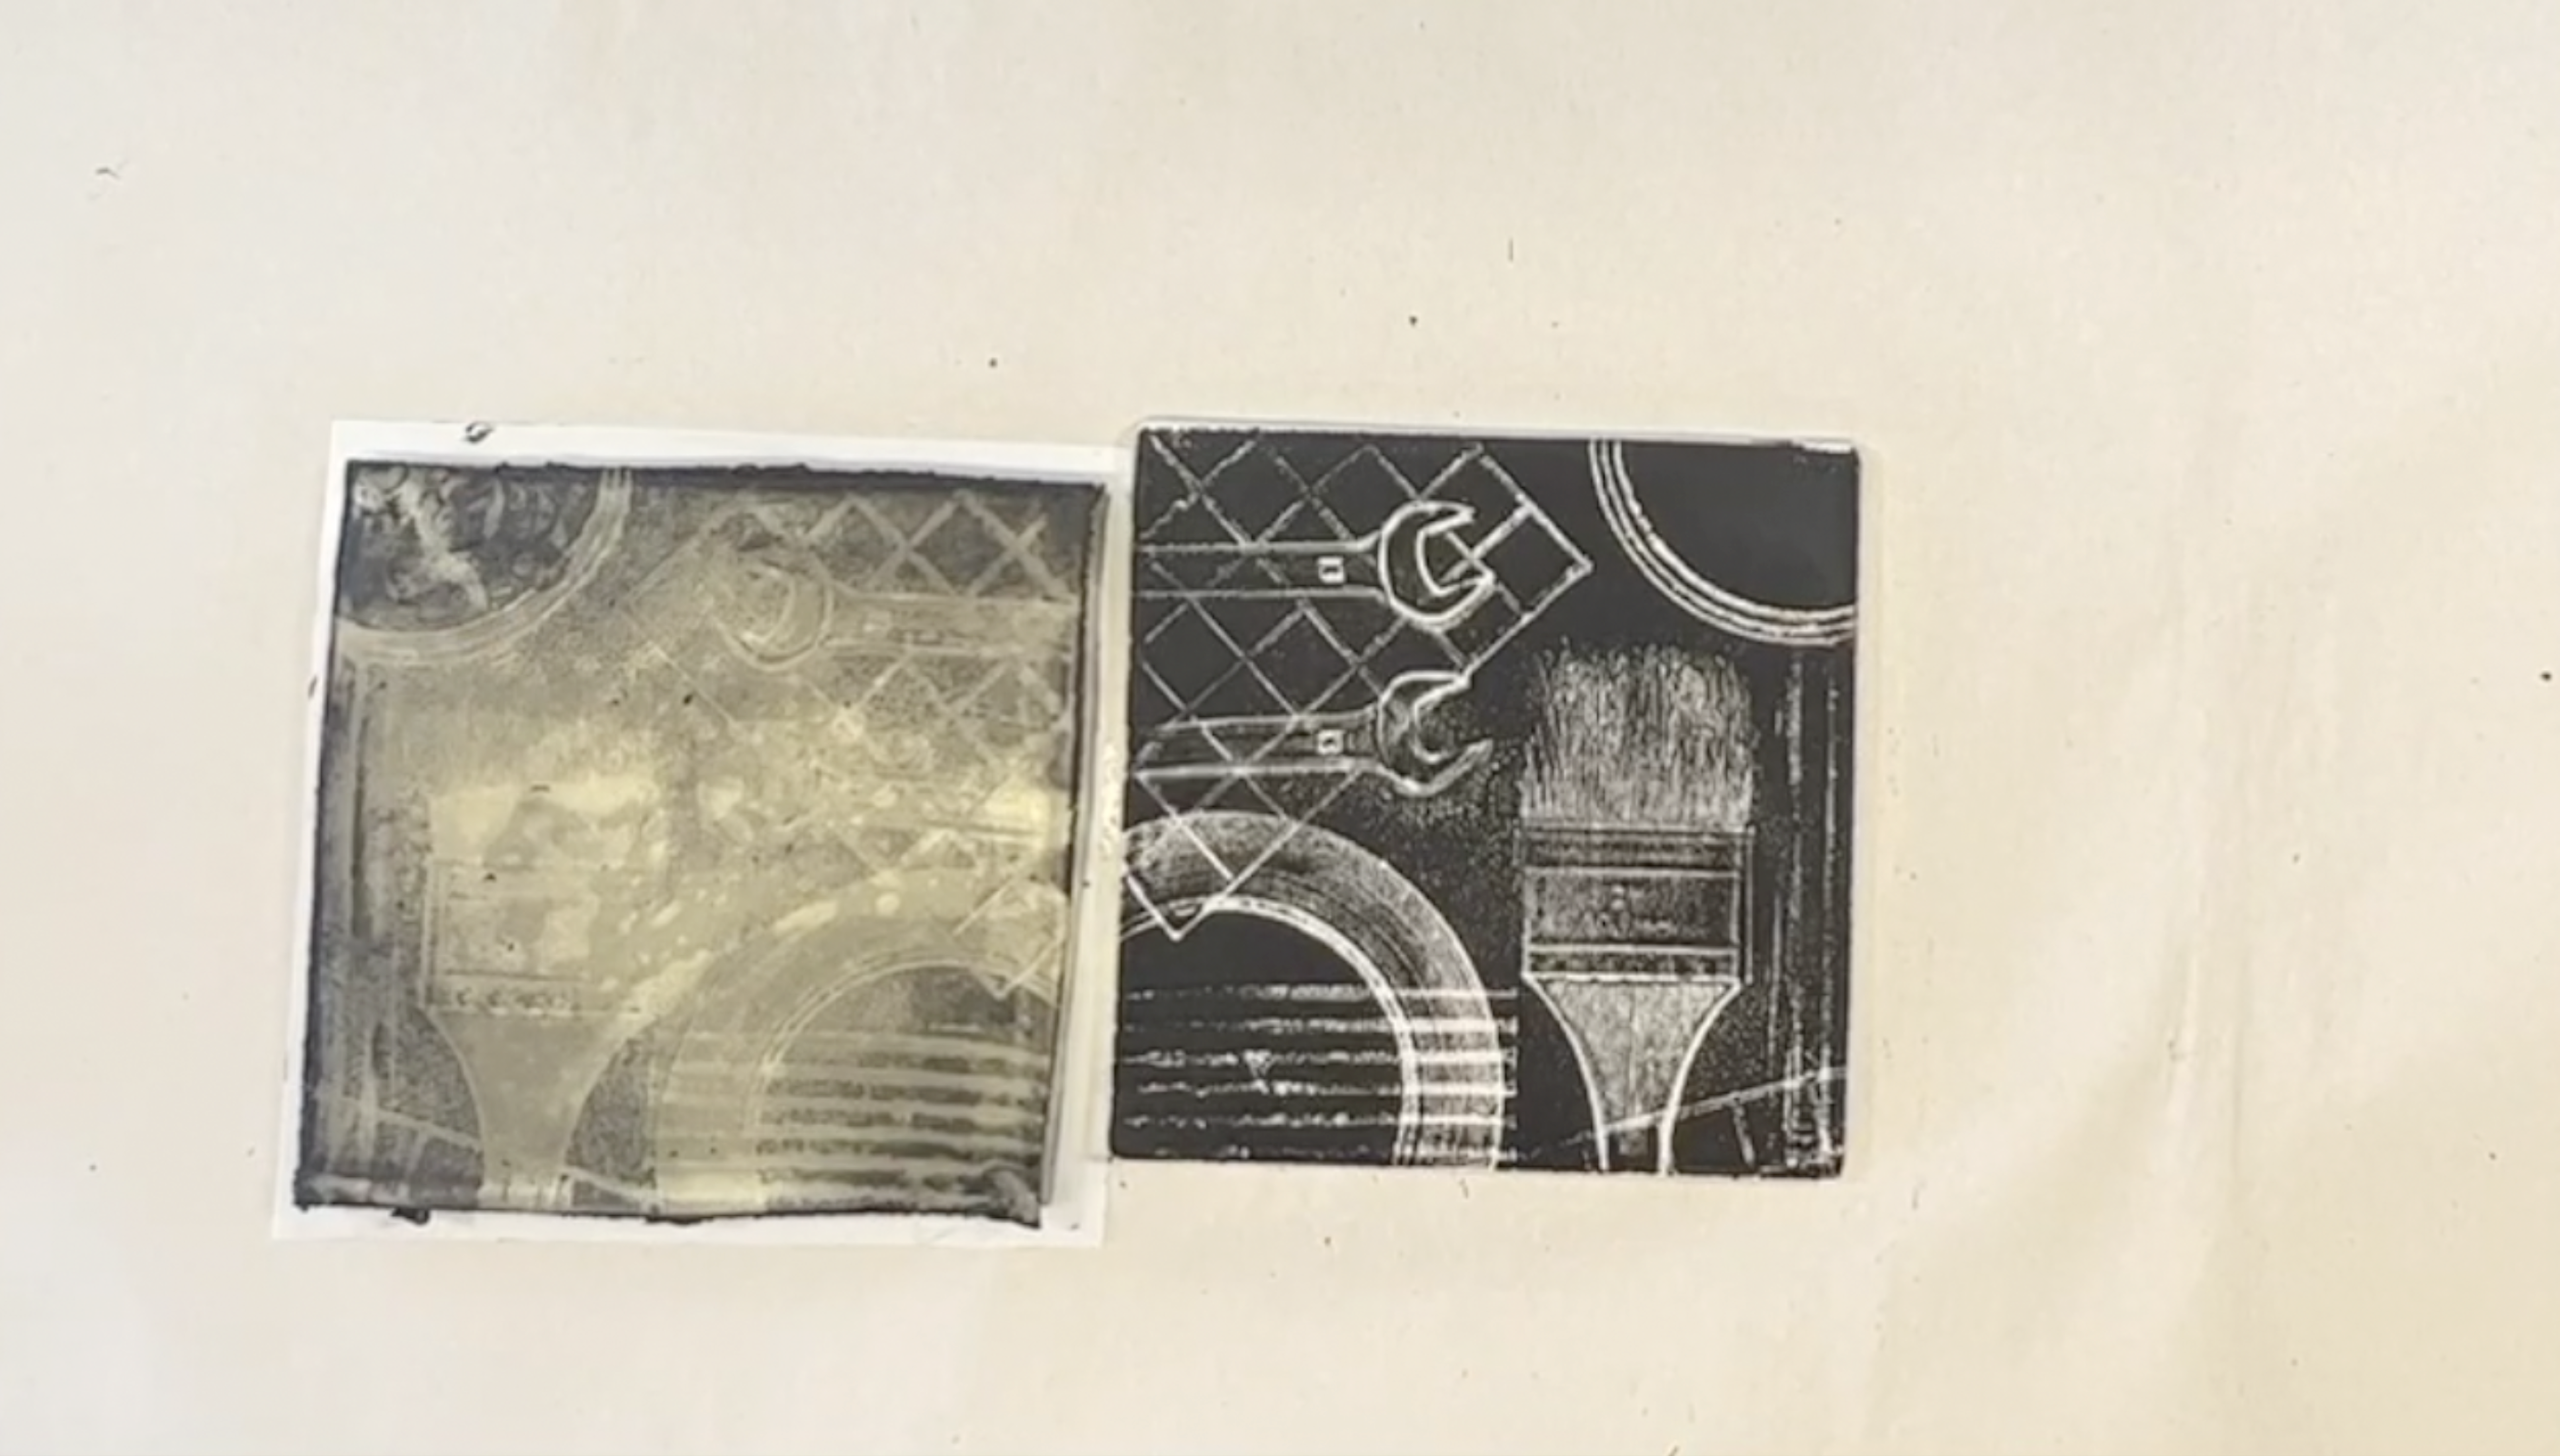
Place the bisque tile onto the gelatin printing plate and press firmly. Hold the tile and gelatin printing plate together and flip them over. Use a wooden roller to press the gelatin printing plate onto the bisque tile, the remove the gelatin printing plate, and the transfer will be complete.
Glaze & Fire
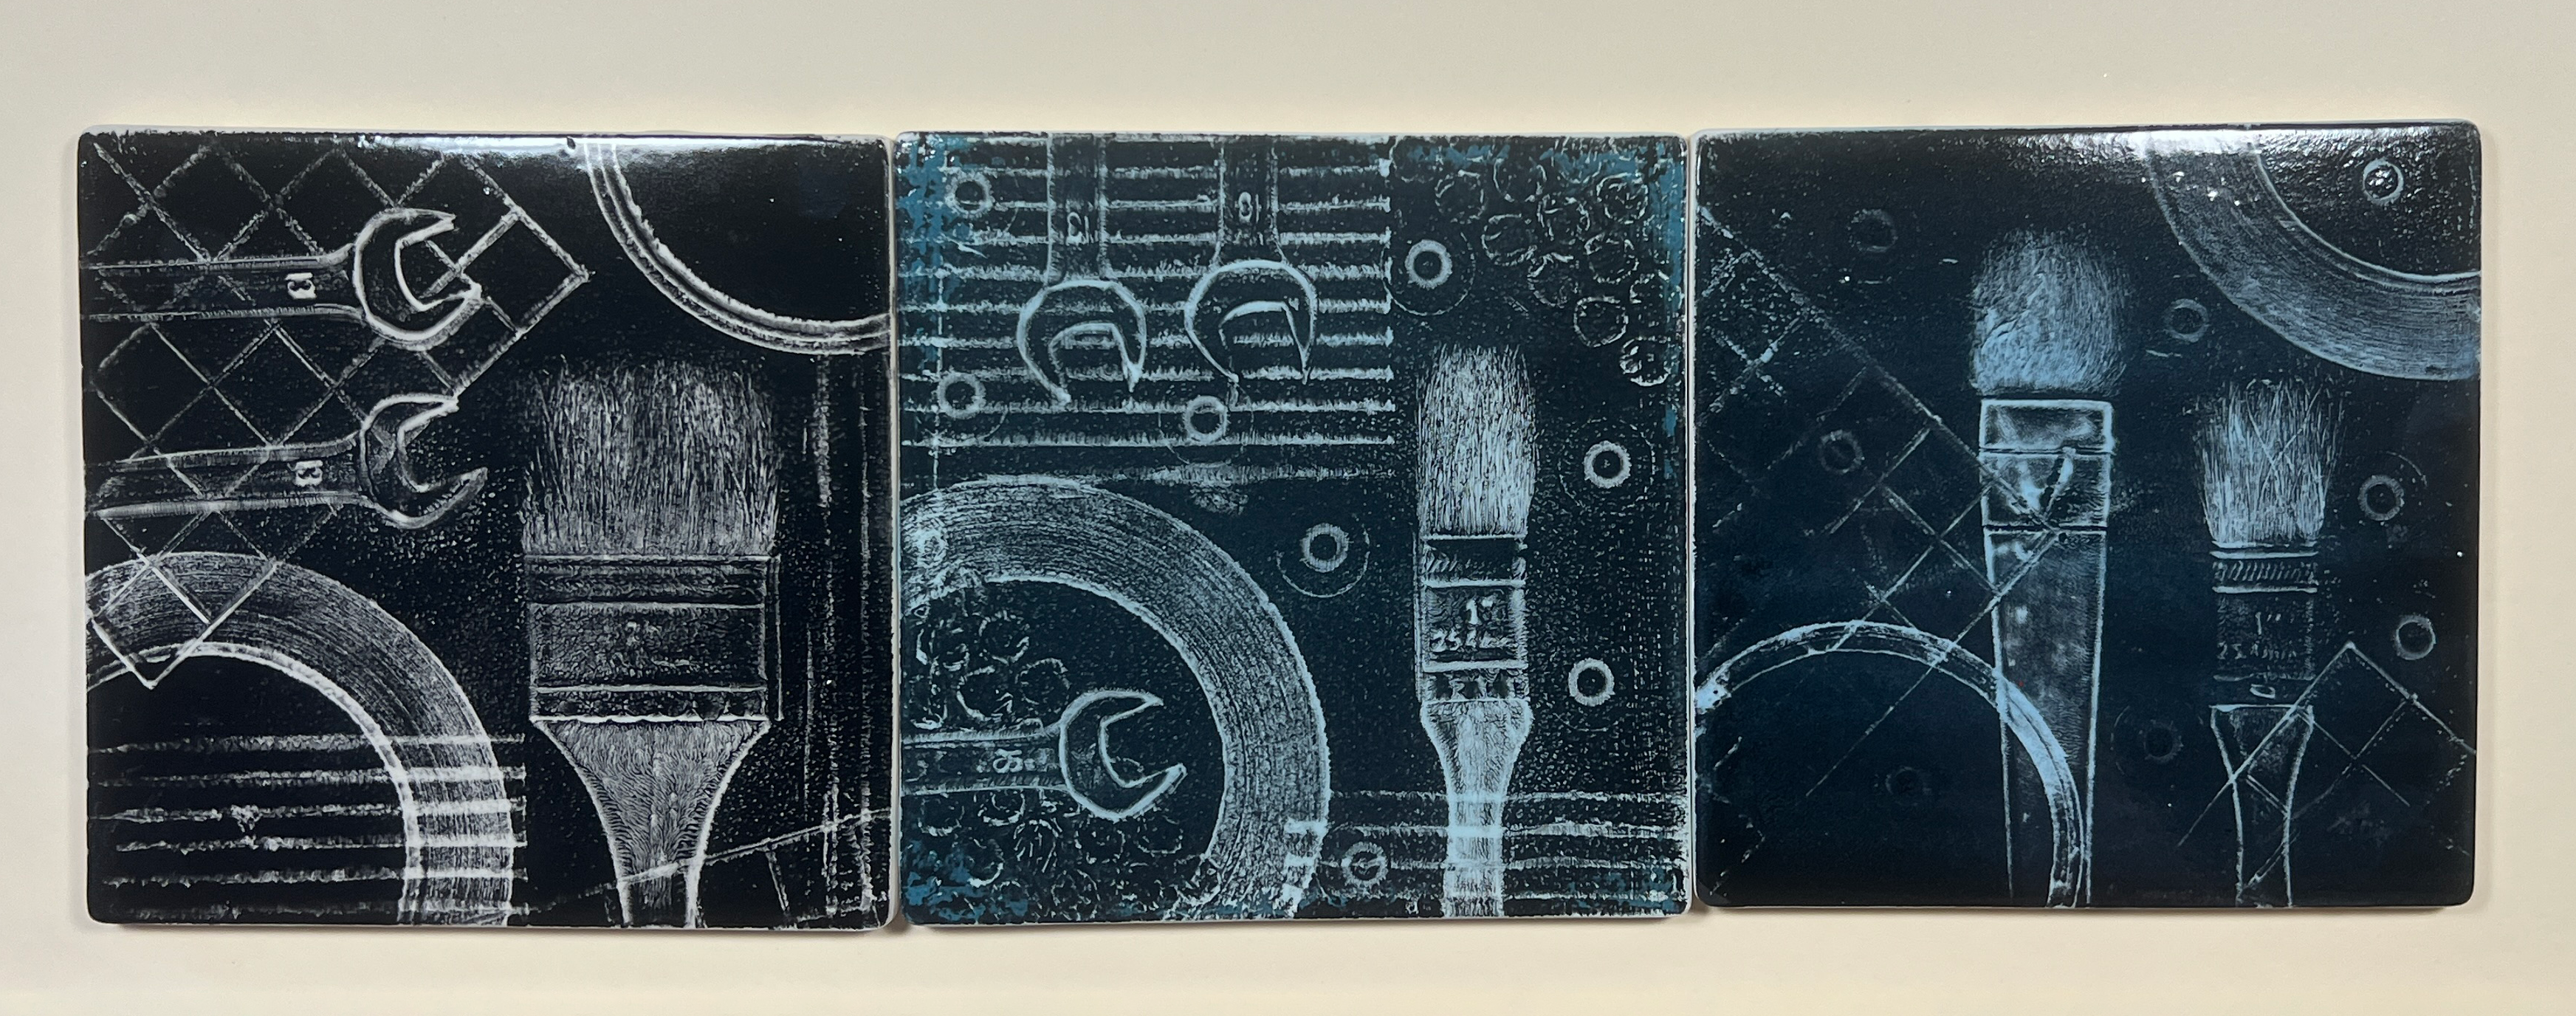
Left: LG-10 Clear Transparent; Middle: 50/50 TPL-23 Aquamarine & LG-10 Clear Transparent; Right: 50/50 TPL-27 Zircon & LG-10 Clear Transparent
The printed bisque tile can be glazed with LG-10 Clear Transparent or a 50/50 mix of AMACO TPL Glaze and LG-10 Clear Transparent.
TPL-23 Aquamarine and TPL-27 Zircon work especially well.
Glaze fire to Cone 05 on medium speed.
Tissue Paper Transfer
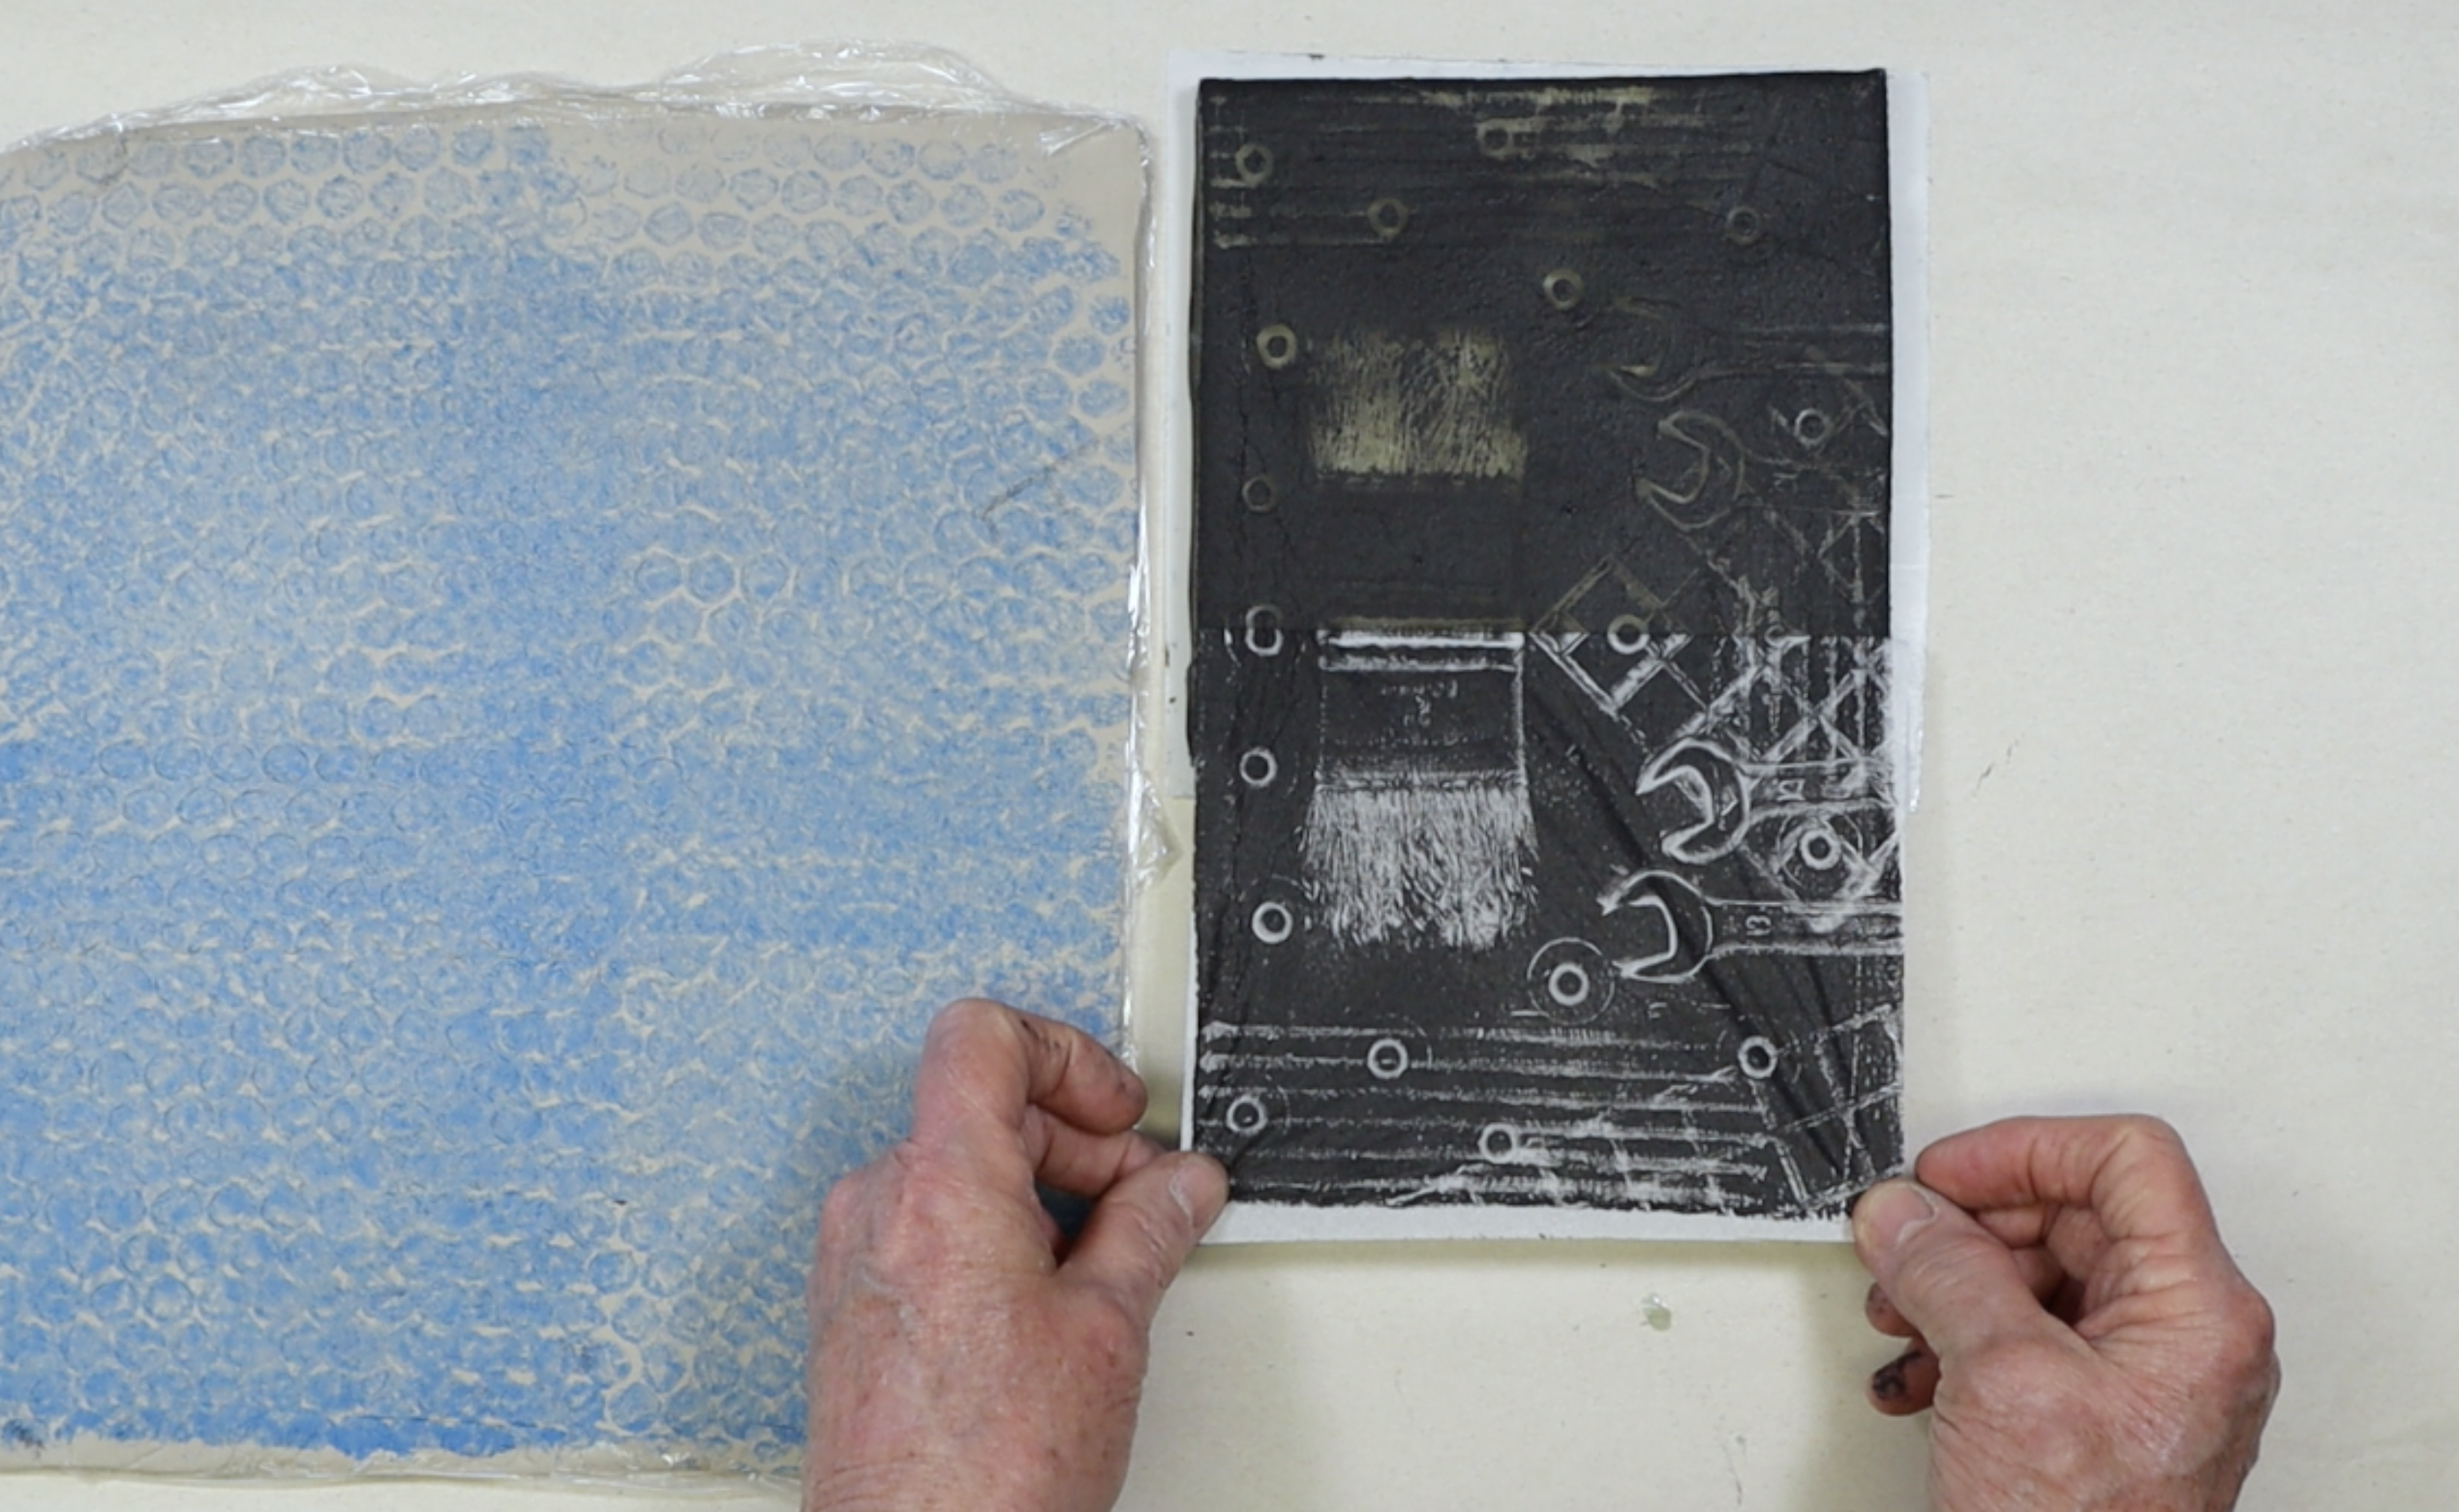
Roll INK to Create Texture
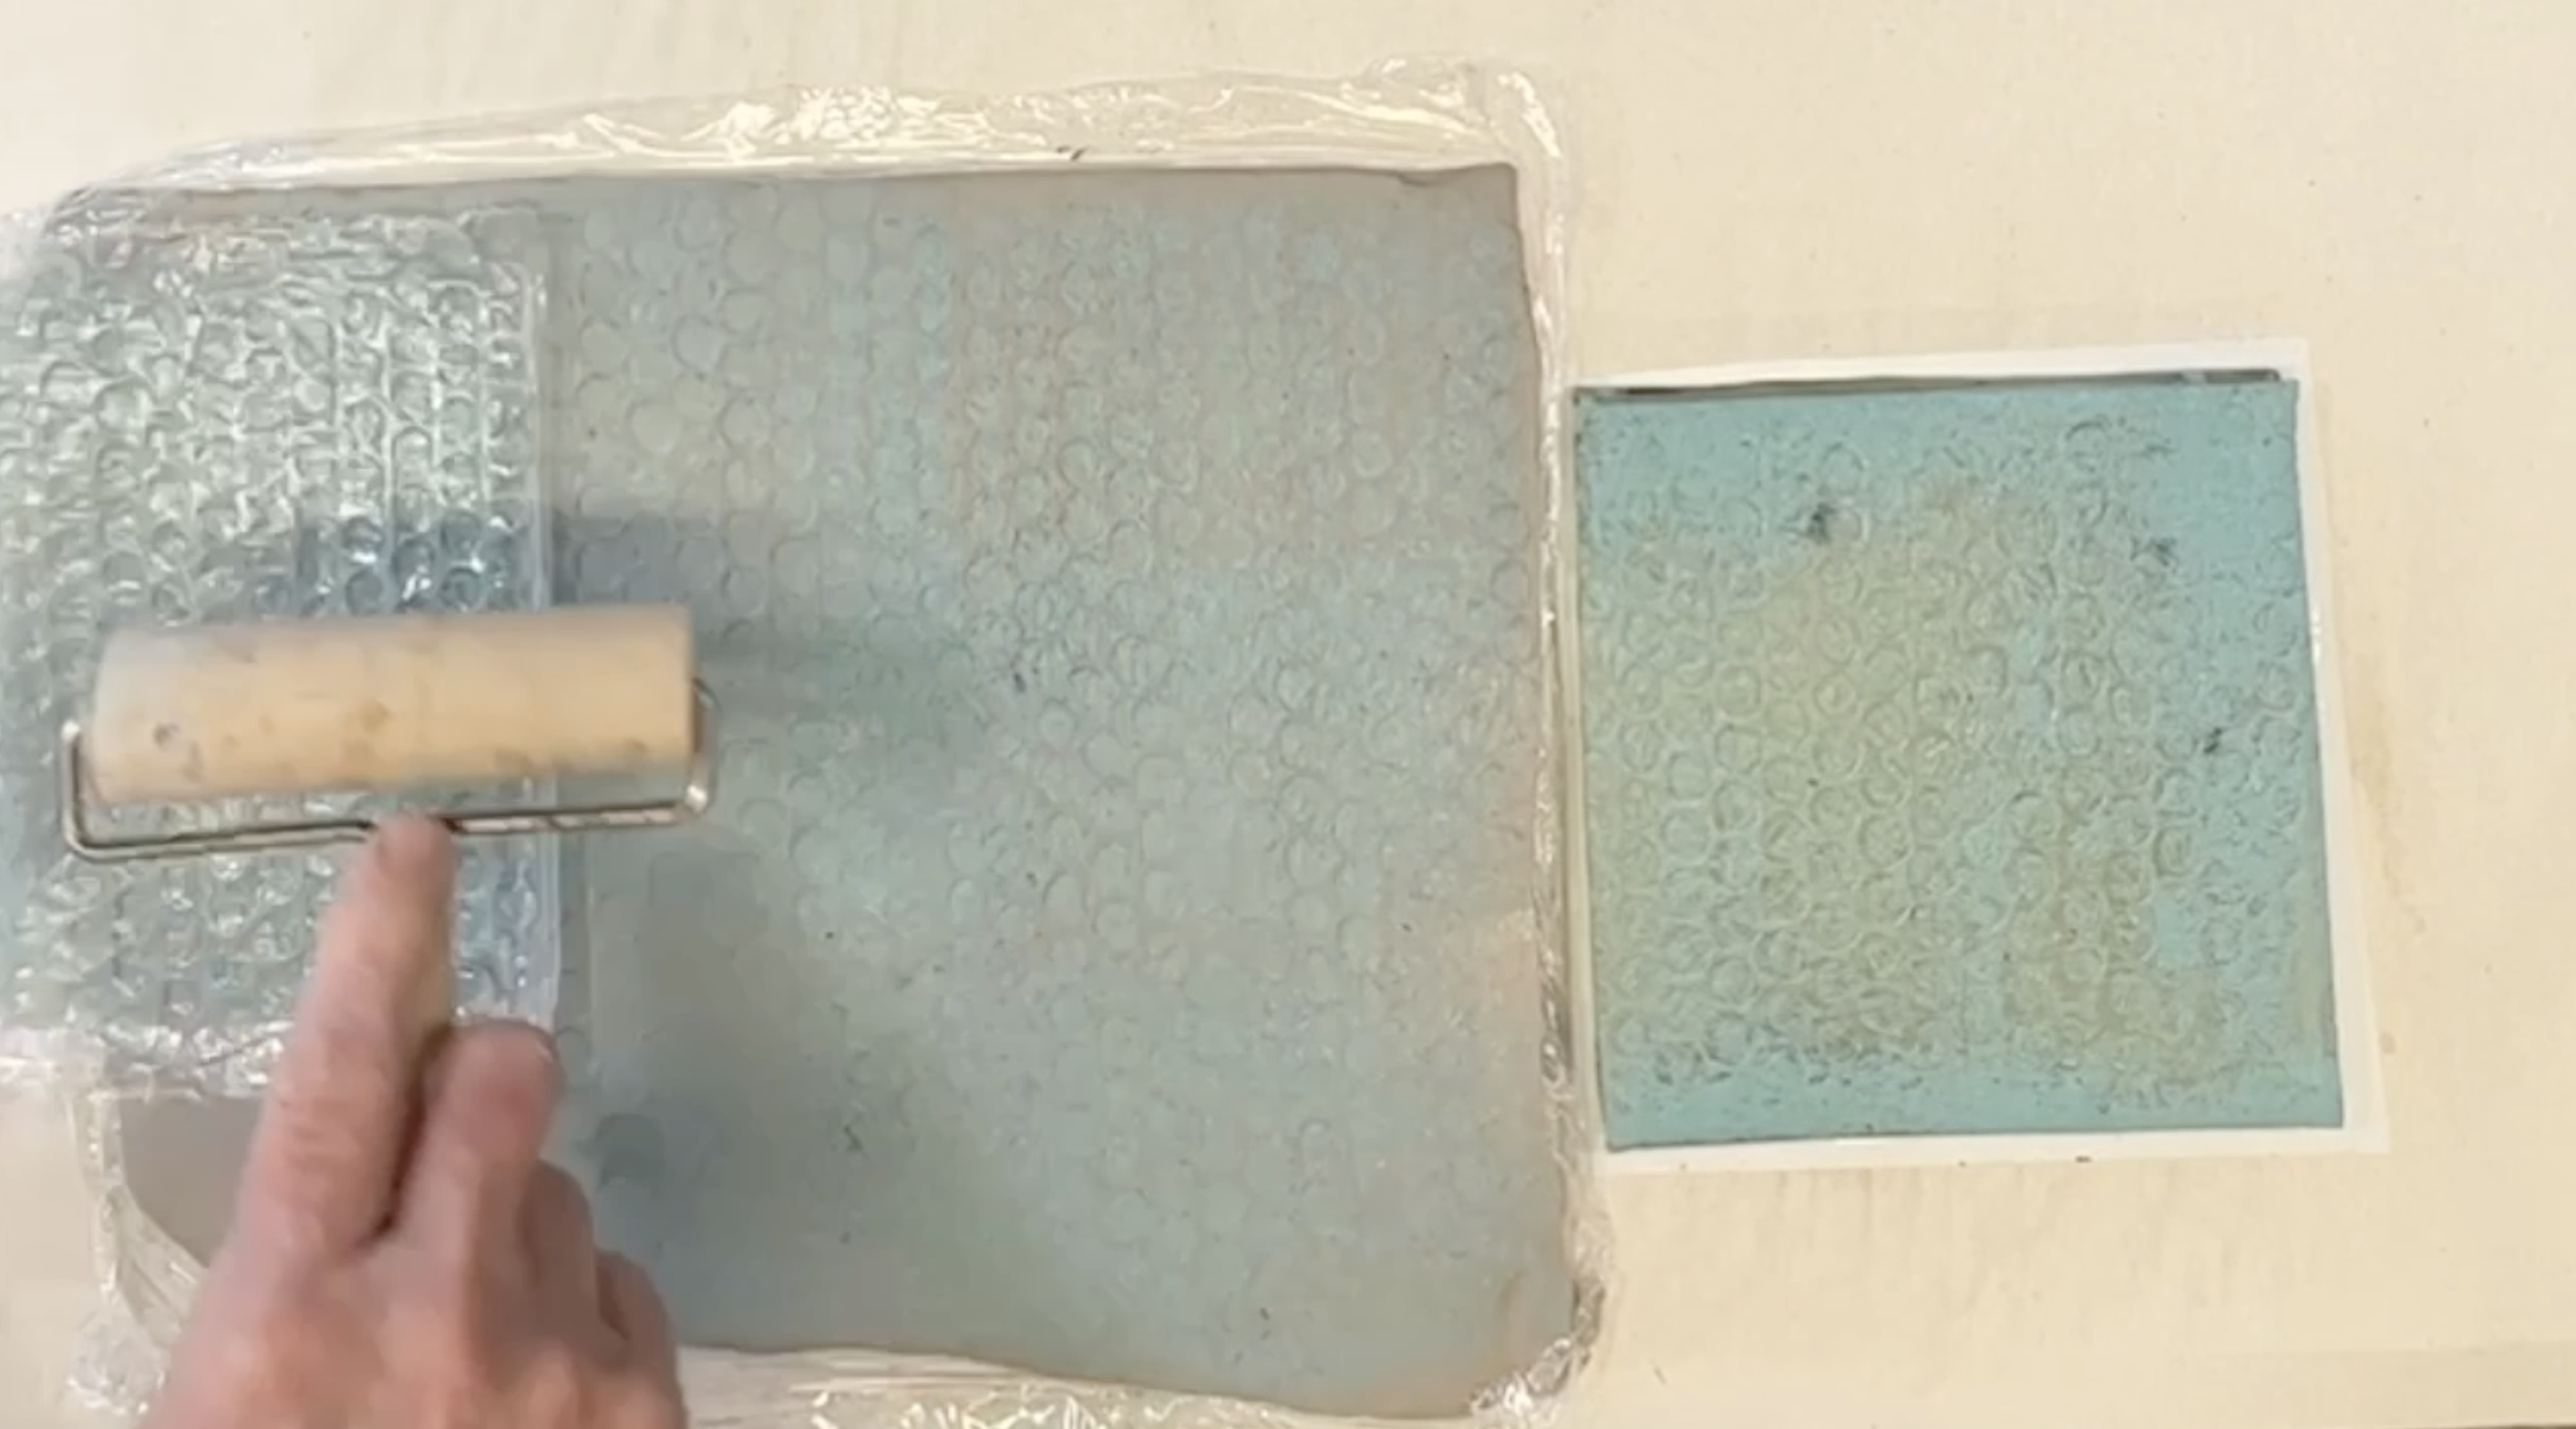
Roll a light-colored AMACO Ceramic Printing INK onto a textured surface, like bubble wrap.
Print a Textured Background
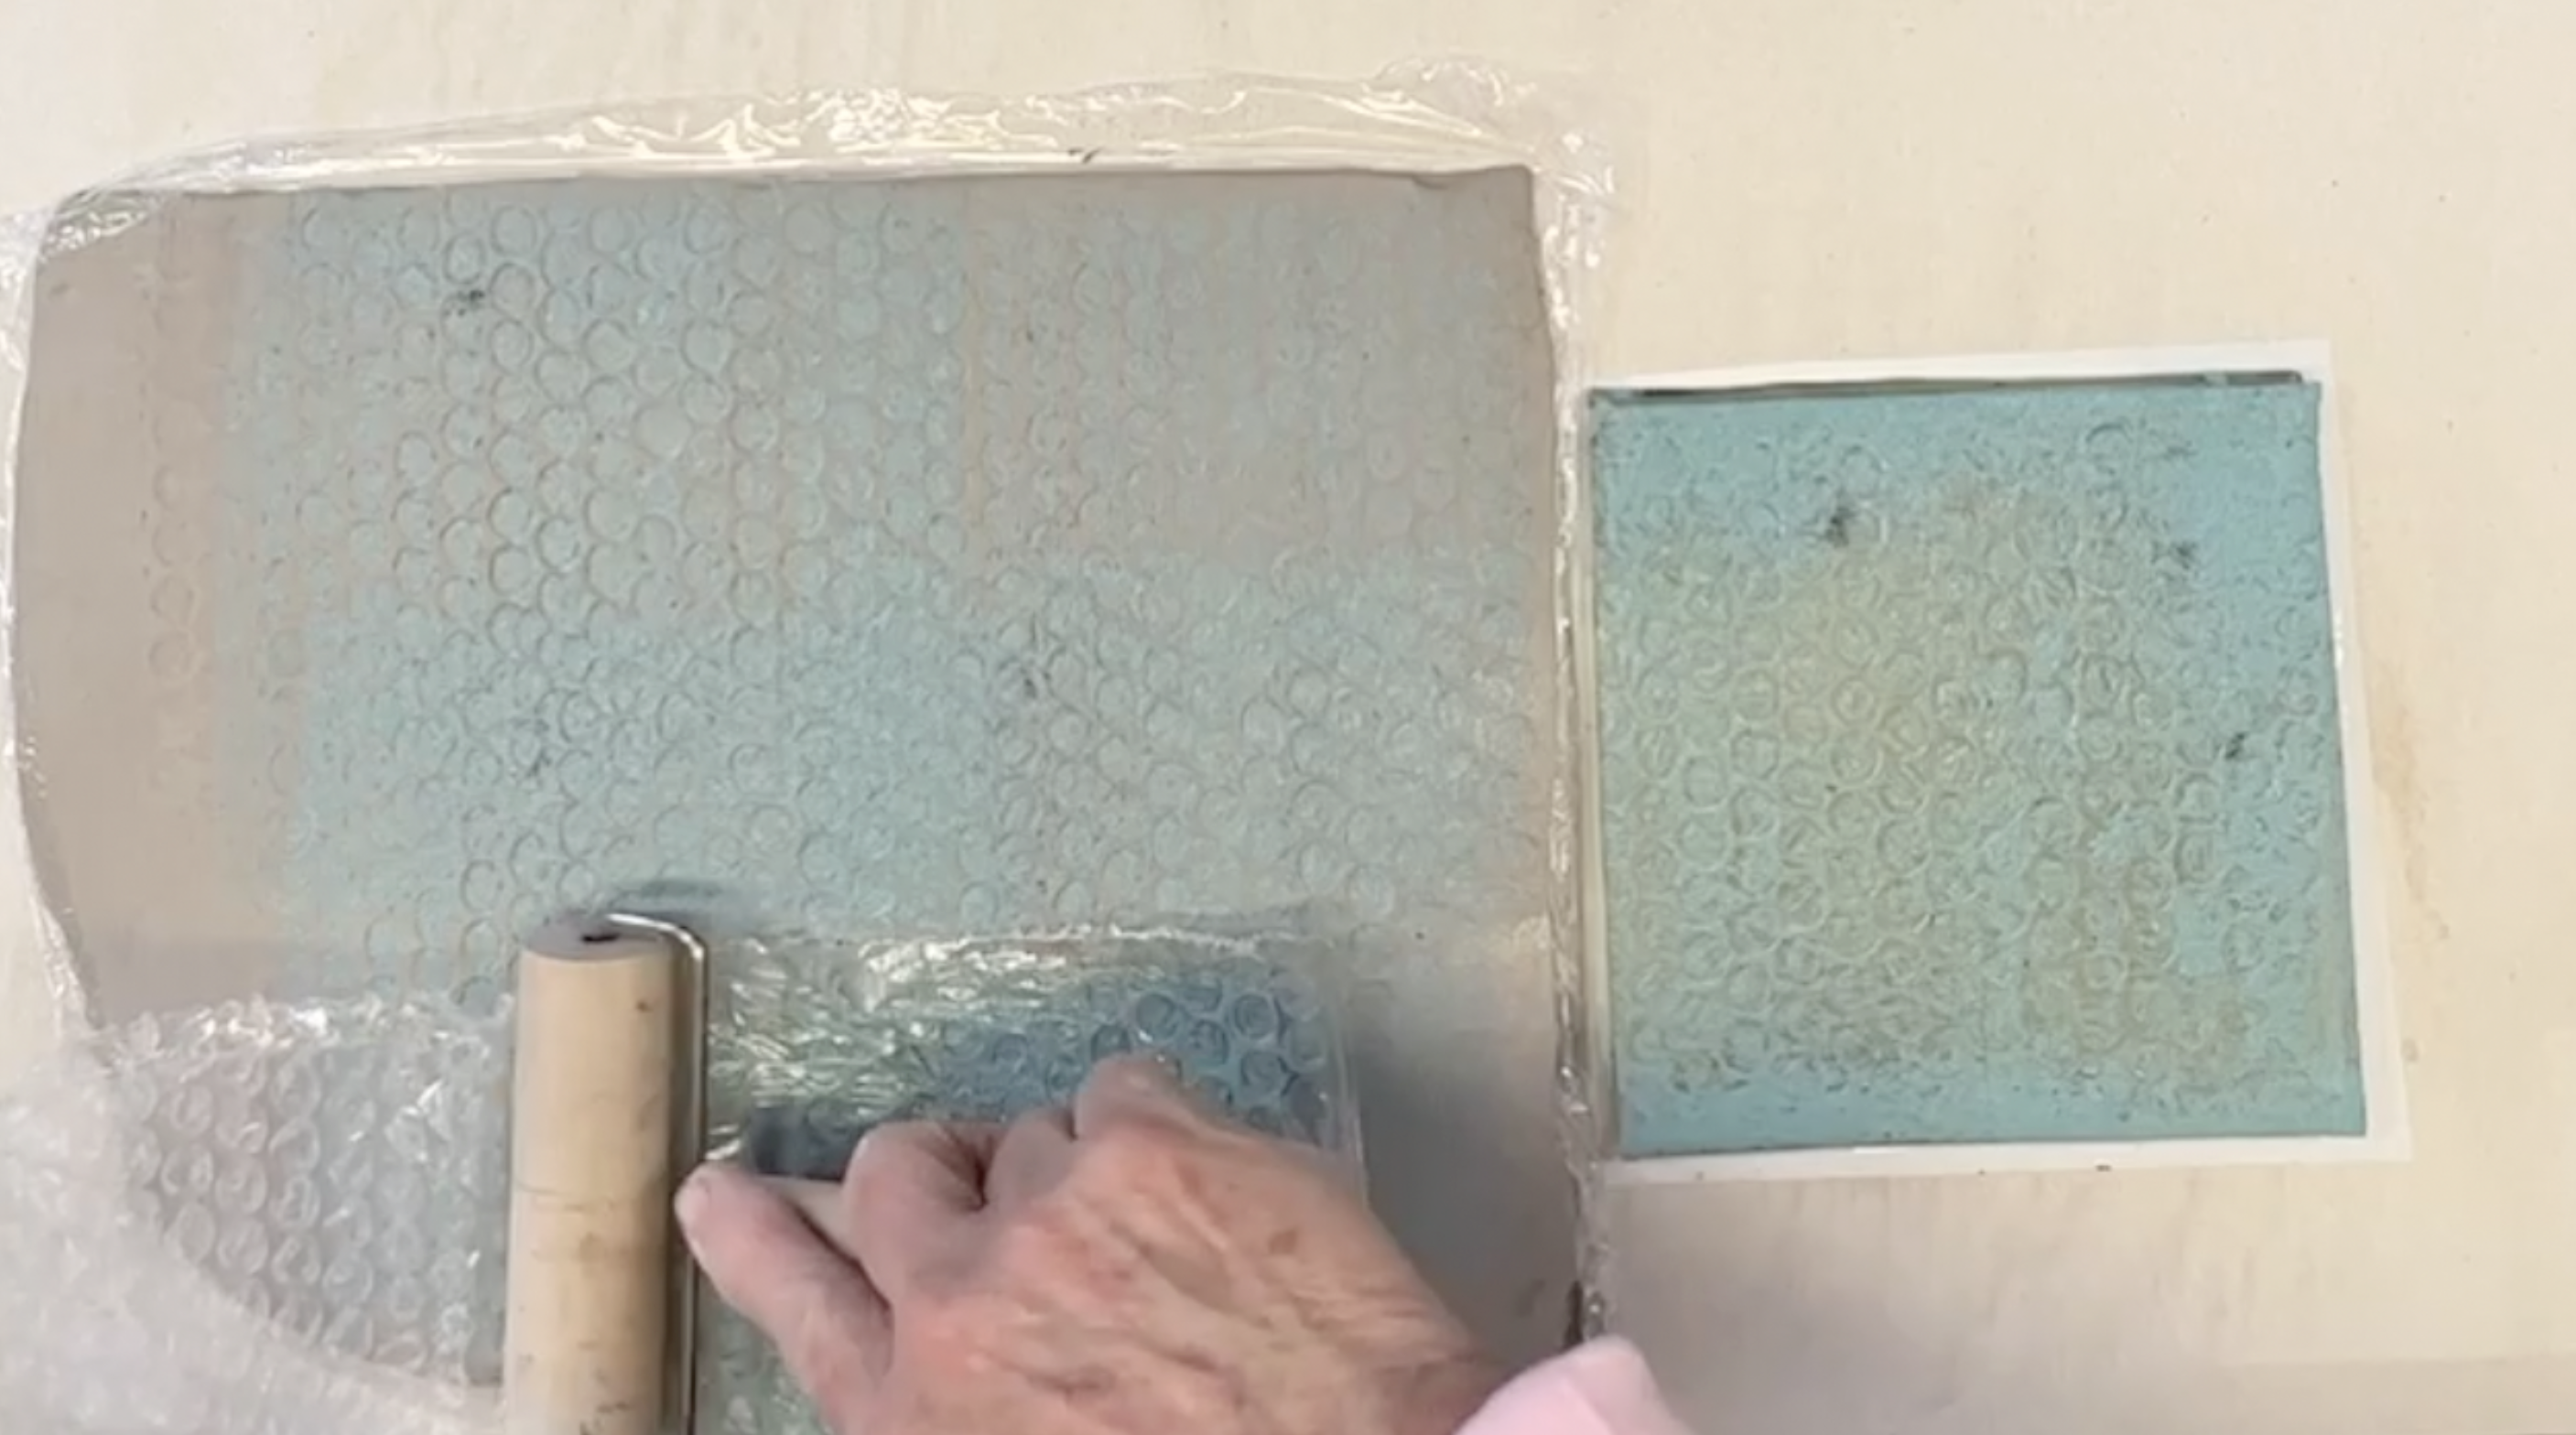
Press the inked bubble wrap onto a moist clay slab to print the texture. Repeat the process to create a random pattern.
Smooth the Surface
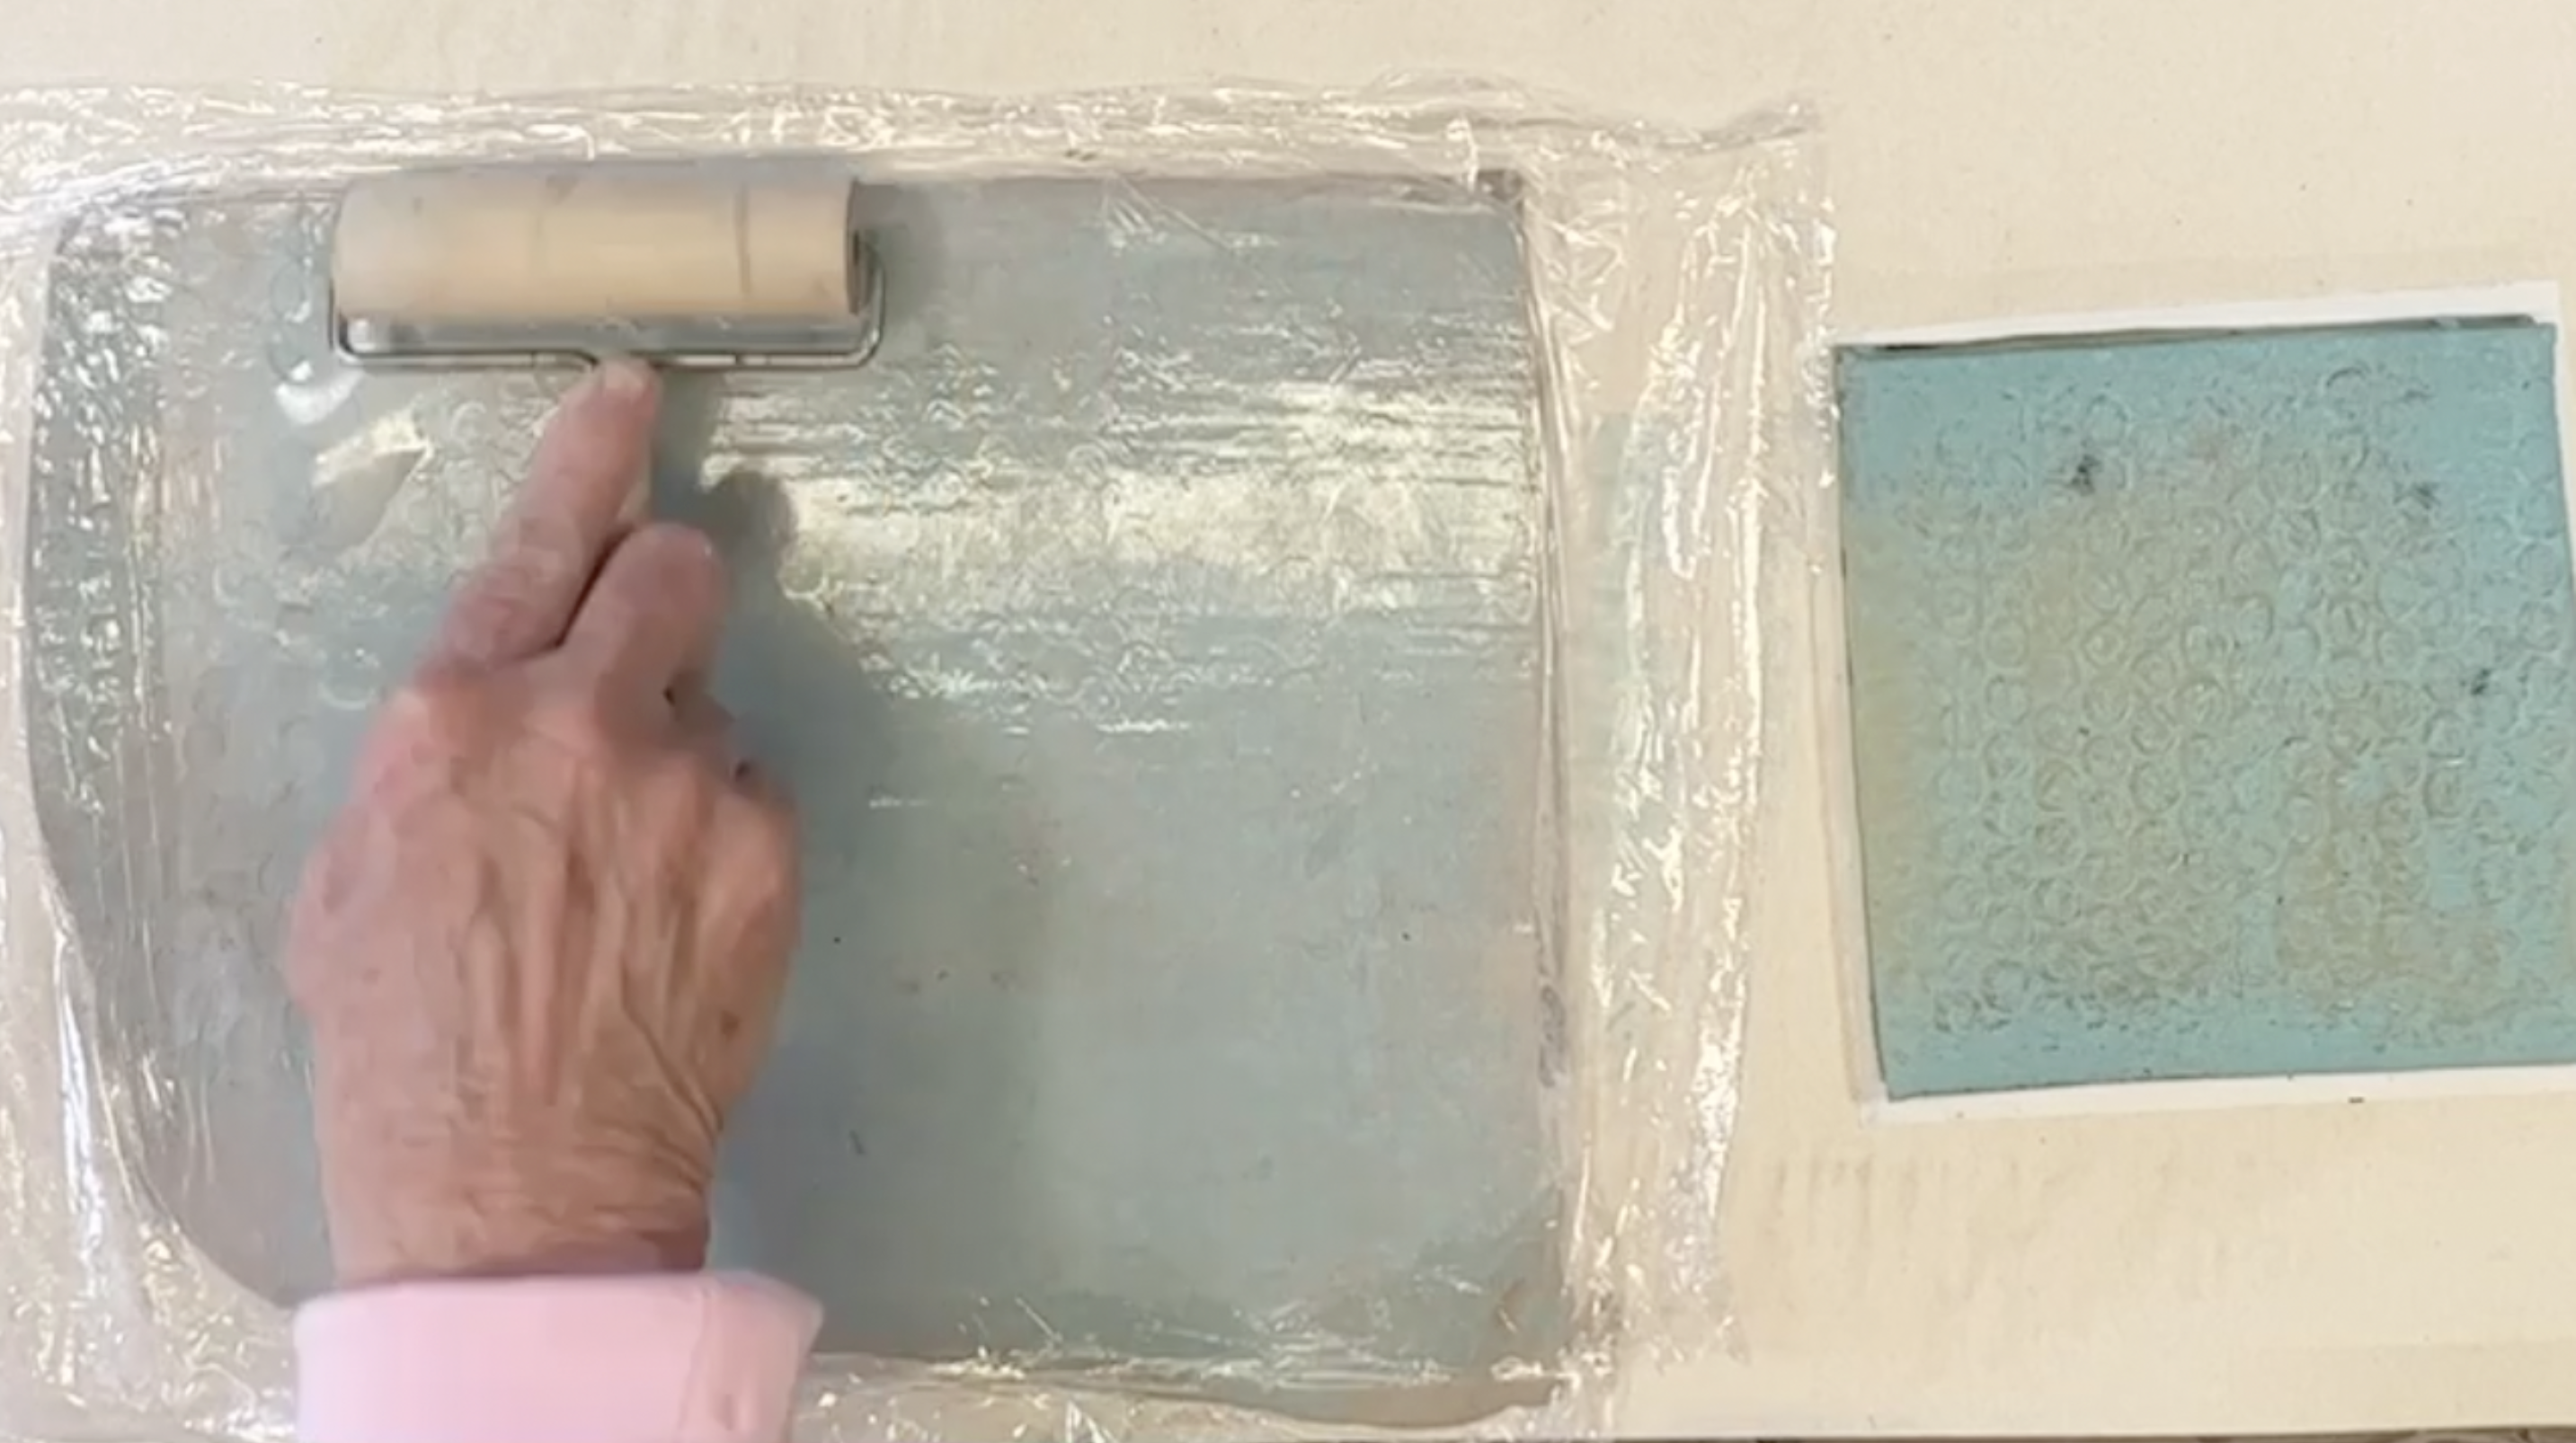
When the textured pattern is made, place plastic wrap over the slab and use a wooden roller to smooth the surface.
Clean the Printing Plate
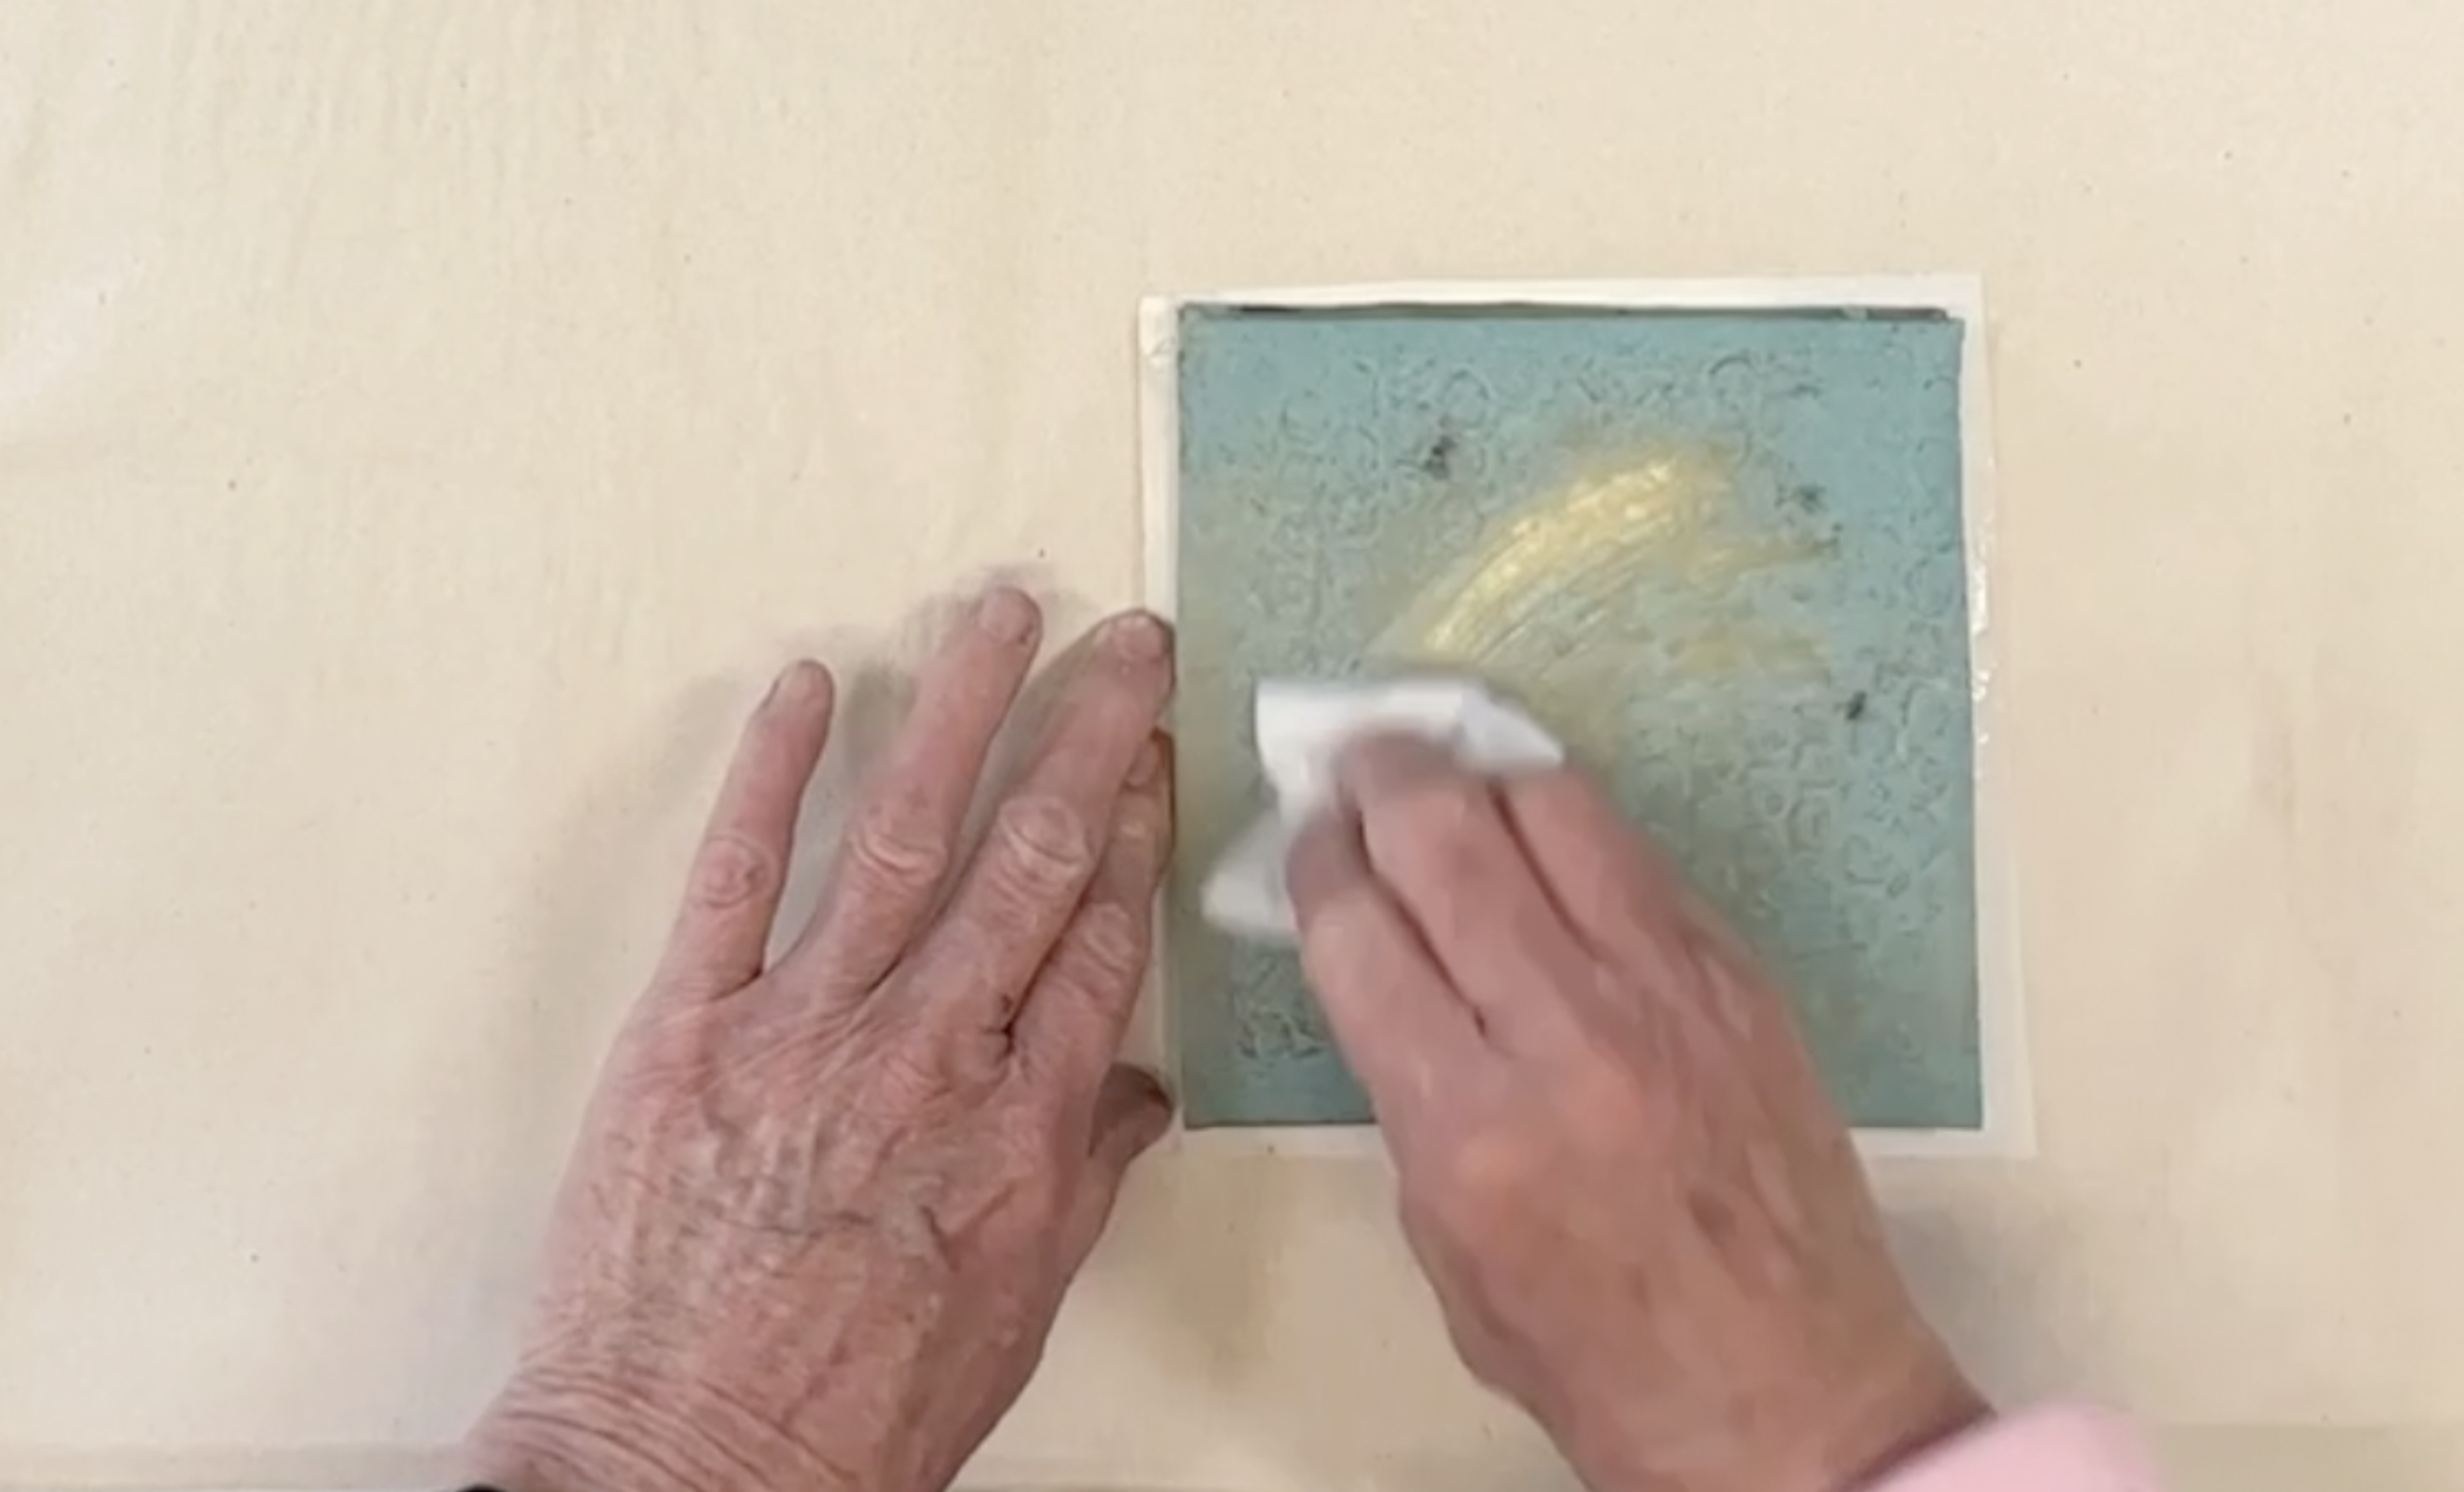
Clean the printing plate with a baby wipe or with water and a paper towel.
Prepare the Printing Plate
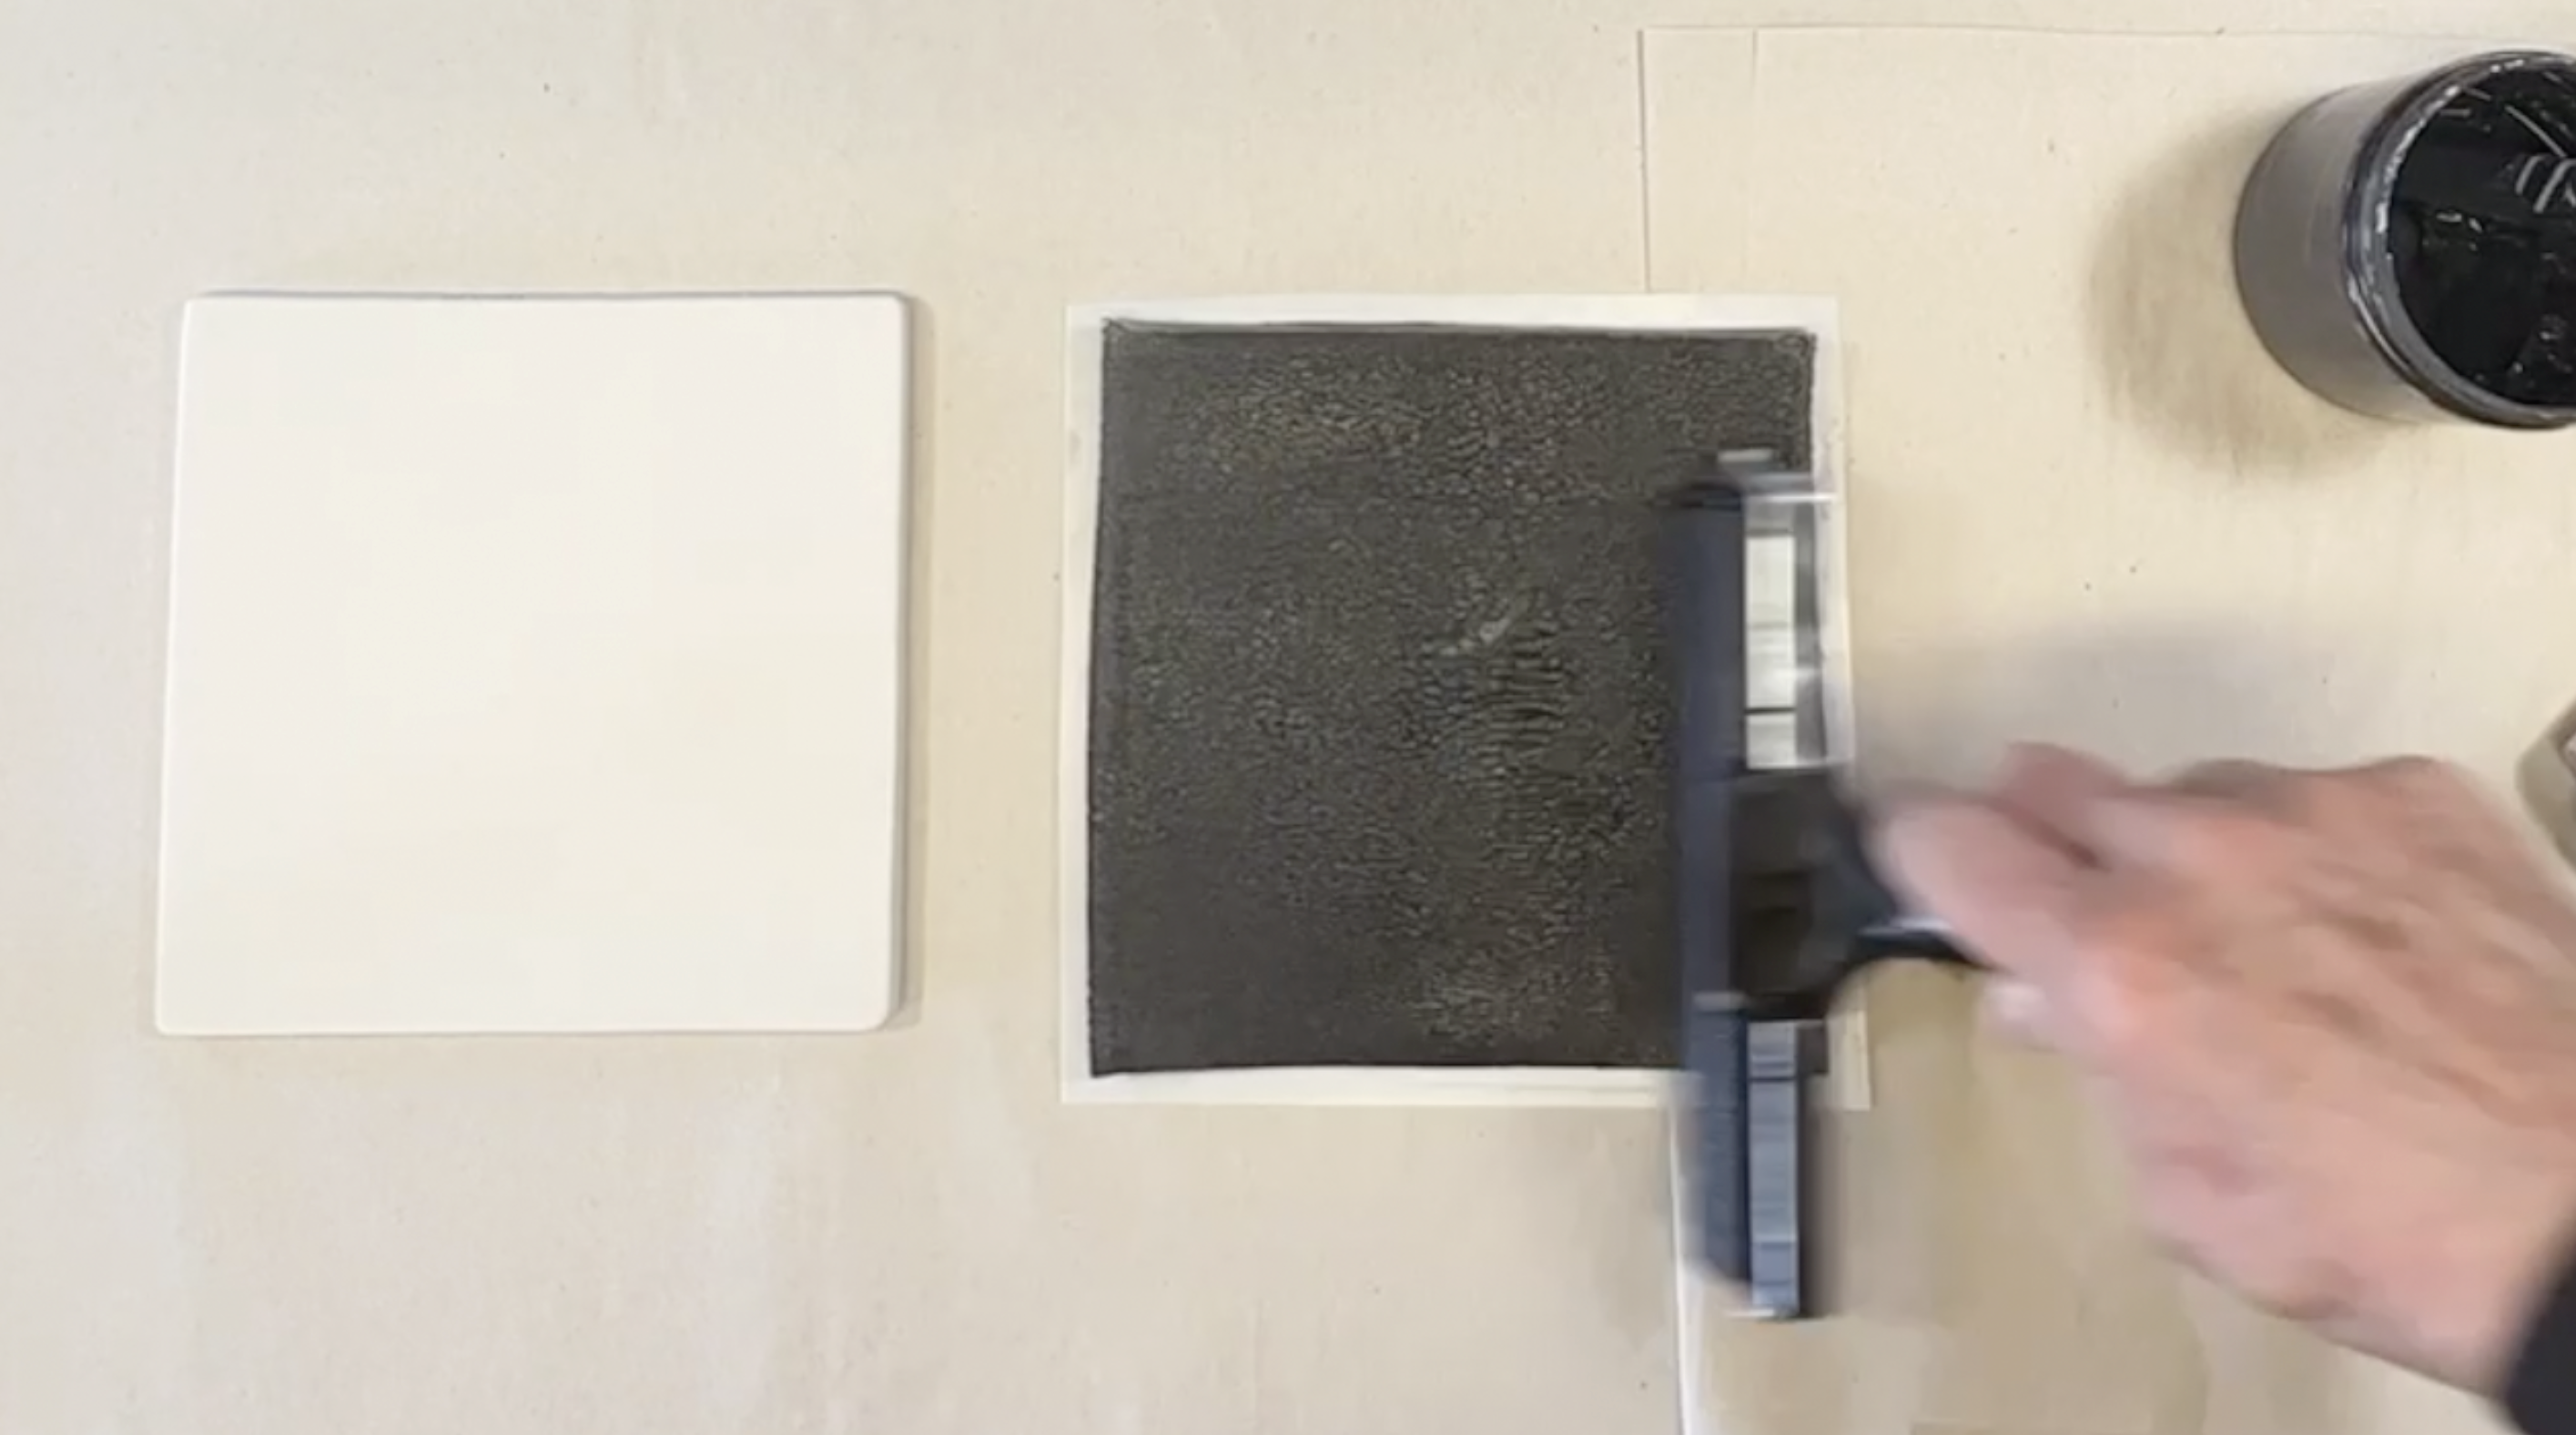
Apply AMACO Ceramic Printing INK with a palette knife or popsicle stick, and add a drop of dish soap. Use a brayer to cover the gelatin printing plate with AMACO Ceramic Printing INK evenly.
Create the Tissue Paper Print
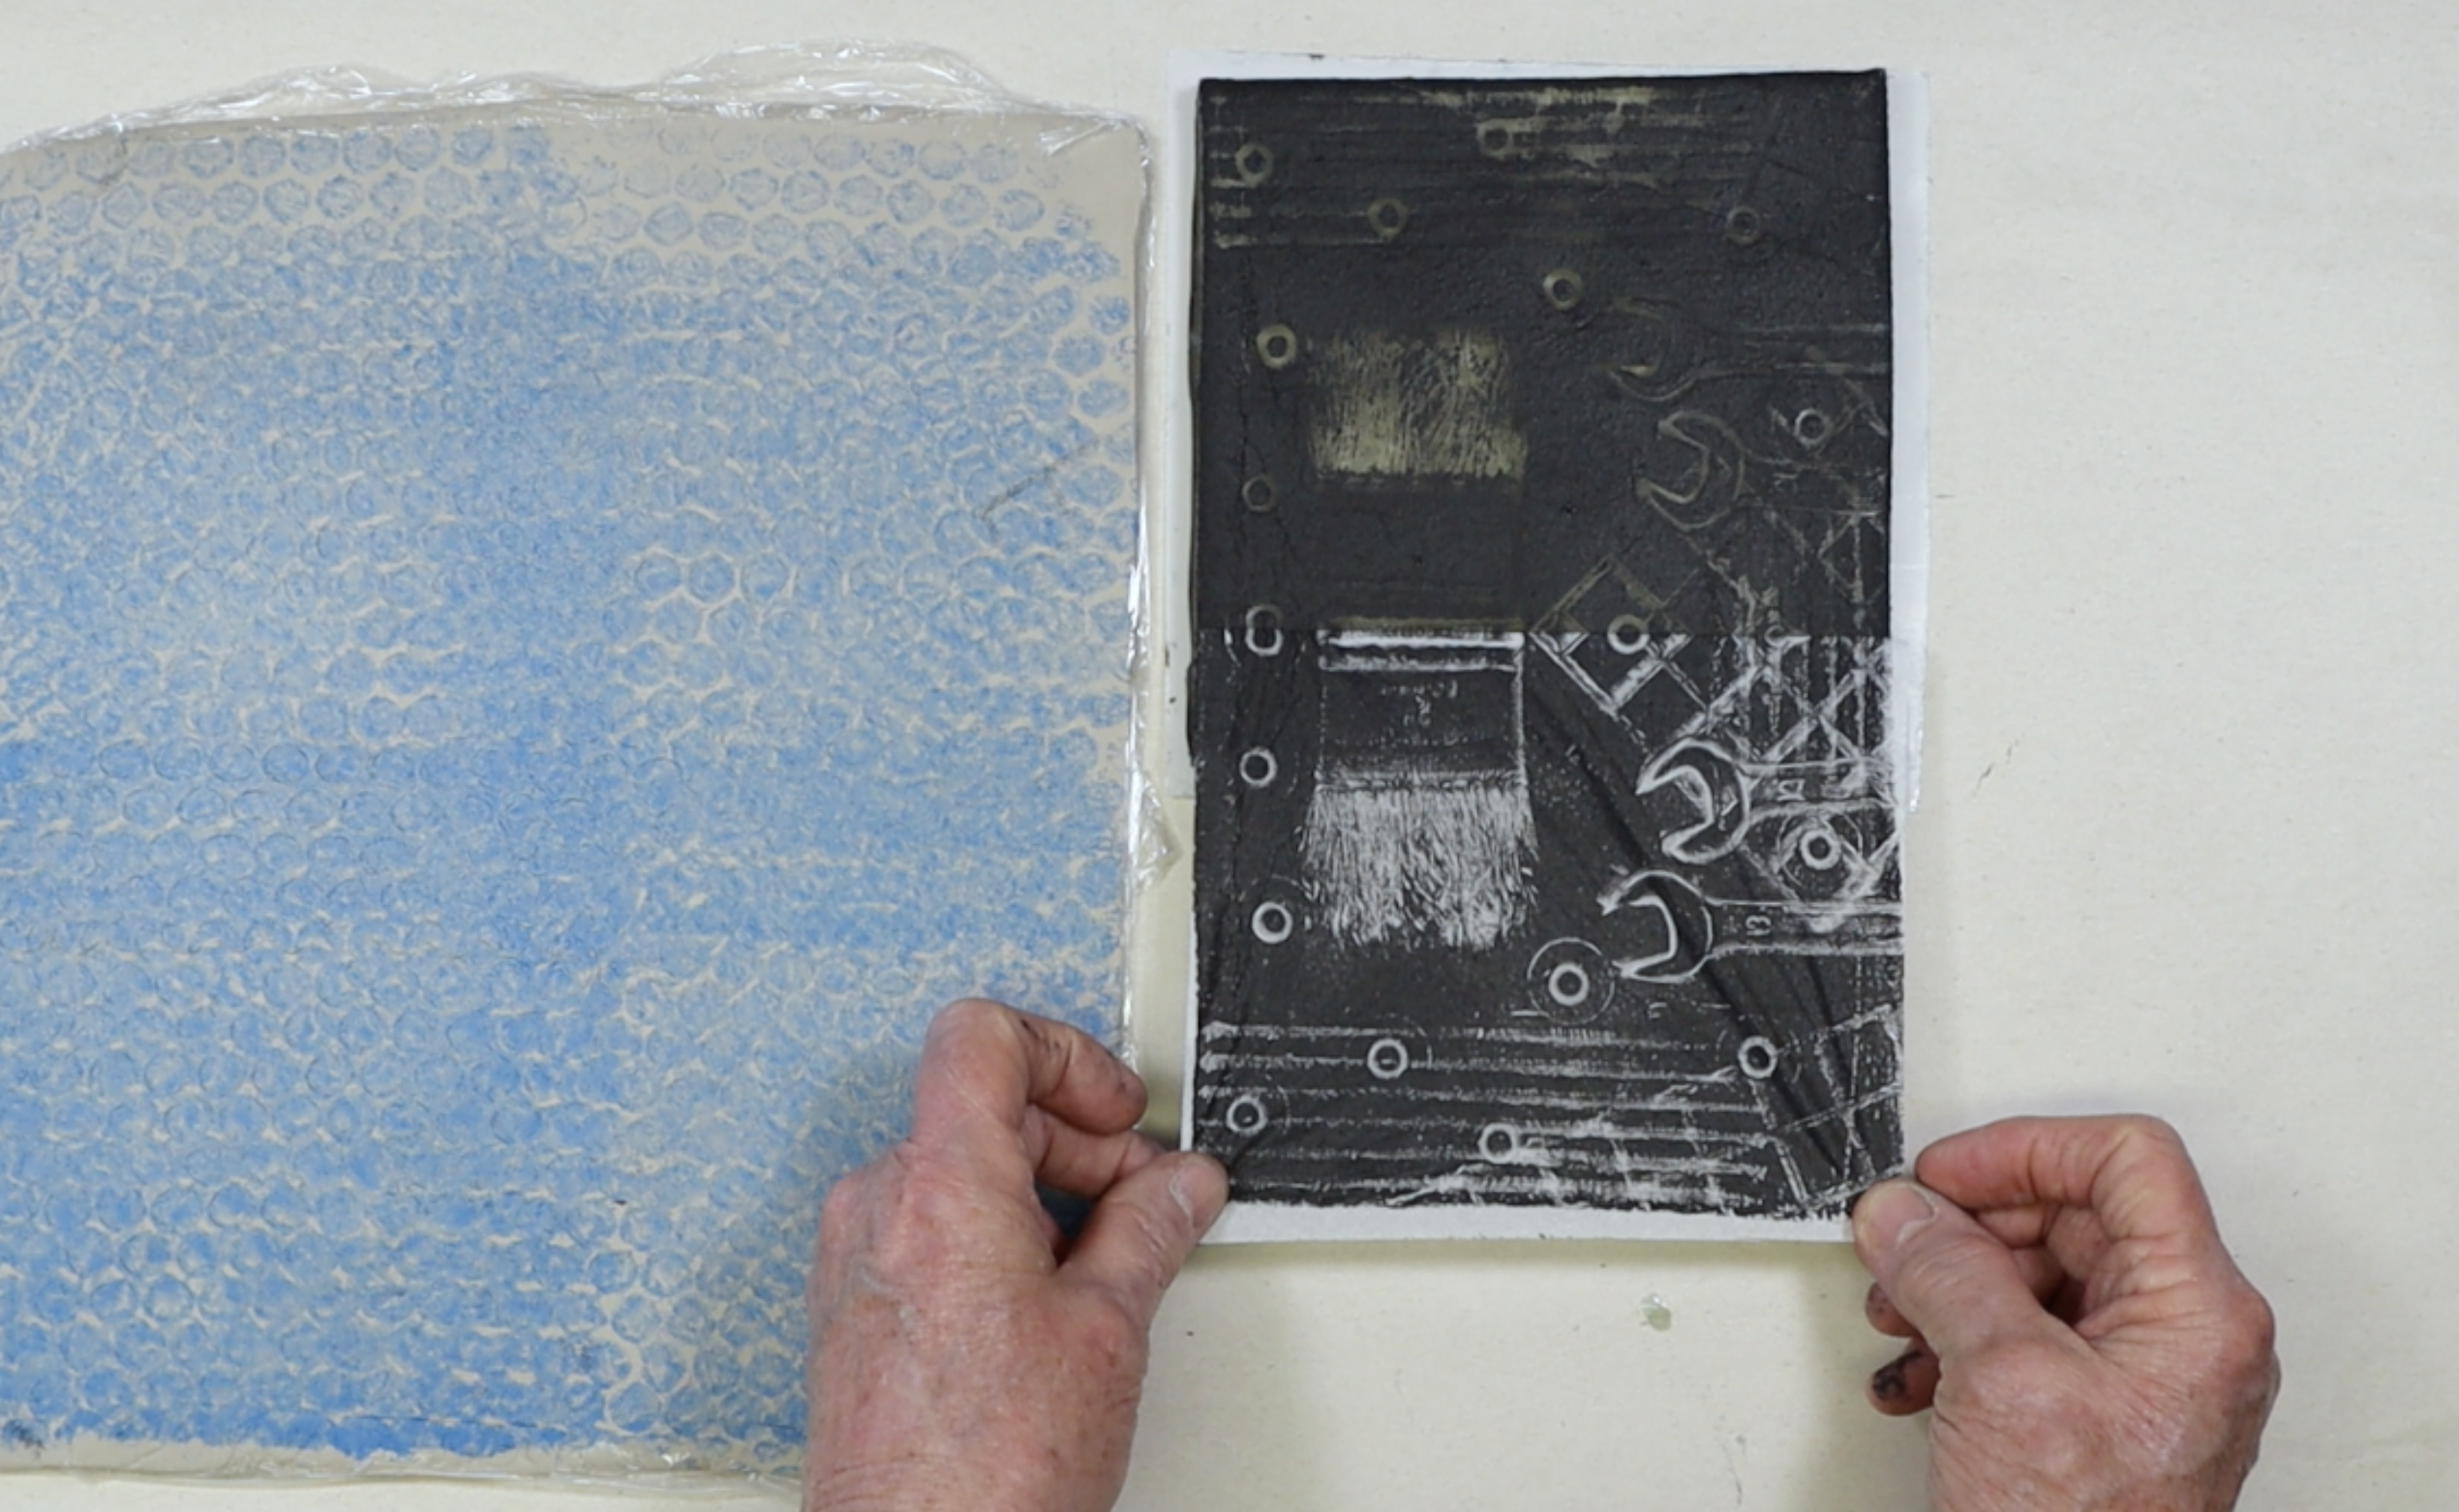
Press objects into the inked printing plate. Place a piece of white tissue paper, shiny side down, on the inked plate and roll with a wooden roller.
Transfer the Print to Clay
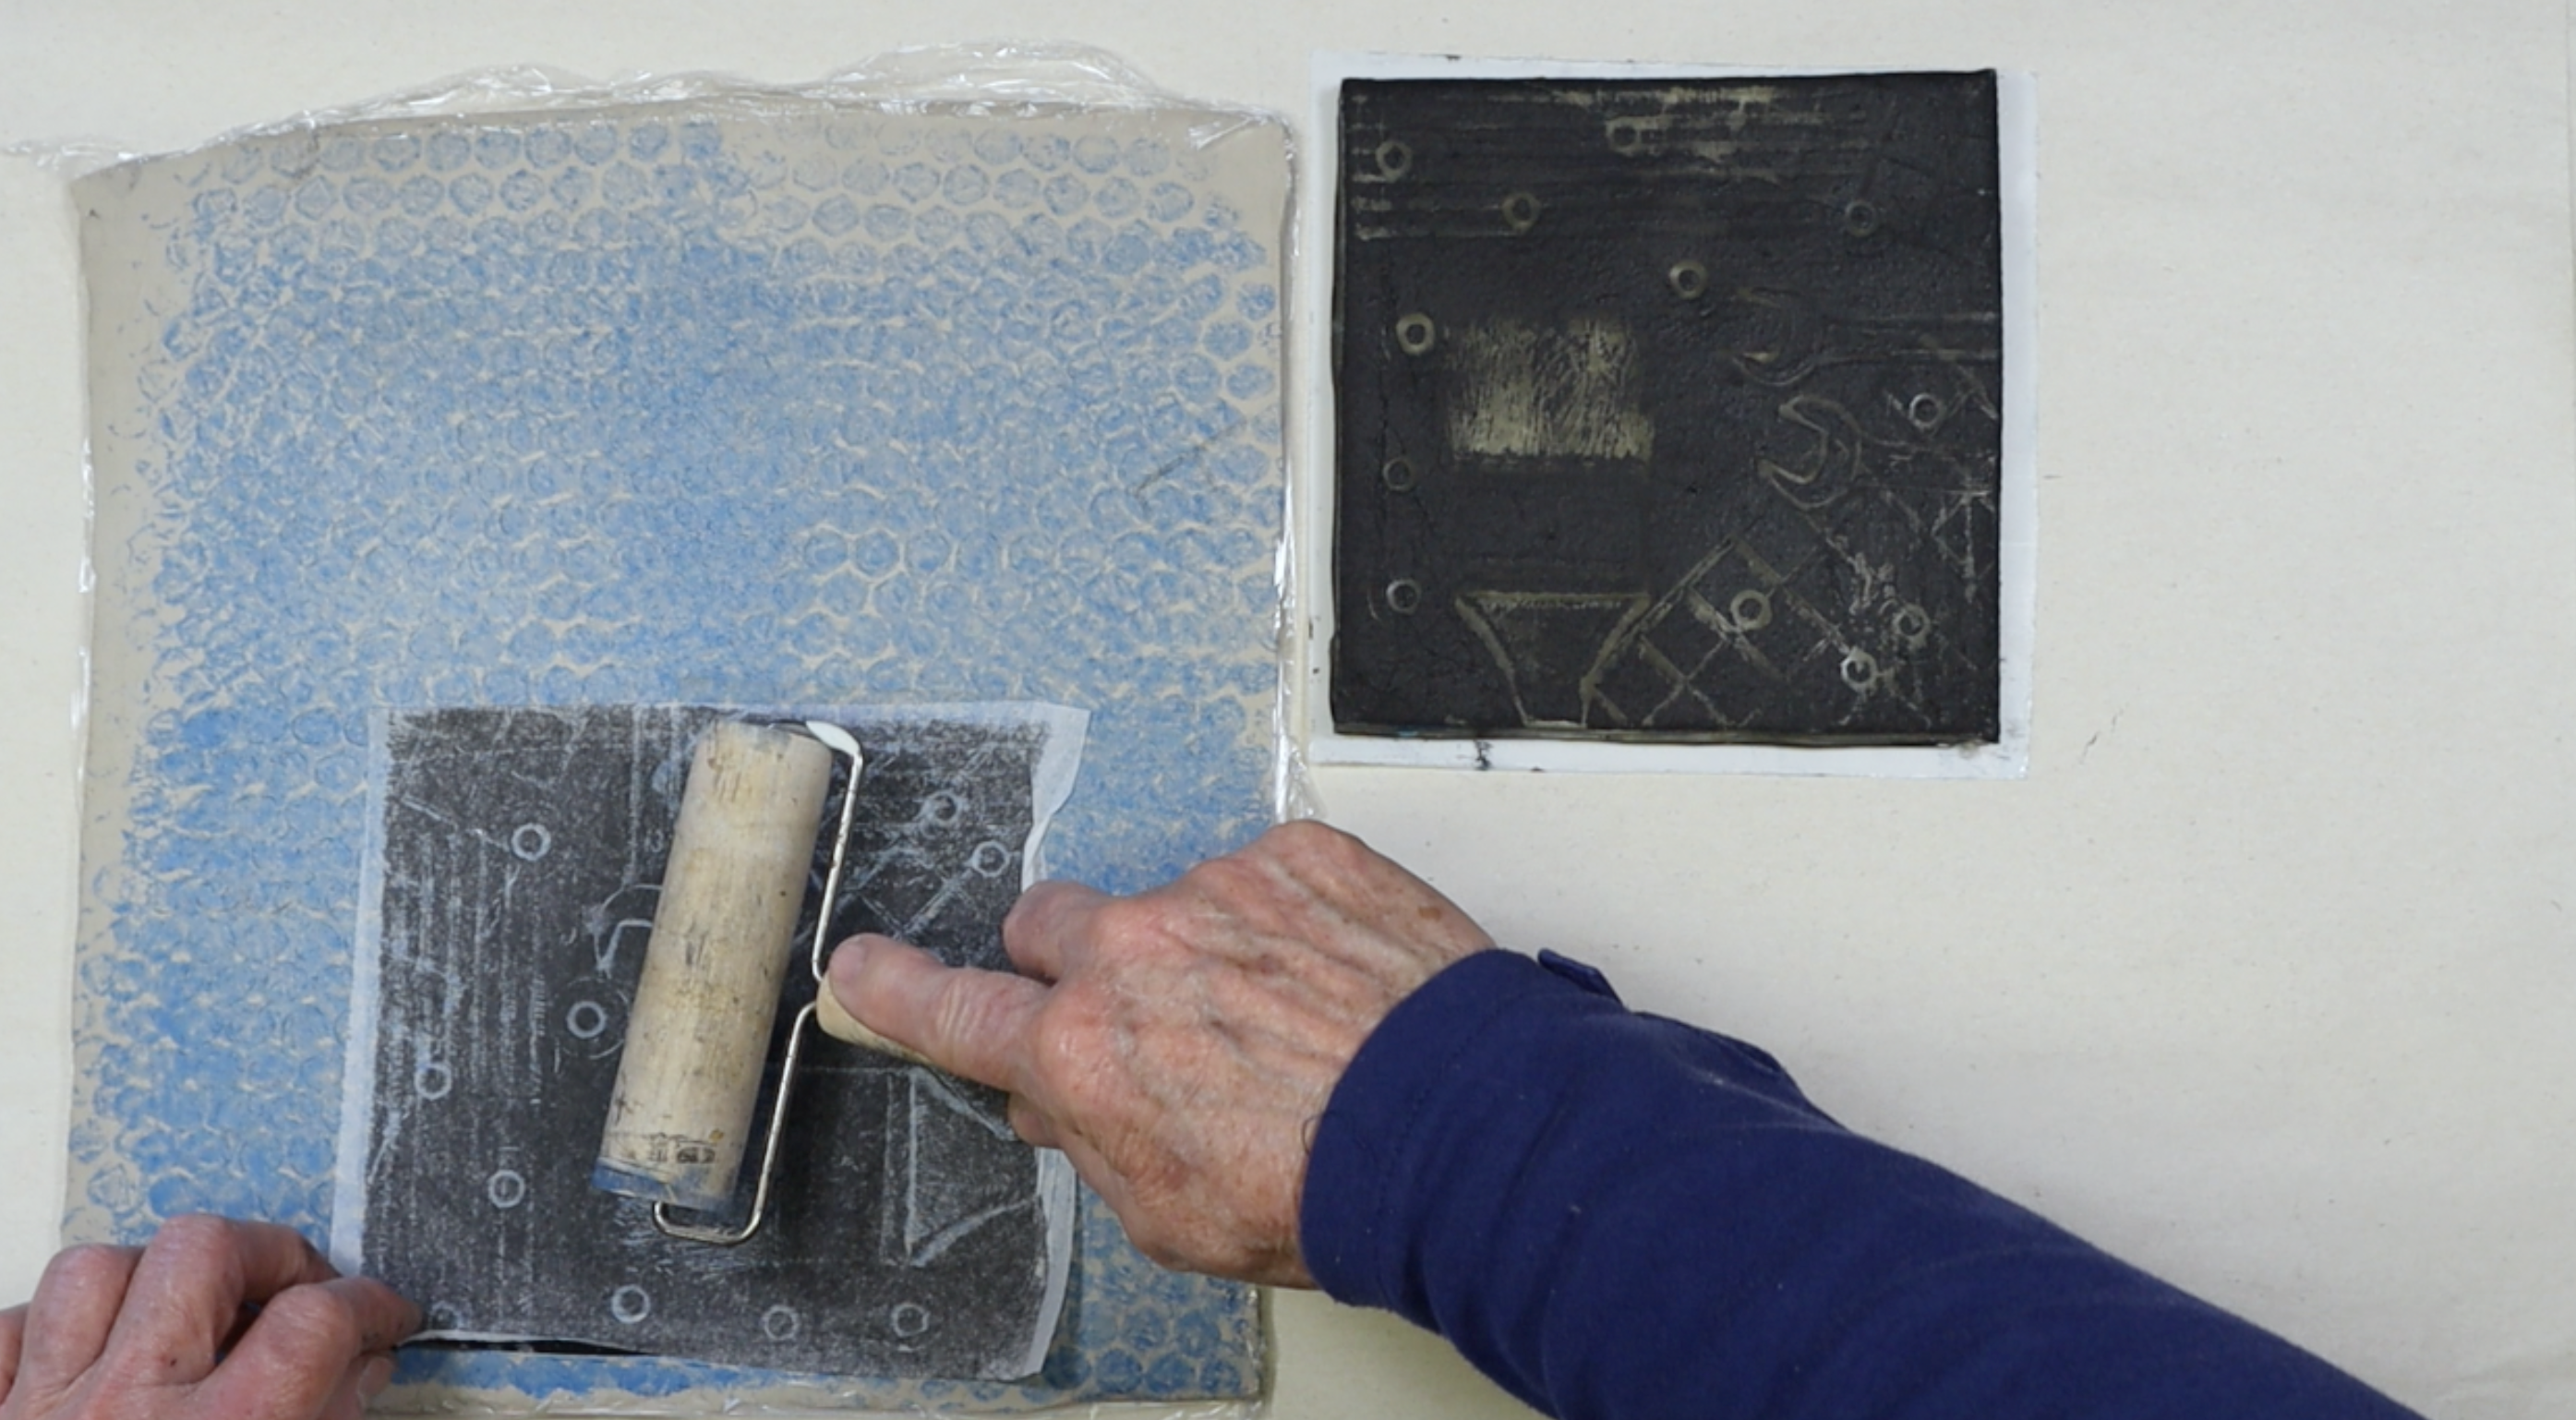
Peel the tissue paper off the plate, then place it, print side down on the moist clay slab. Use a wooden roller to secure the print to the clay surface.
Reveal the Final Print
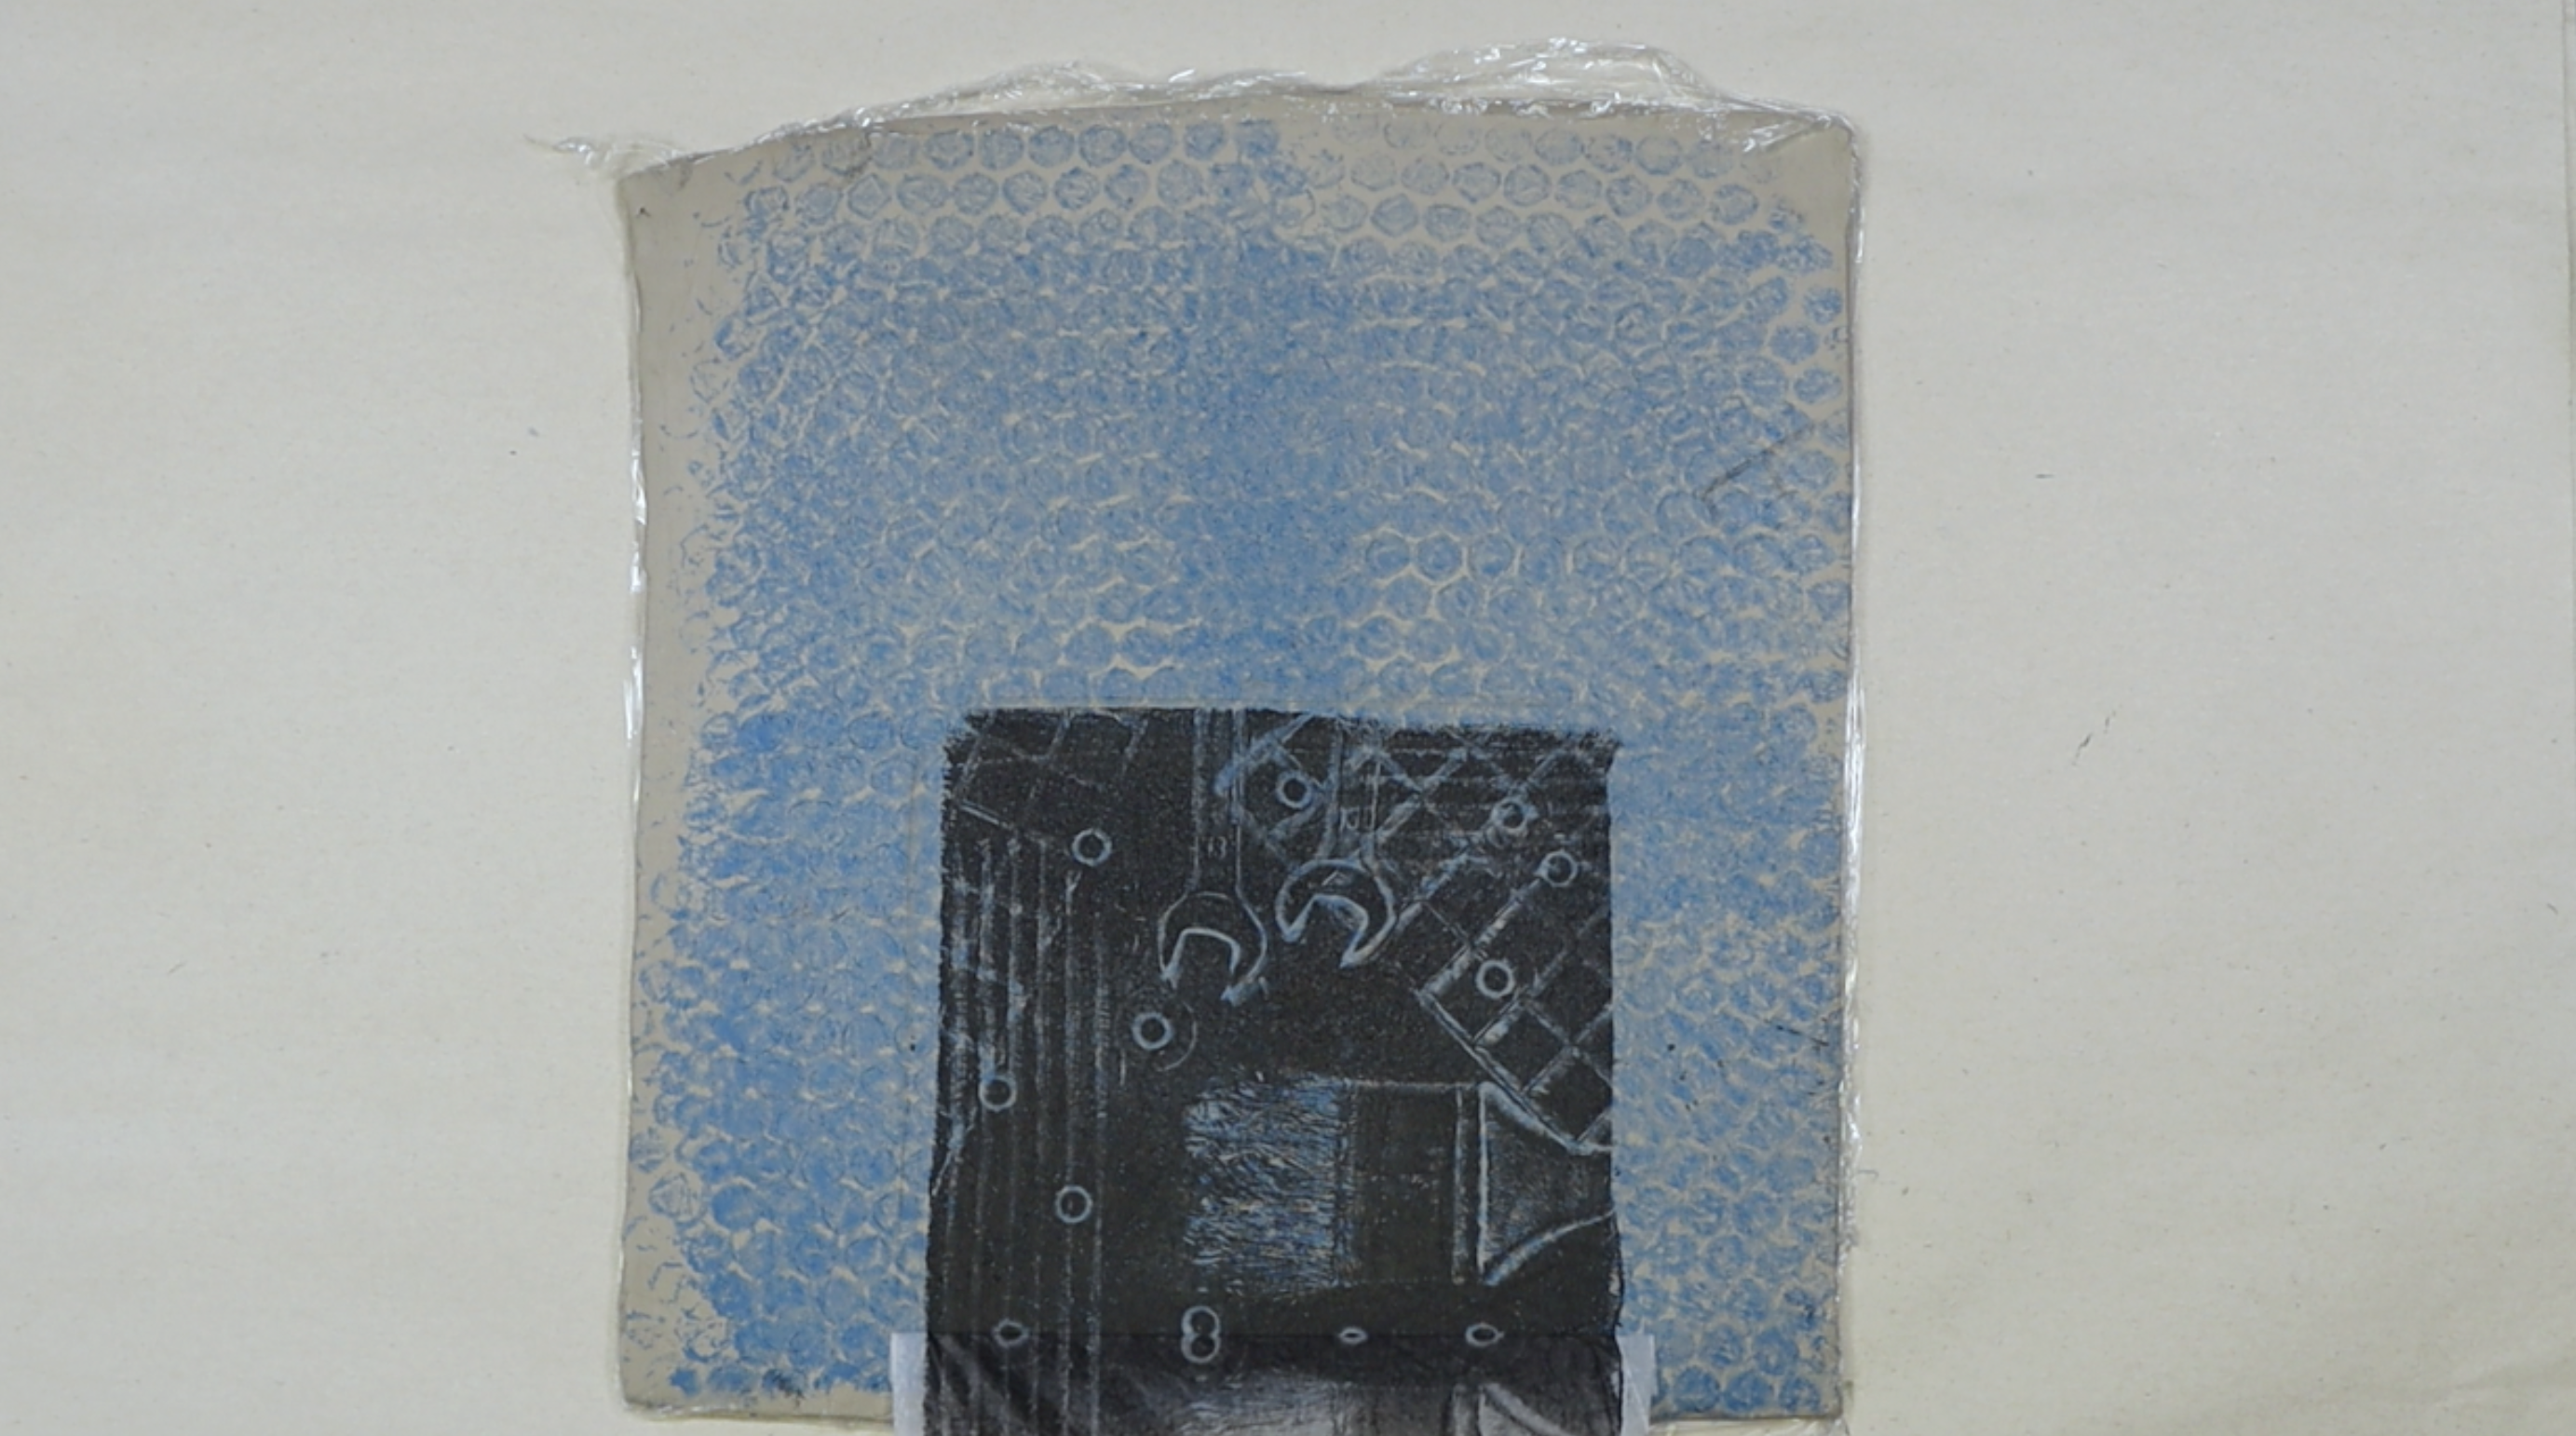
Peel away the tissue paper, and your print has transferred to the clay surface.
Craft Foam & Baggie Prints
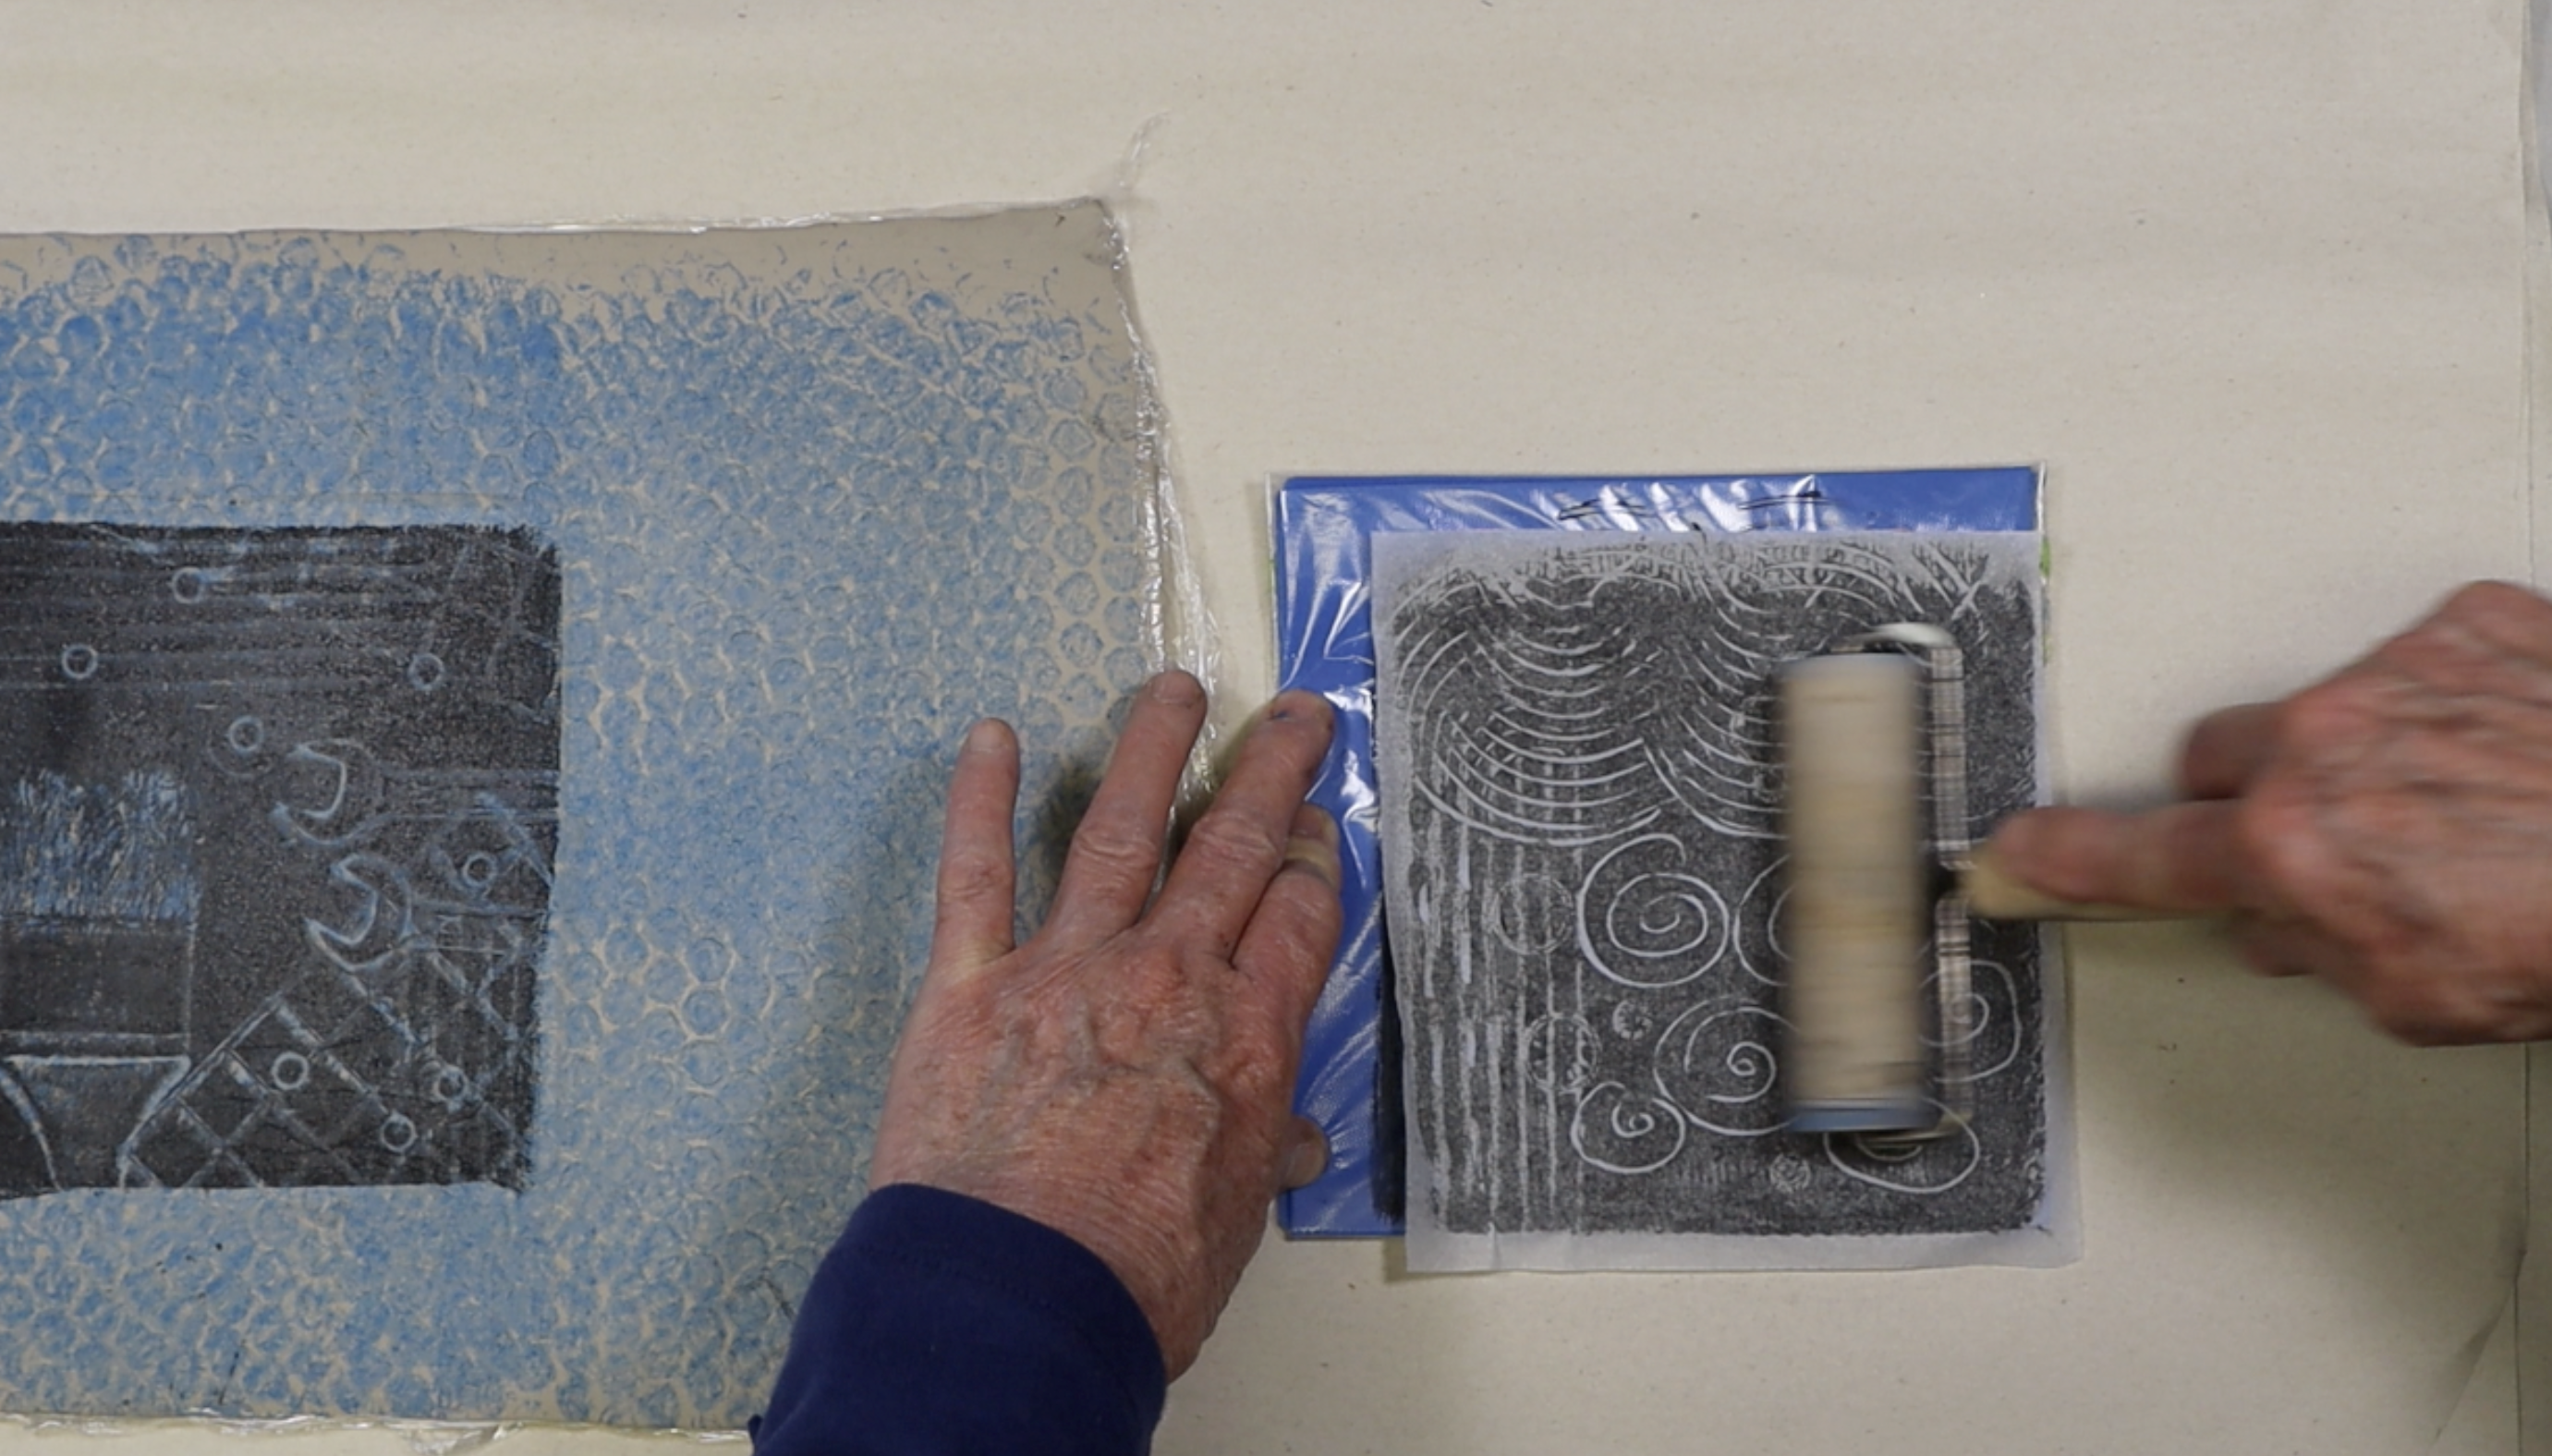
Prepare the Craft Foam
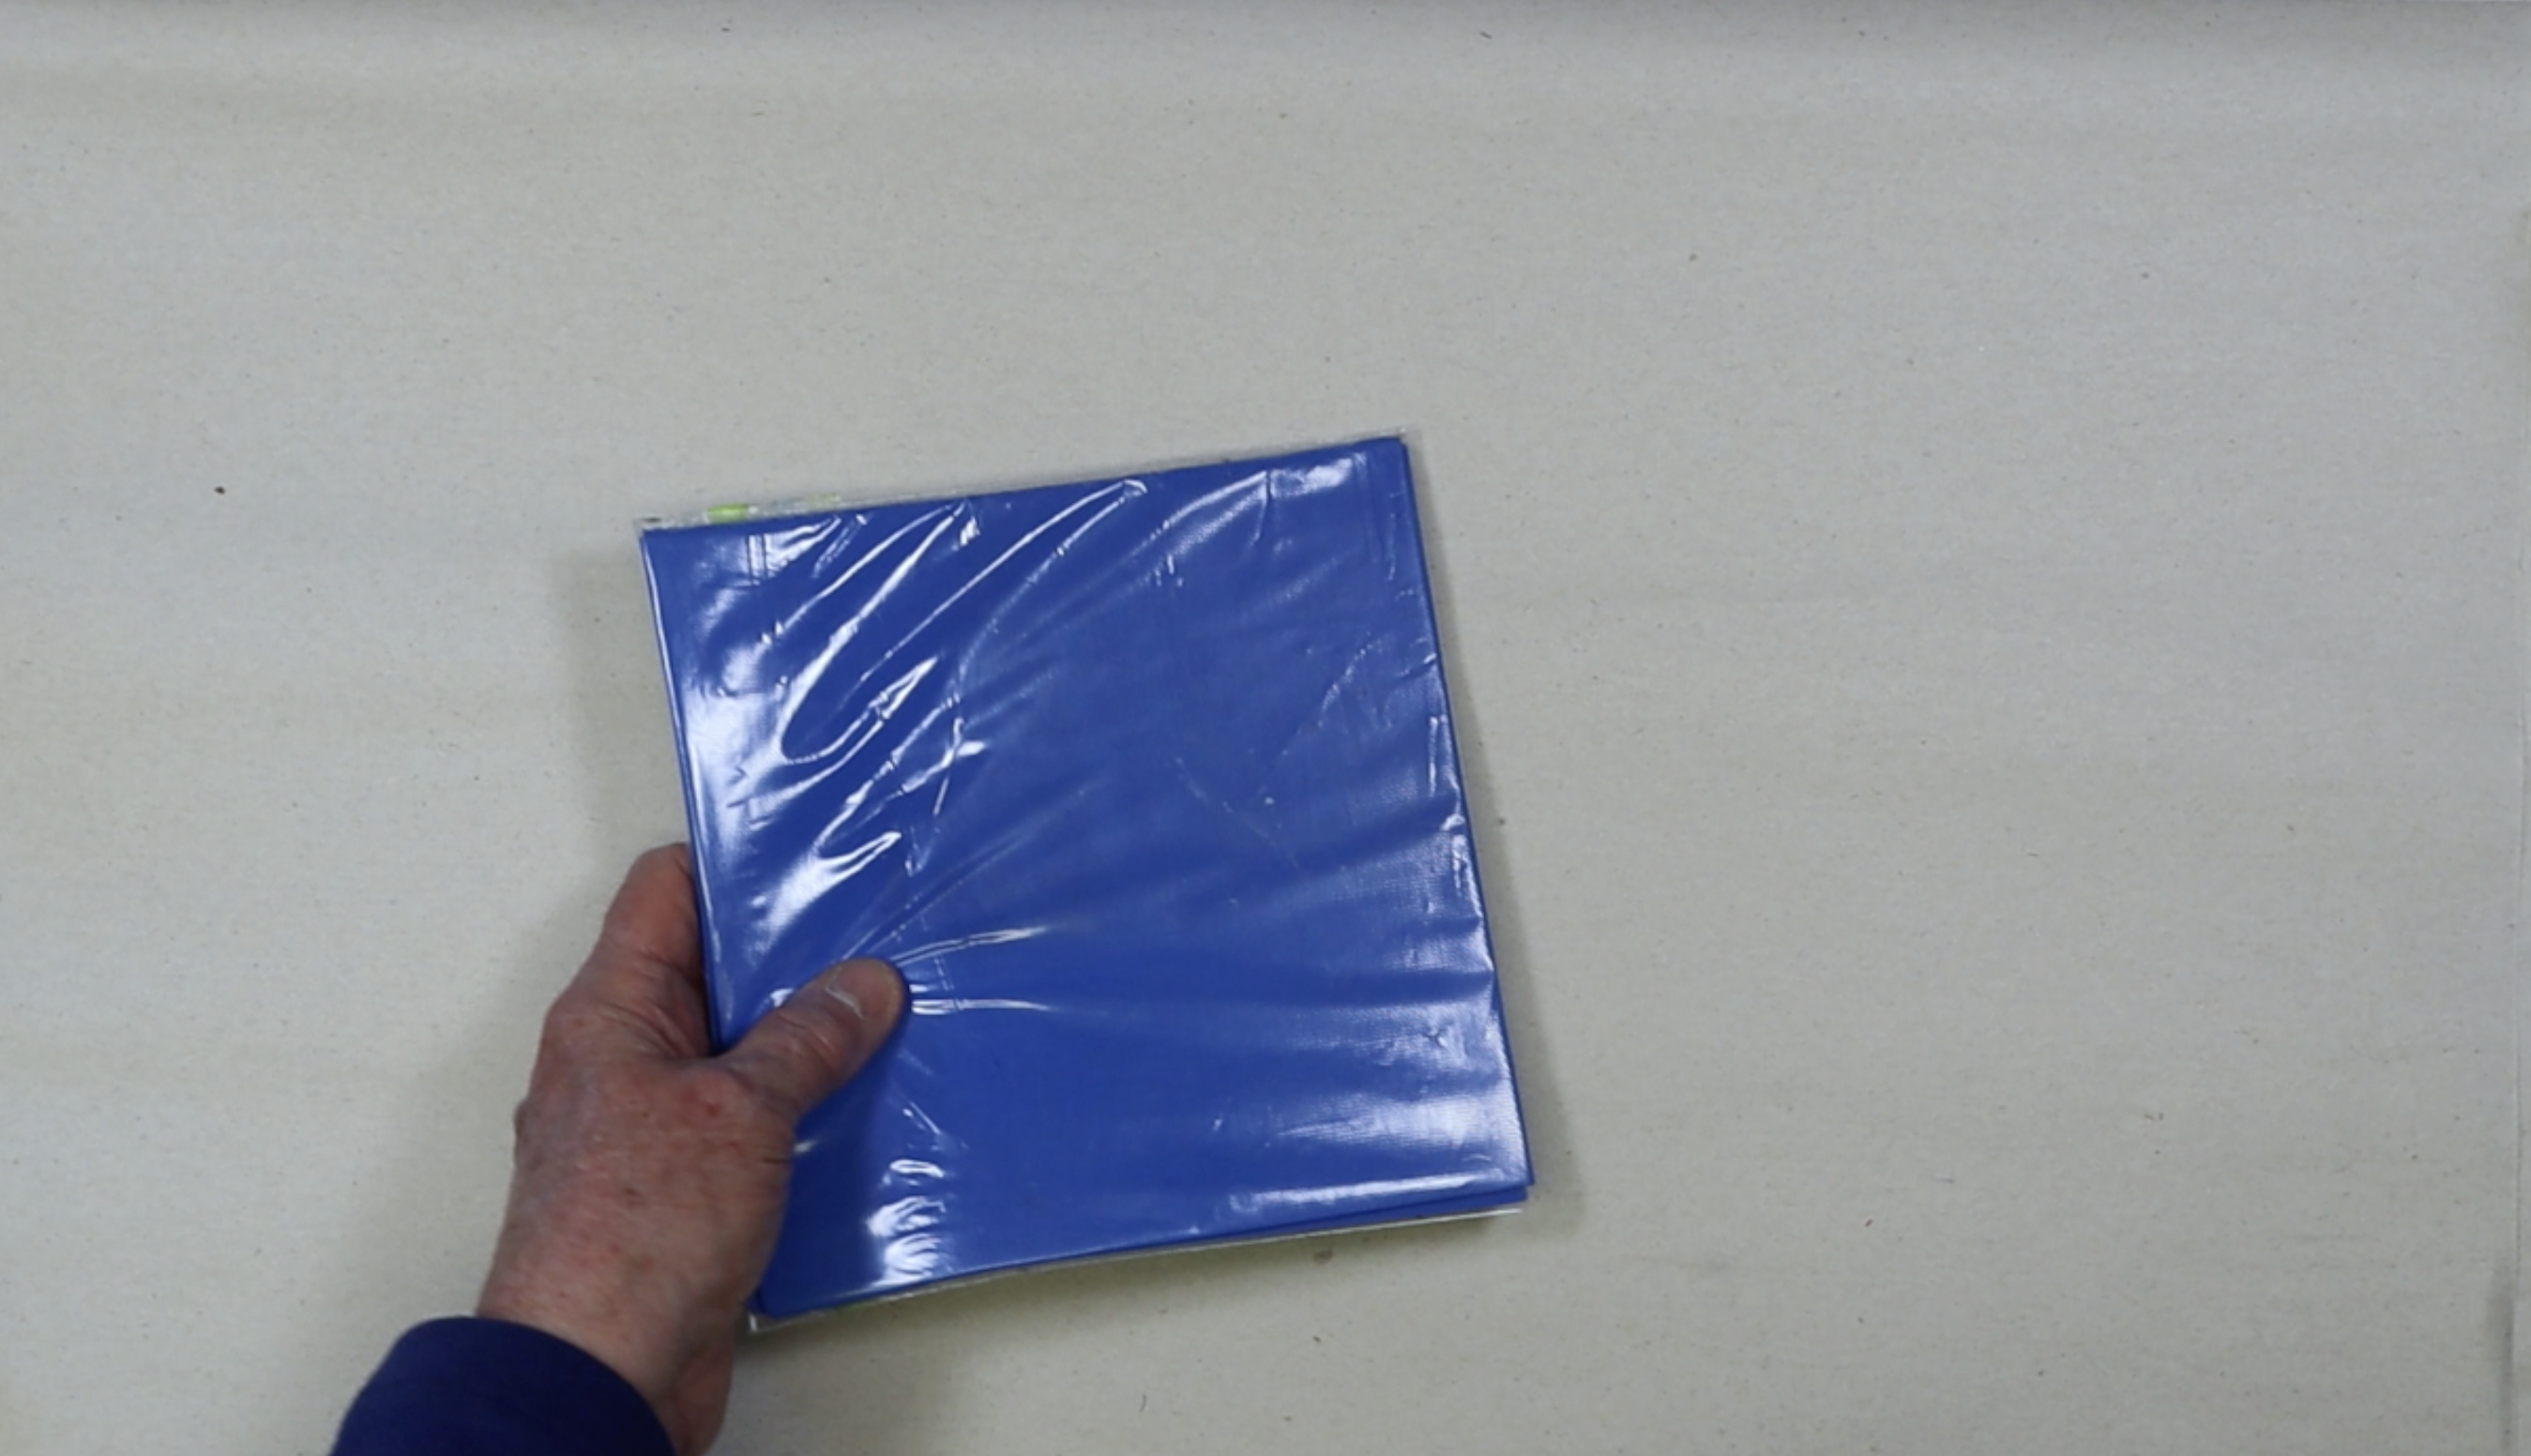
Cut 2 squares of foam sheets the size of a quart-size plastic bag. They should fit snugly inside the baggie to prevent them from shifting inside the bag.
Build the Printing Plate
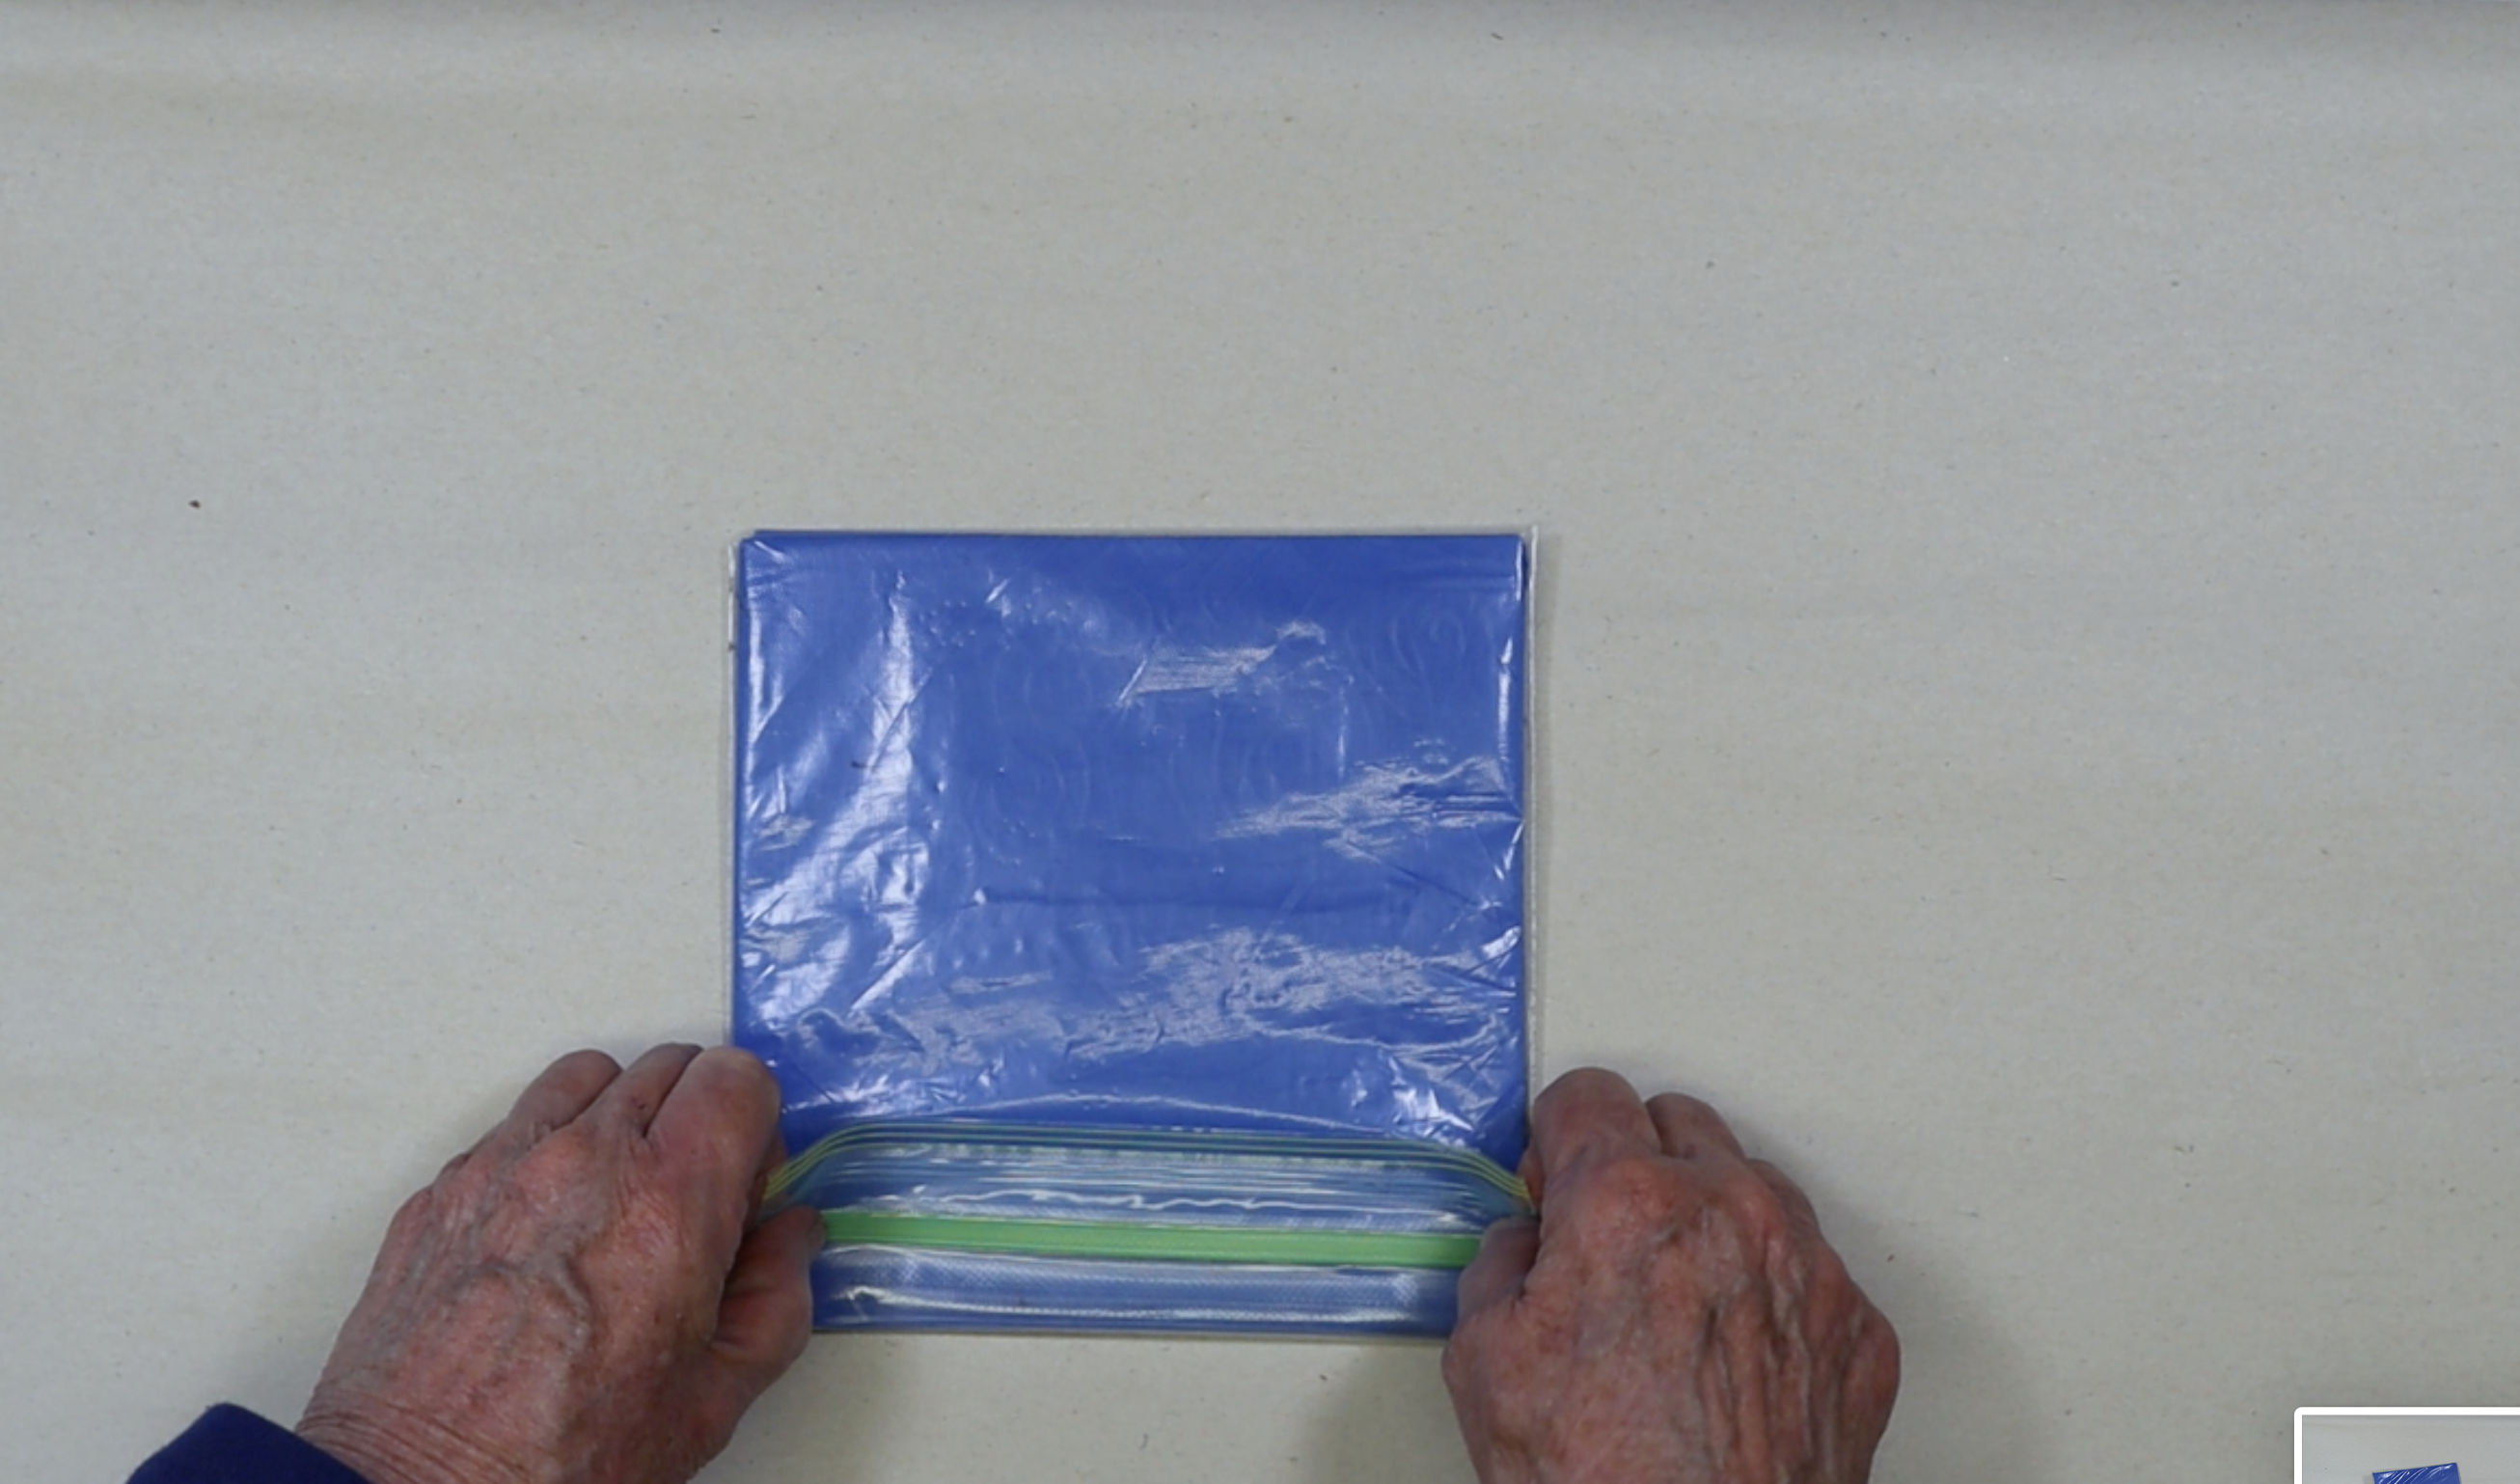
Insert the foam sheets into the plastic baggie, then fold the excess plastic over and tape. Snip the corner of the plastic bag to let the air out.
INK the Surface
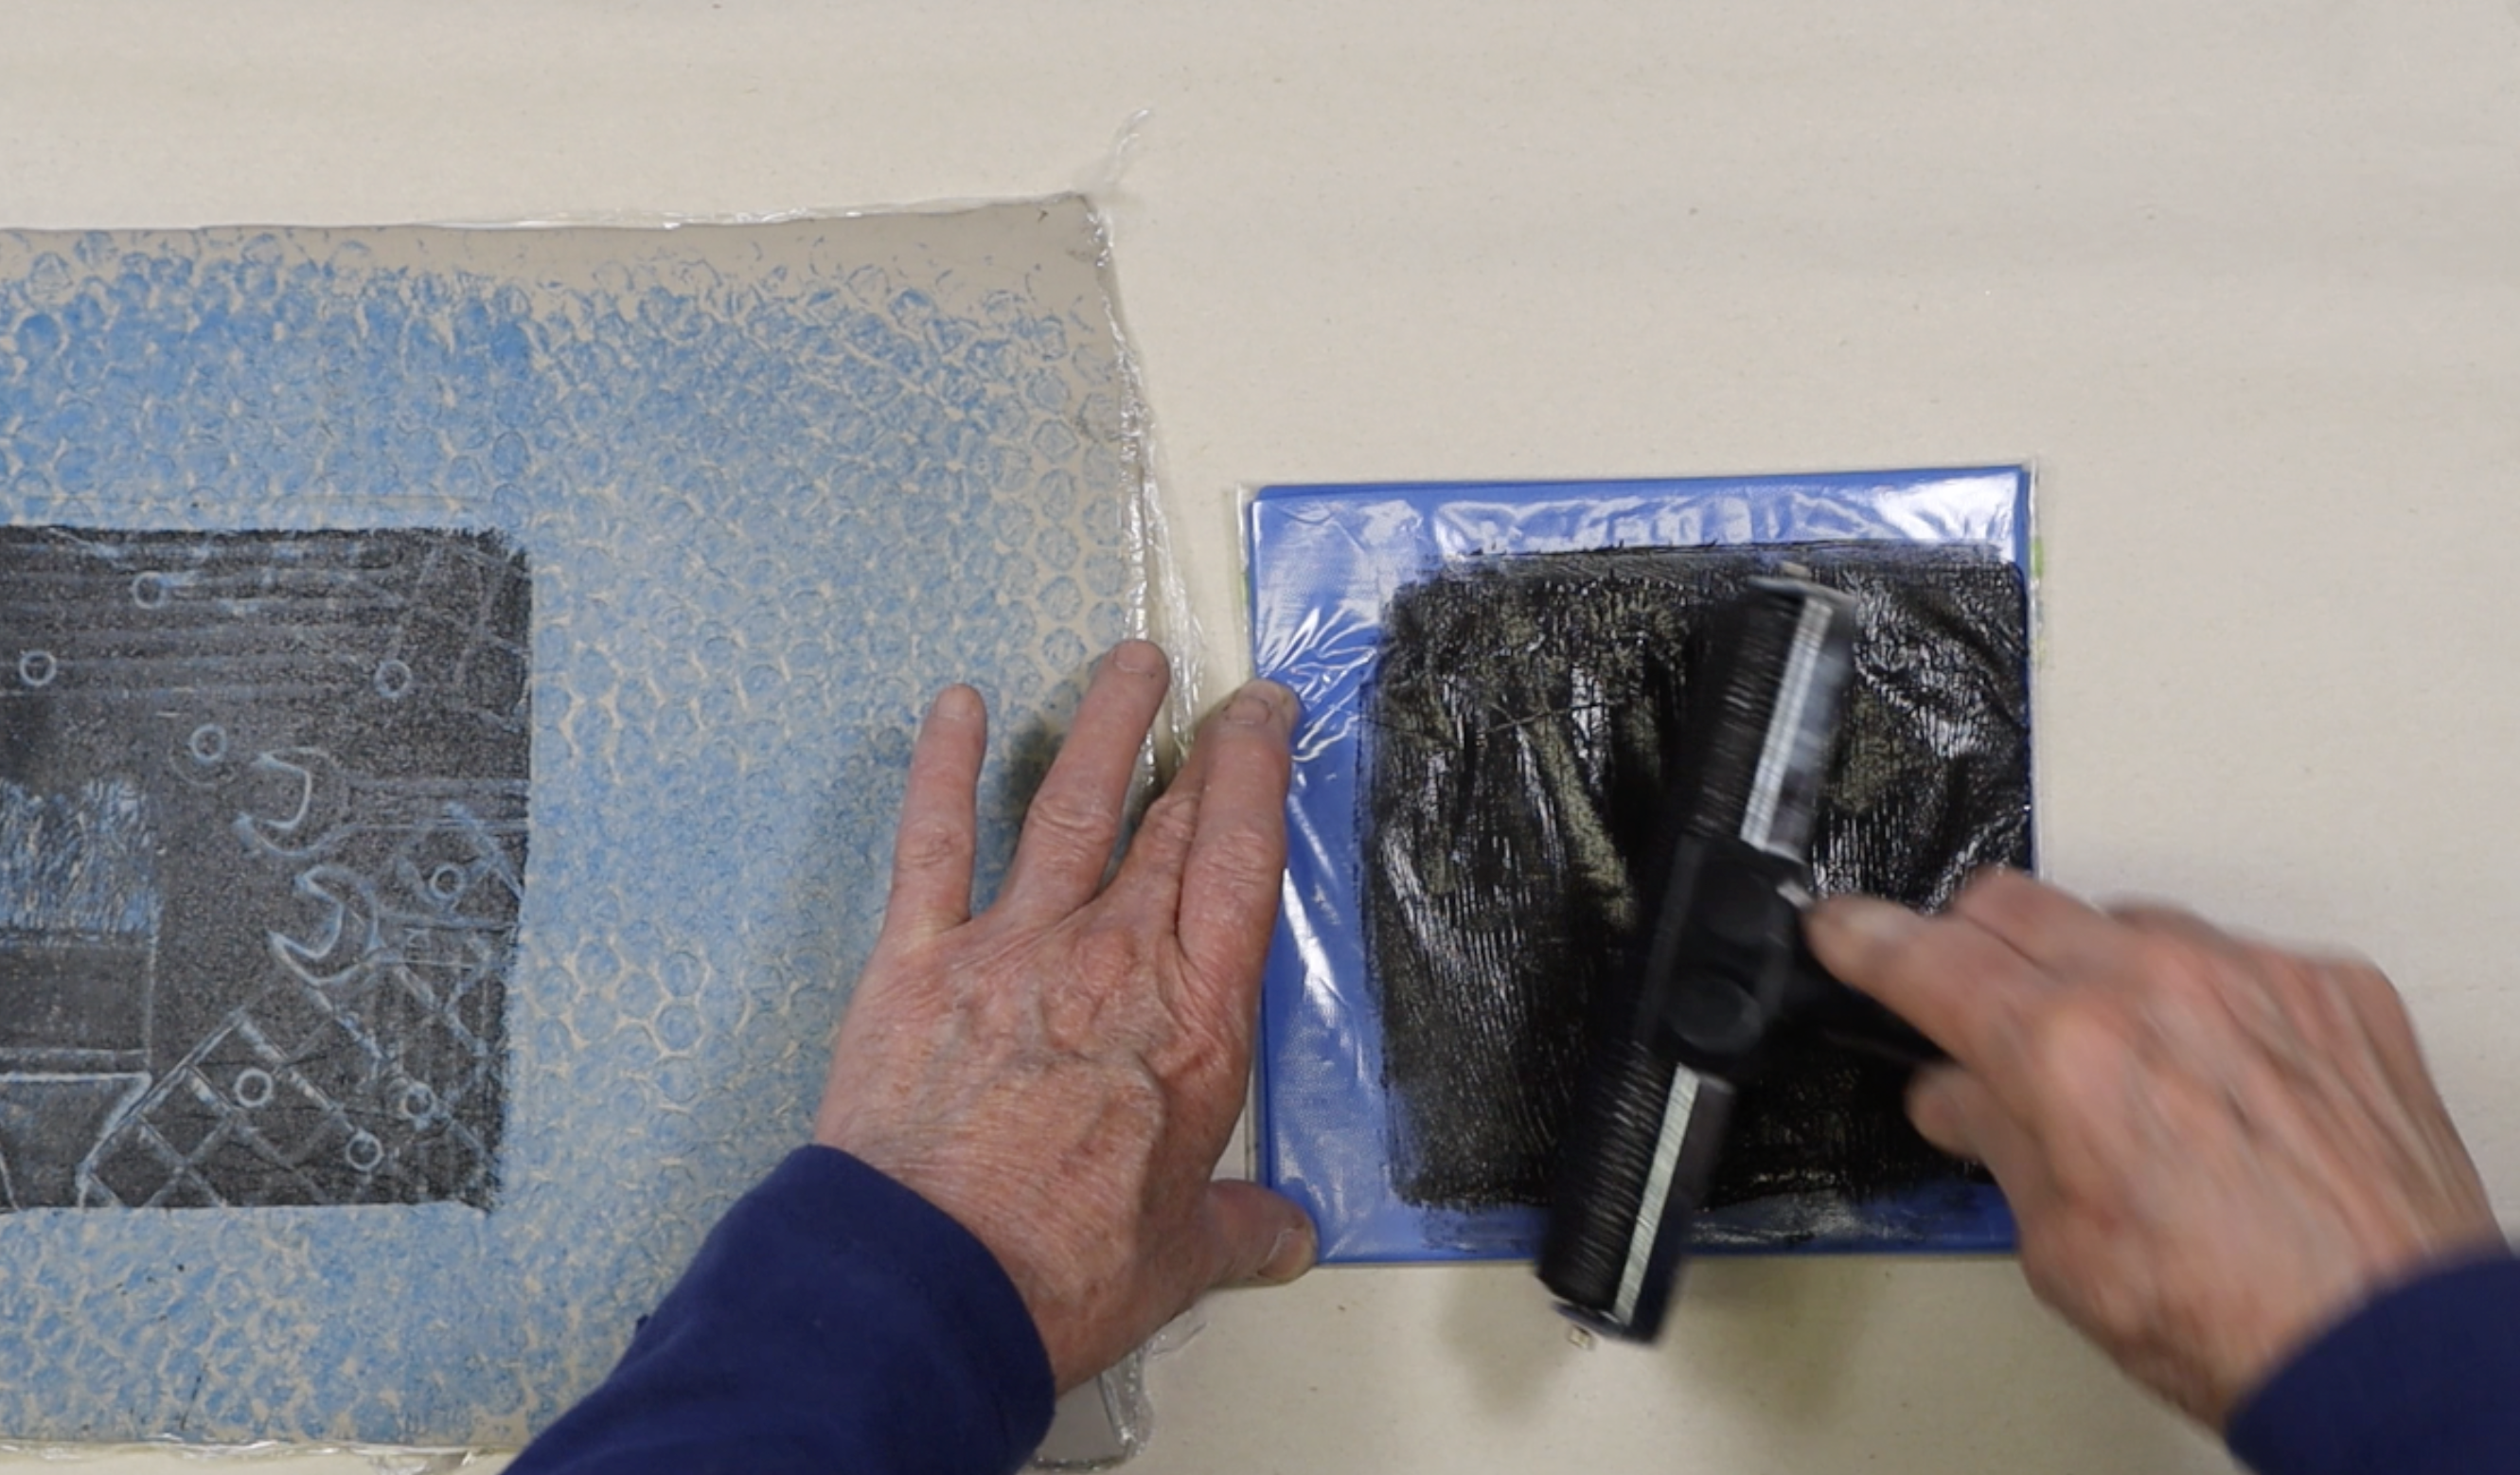
Put AMACO Ceramic Printing INK on the baggie, then add one drop of dish soap. Use a brayer to roll the ink evenly on the plastic bag.
Draw the Design
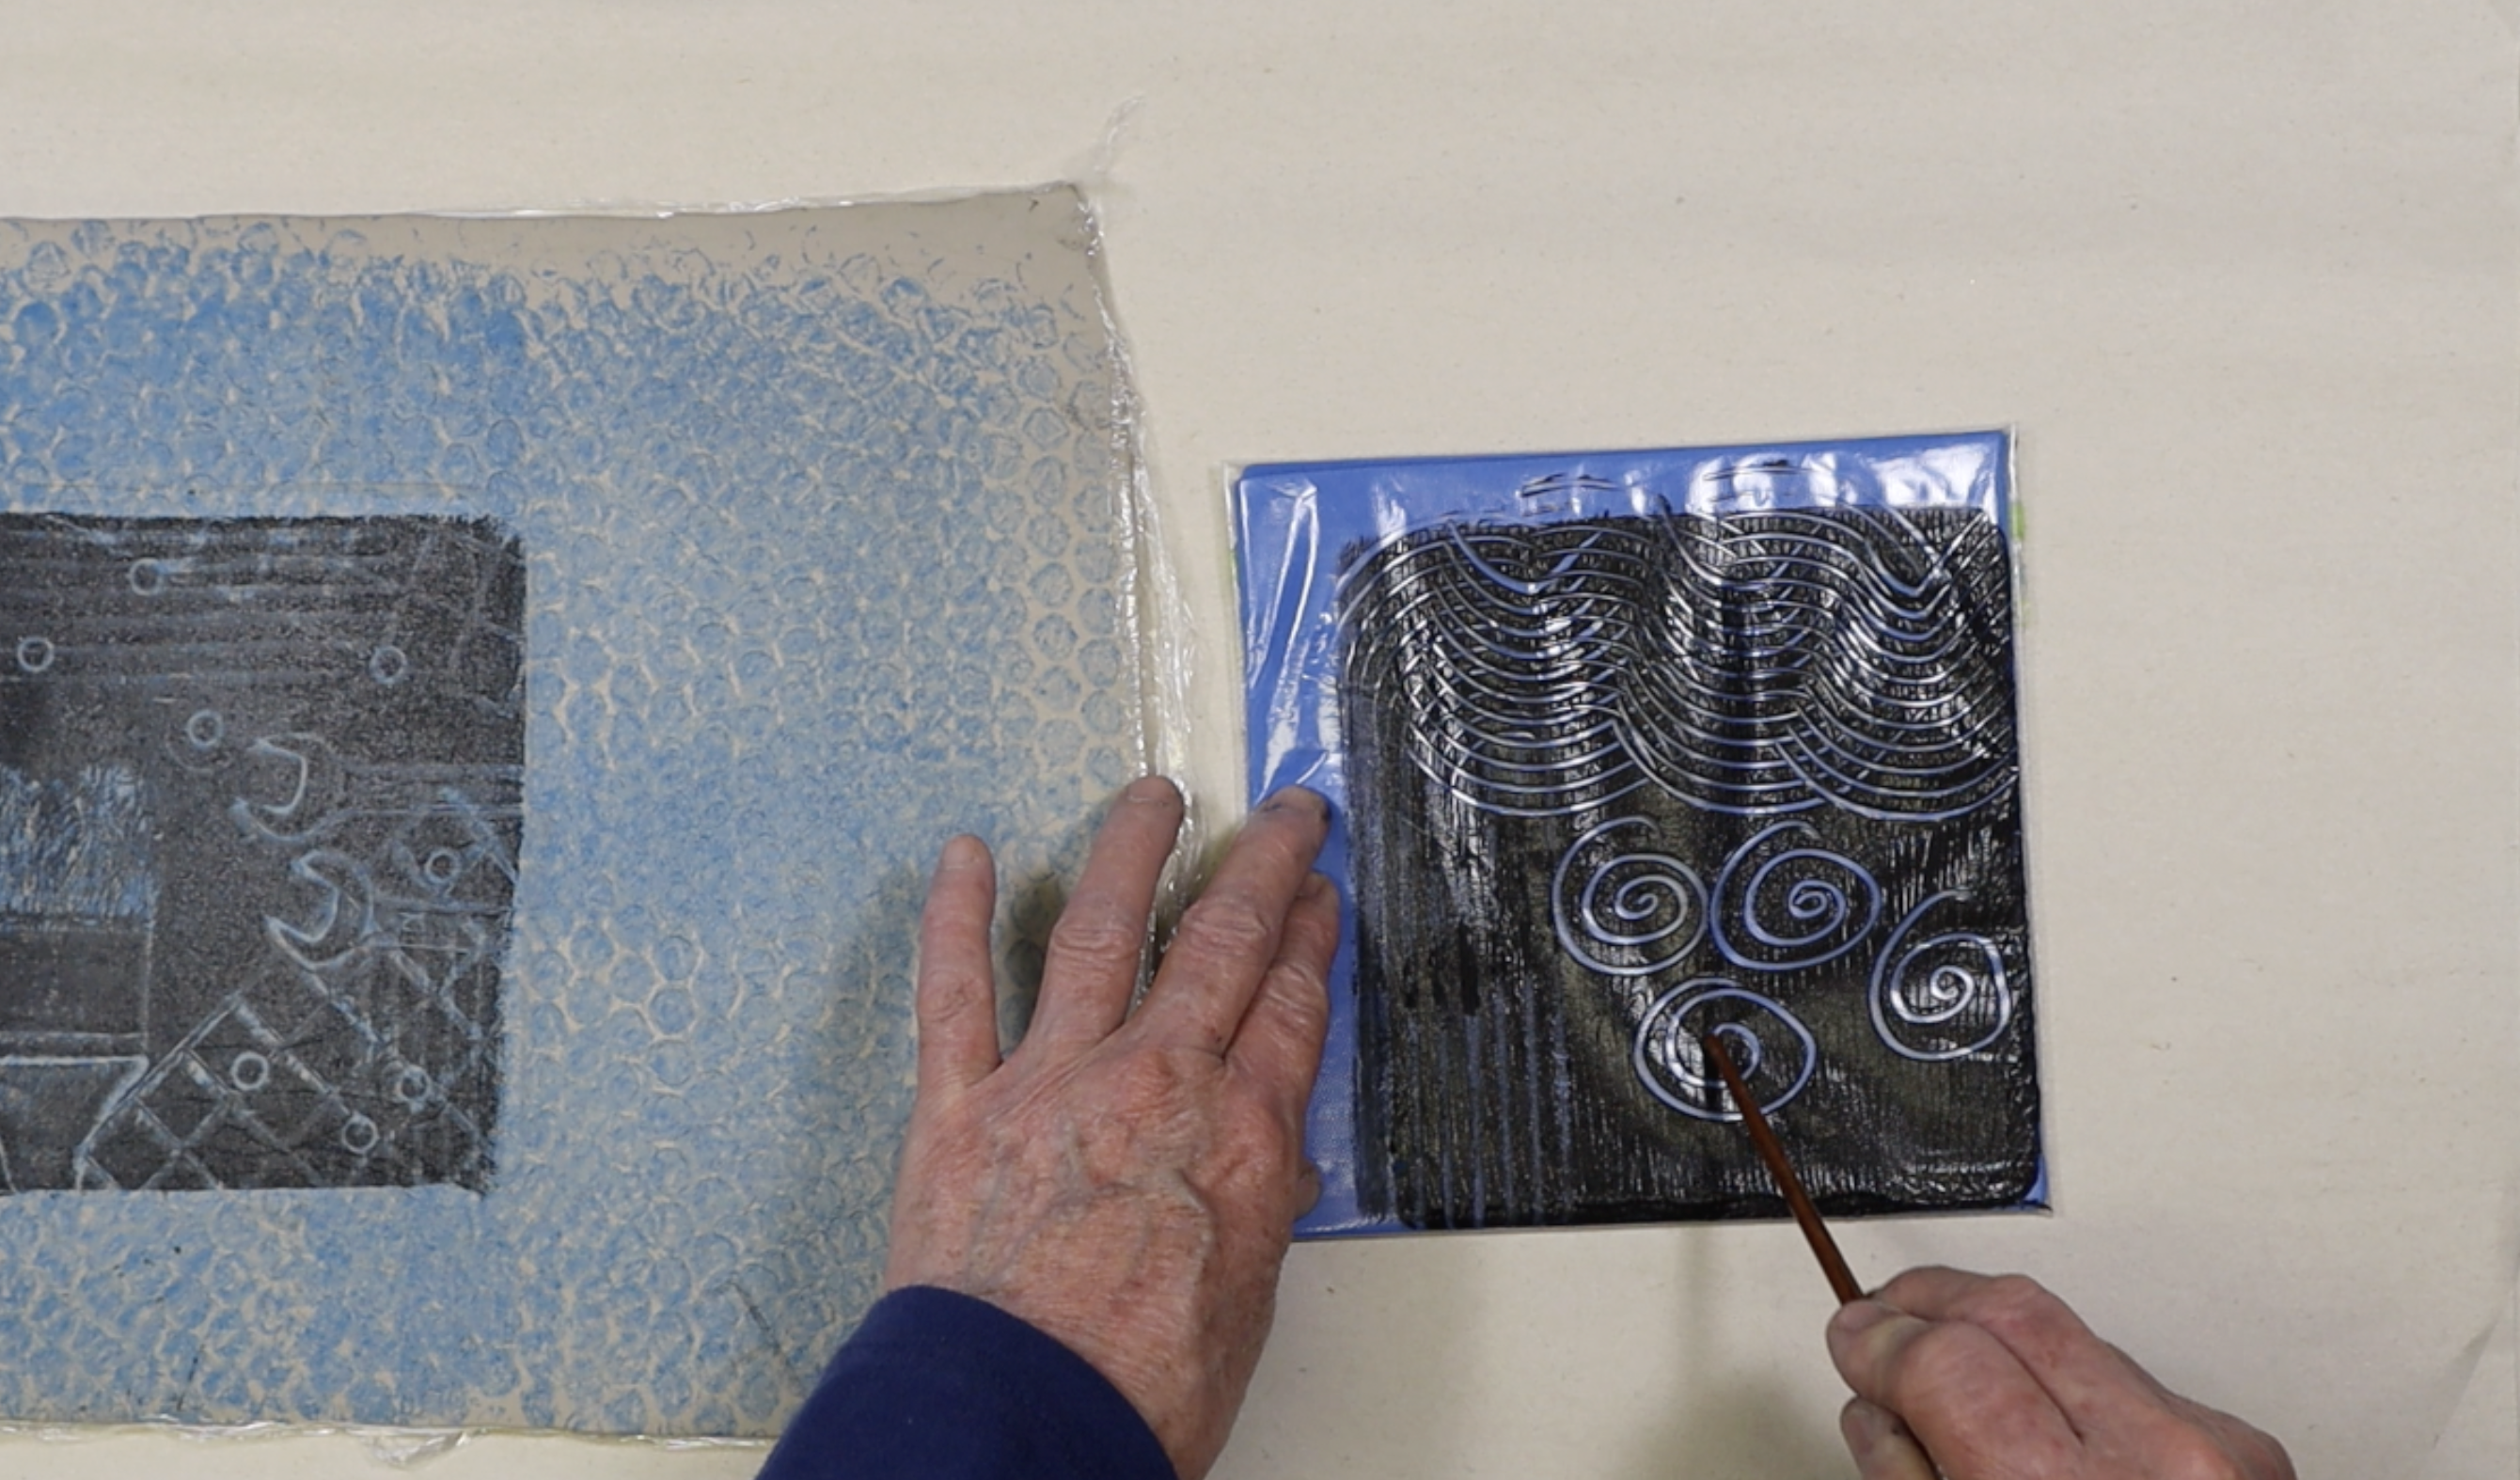
Use the end of a paintbrush to draw into the inked surface and/or press found objects firmly onto the baggie.
Create the Tissue Paper Transfer
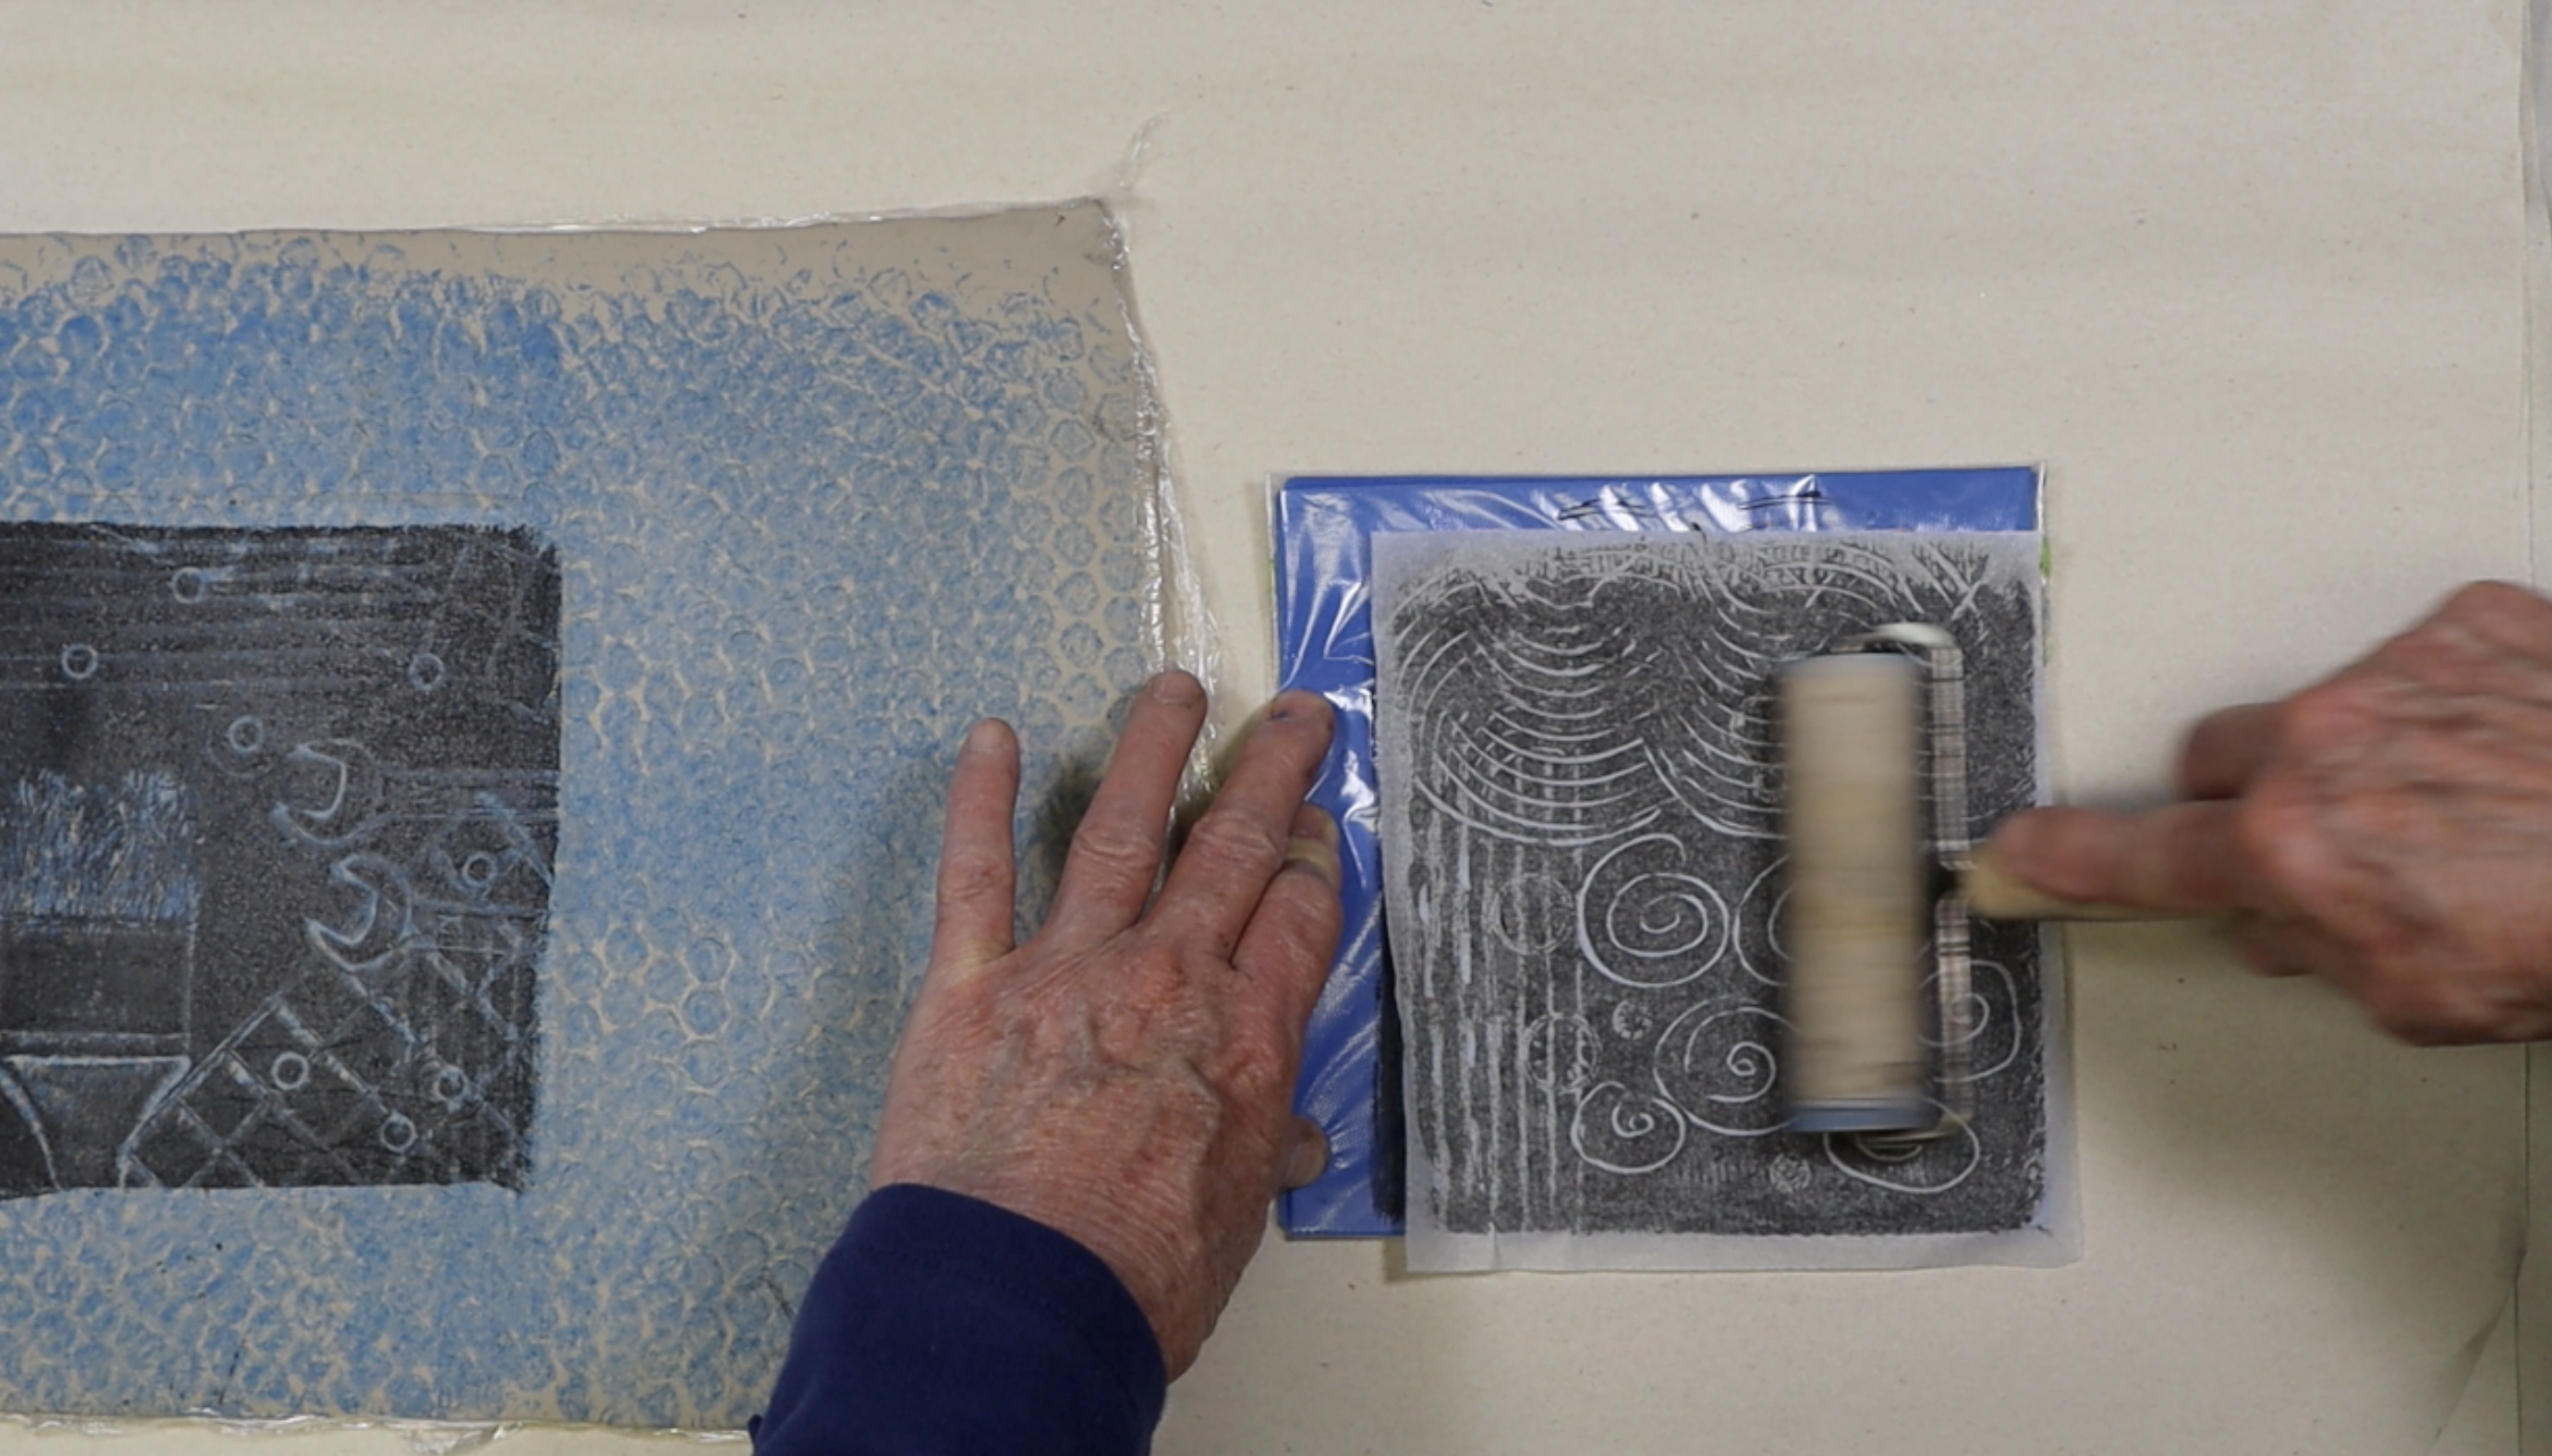
Lay a piece of white tissue paper, shiny side down, onto the inked baggie.
Transfer the Print
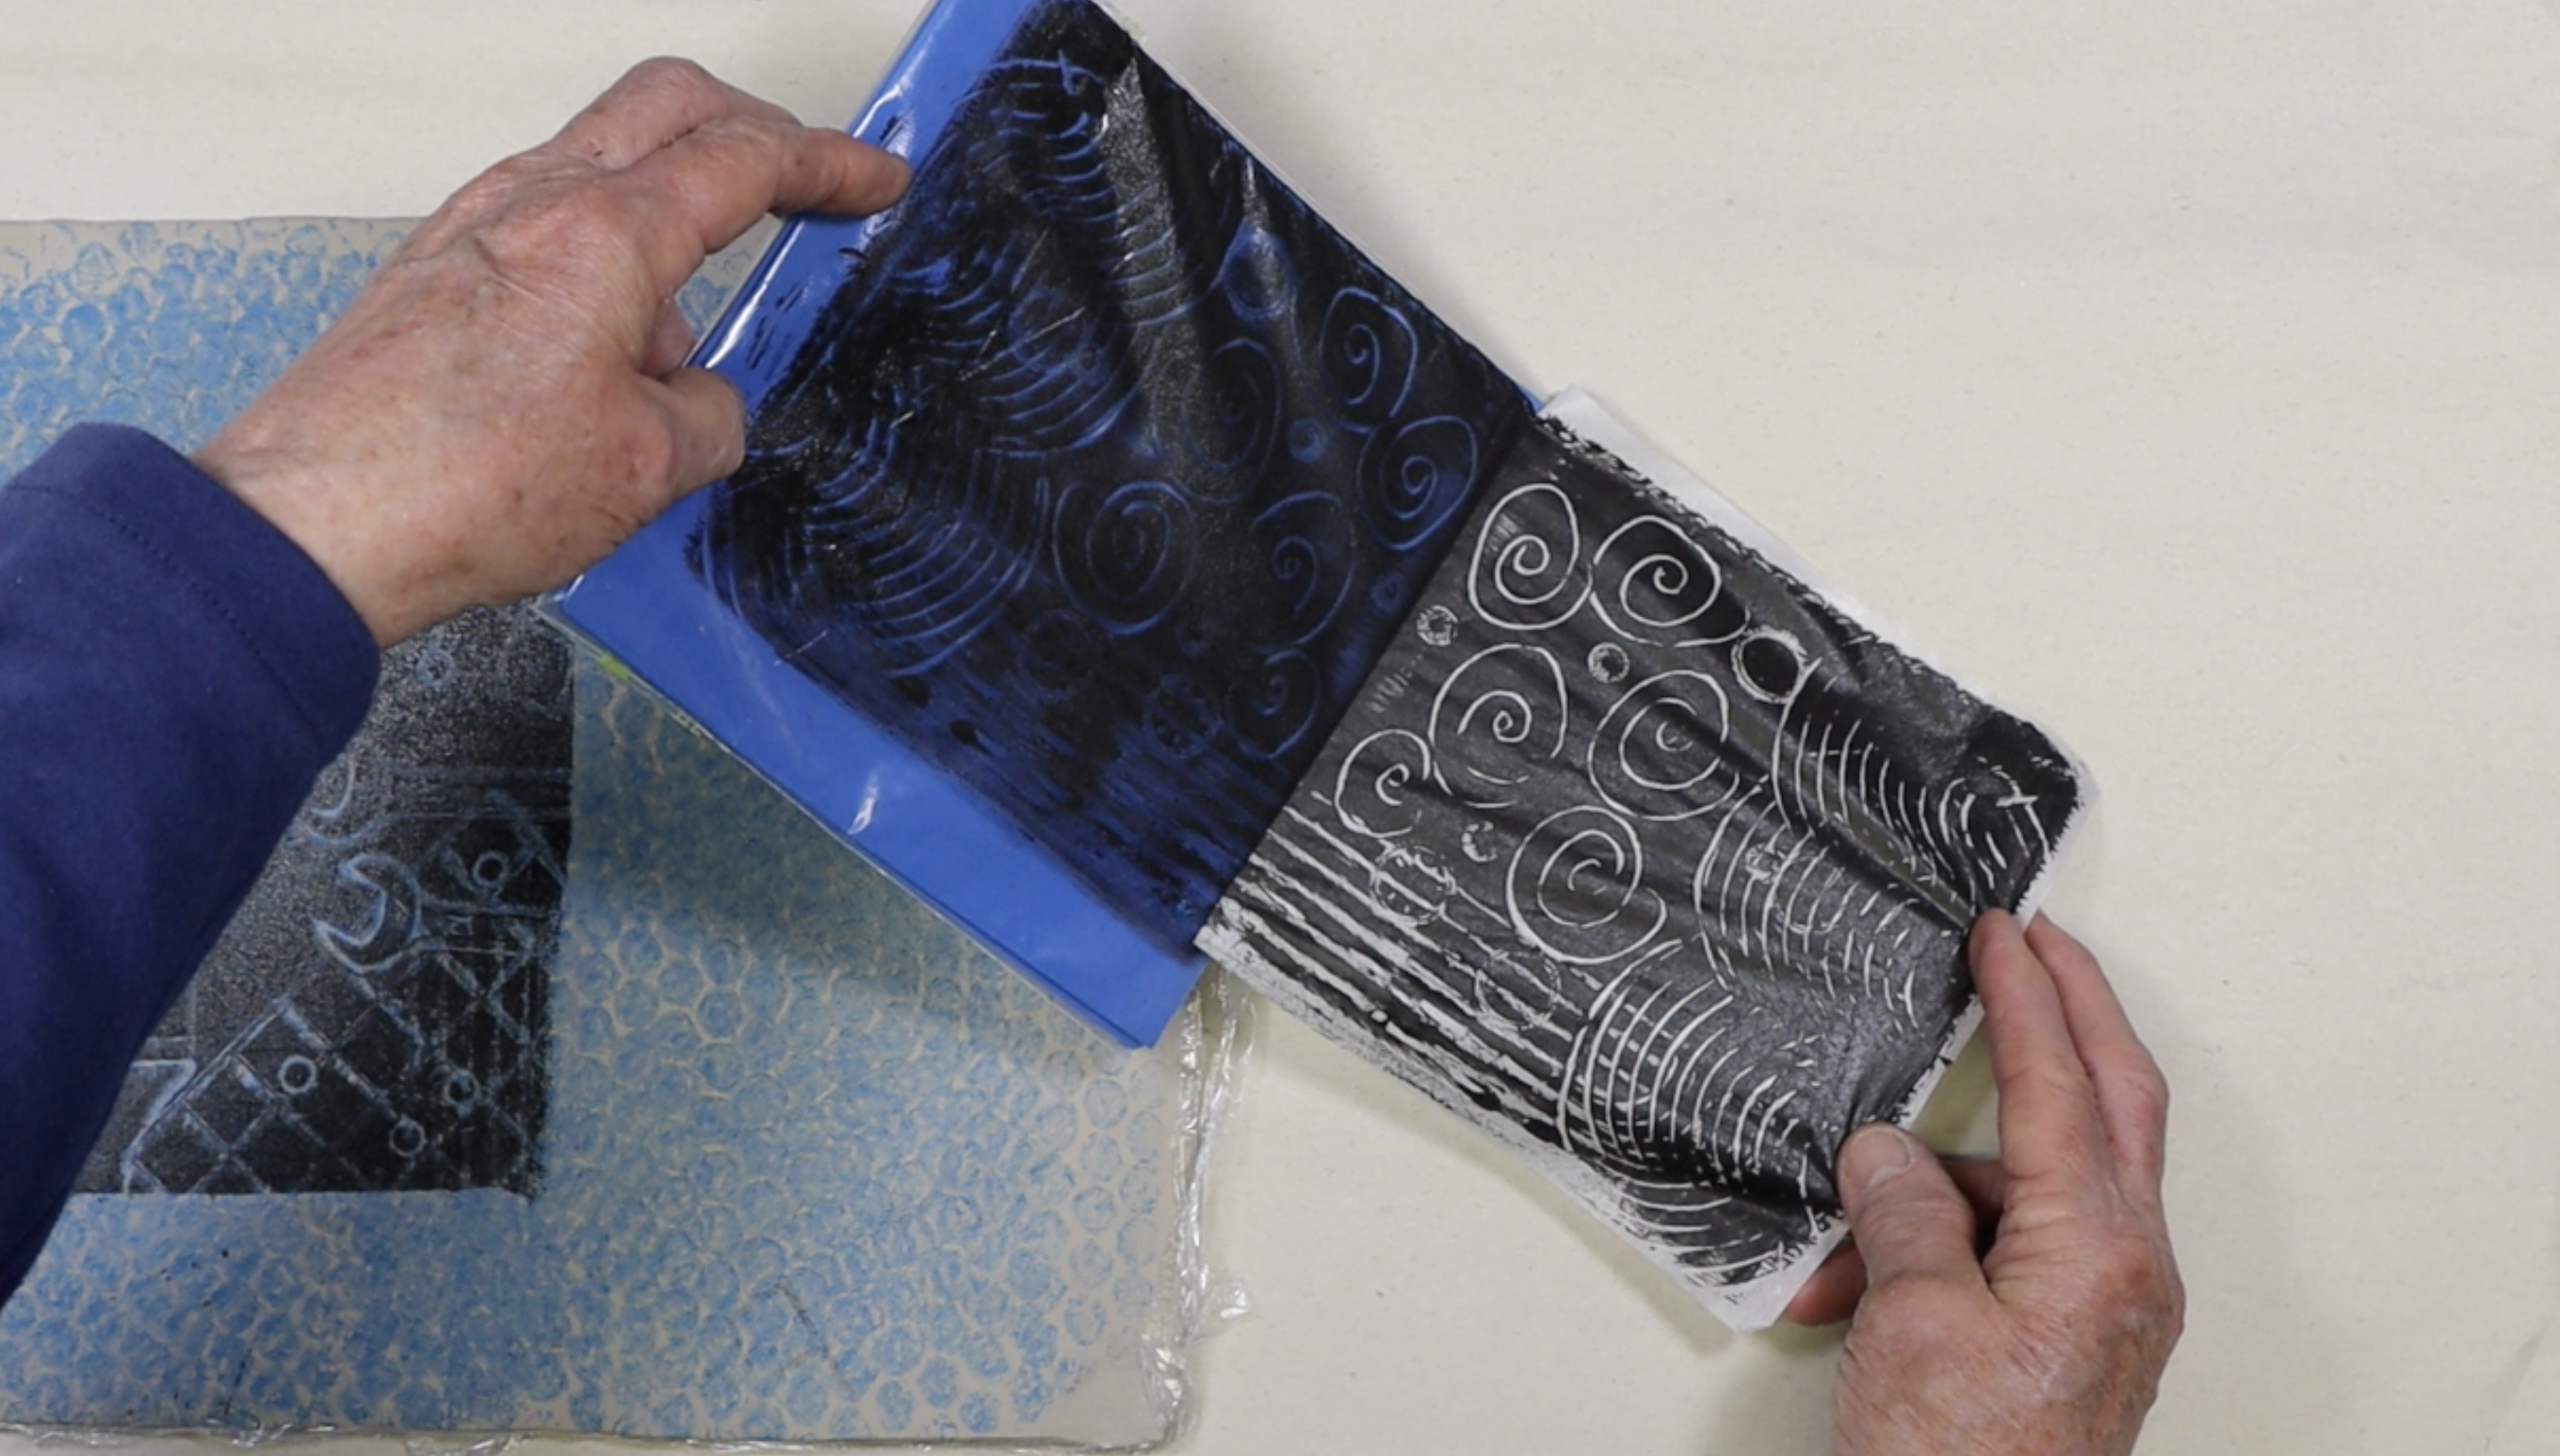
Peel the tissue paper off the baggie and lay it, ink side down, onto the clay slab.
Reveal the Tissue Paper Print
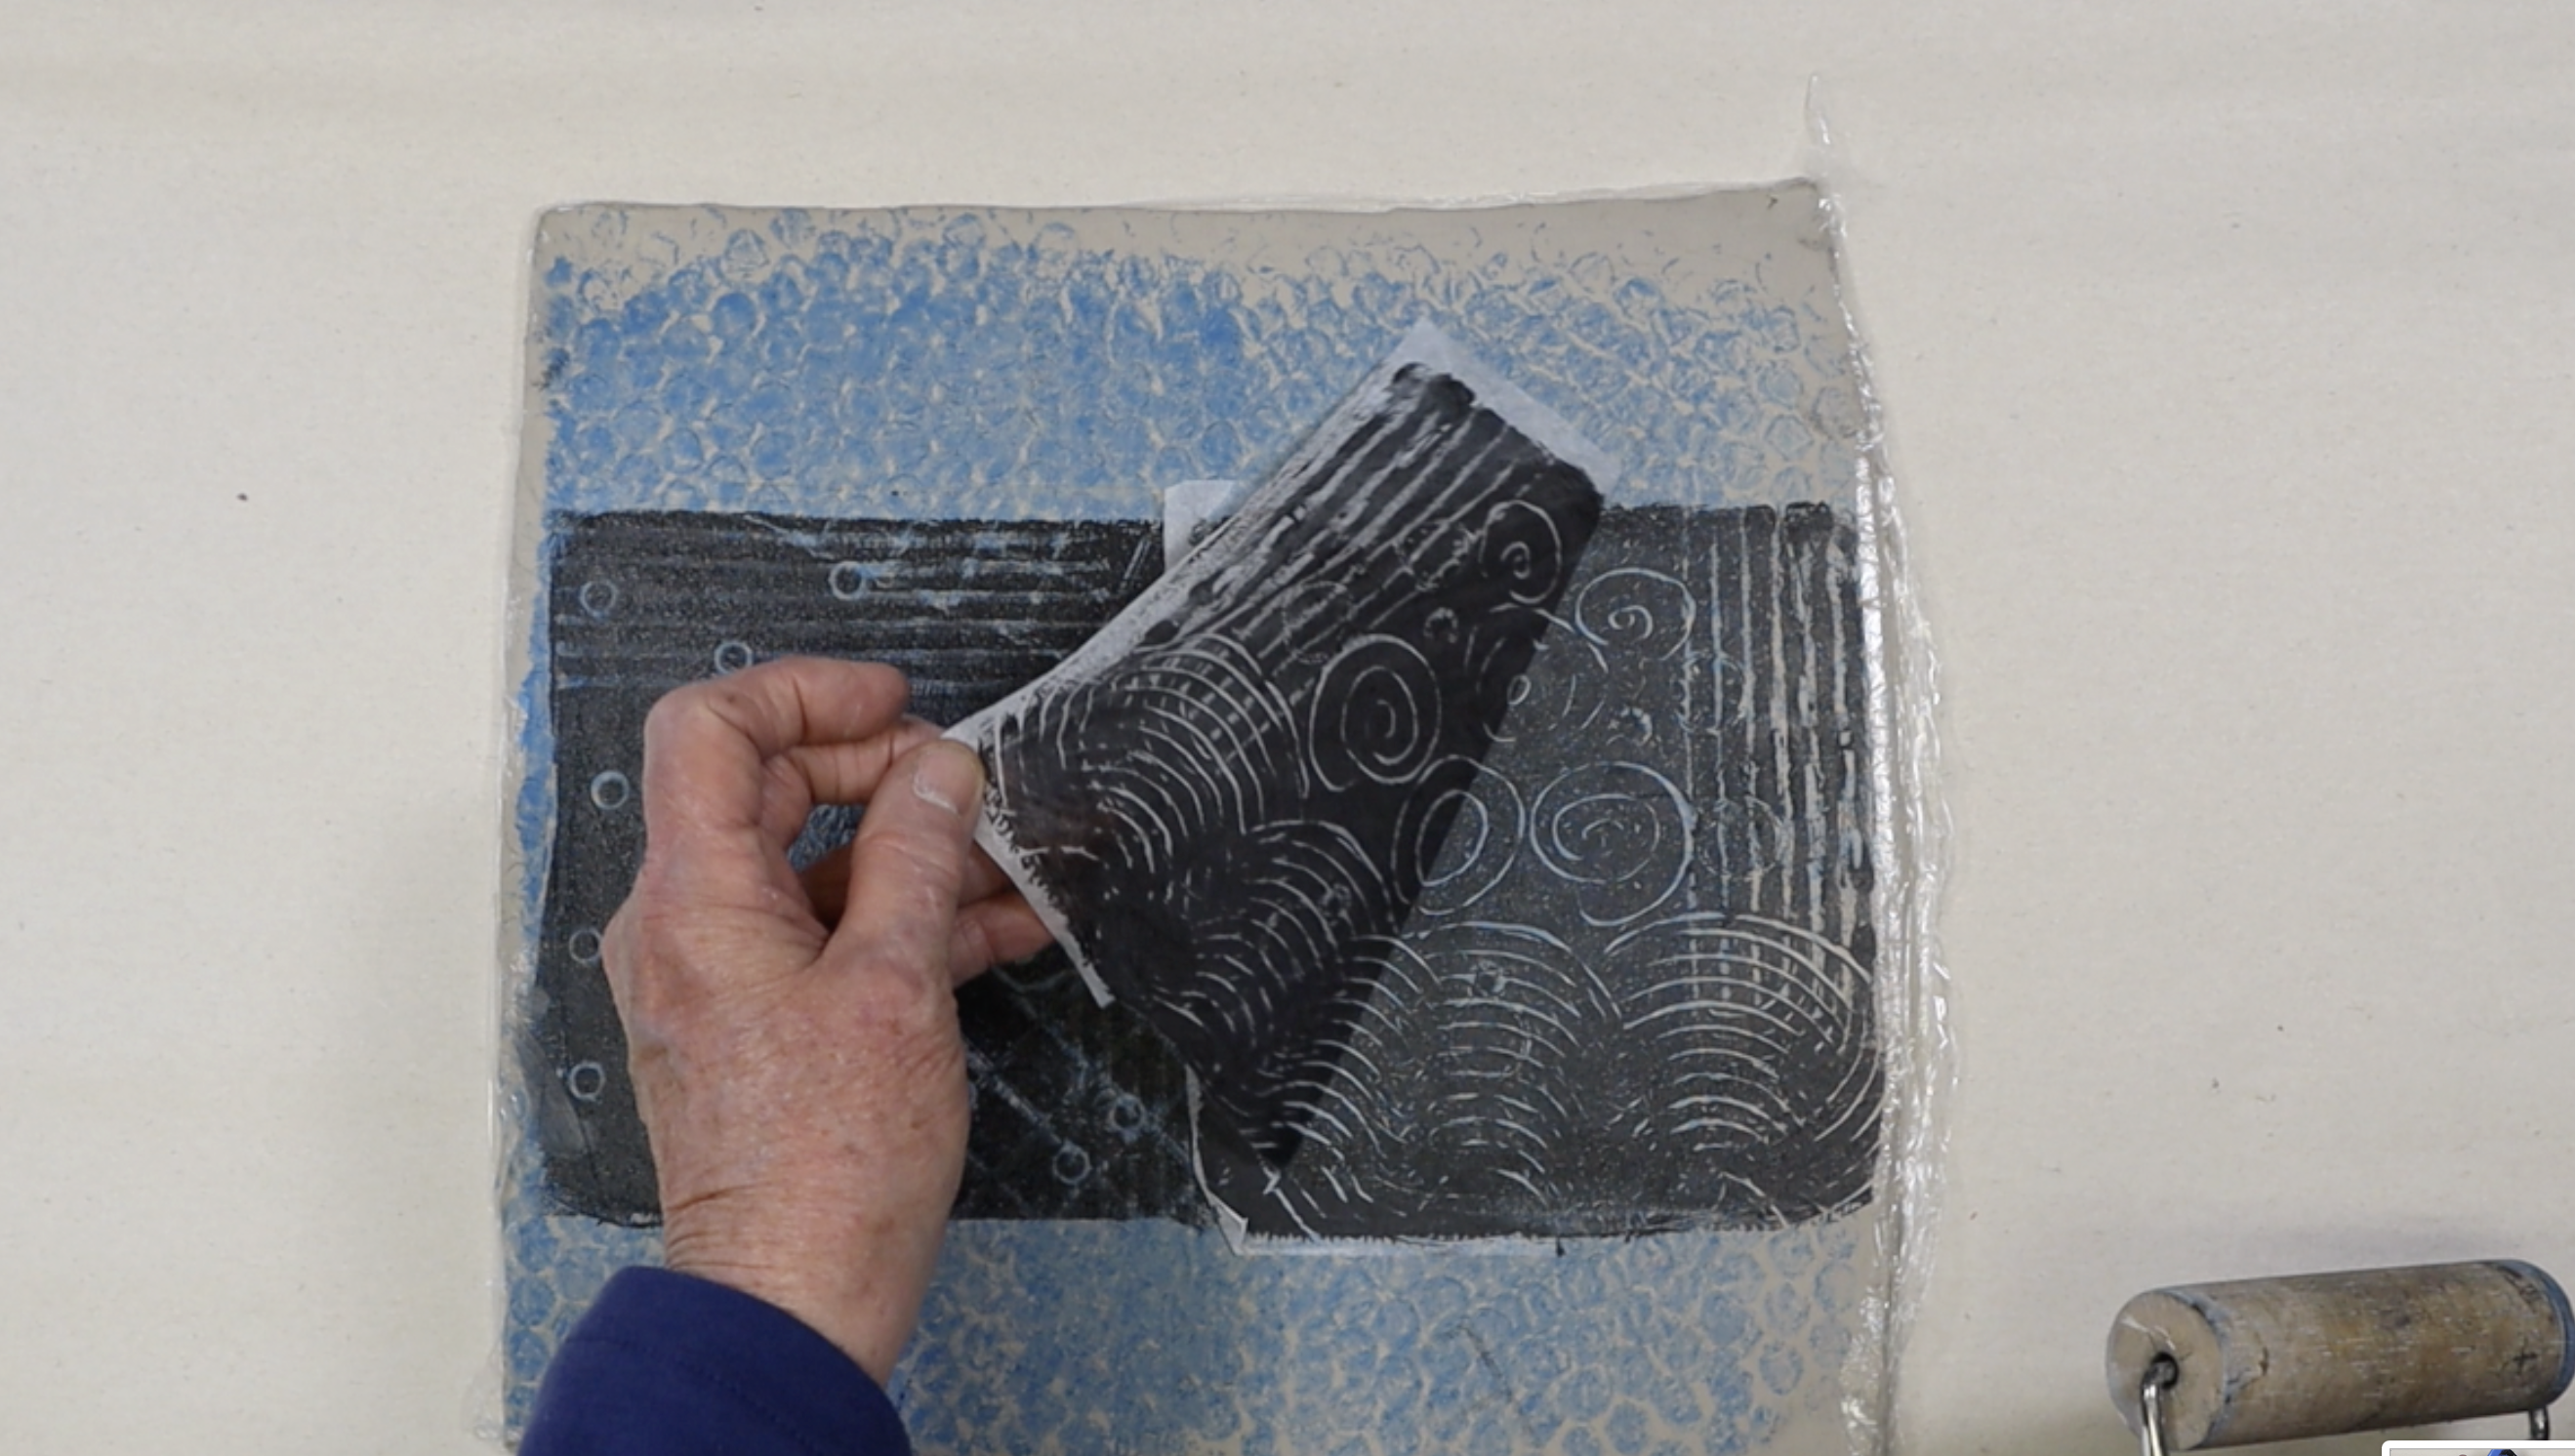
Use a wooden roller to roll the printed tissue firmly onto the clay slab. Peel the tissue off, and the transfer is complete.
Form the Printed Slabs
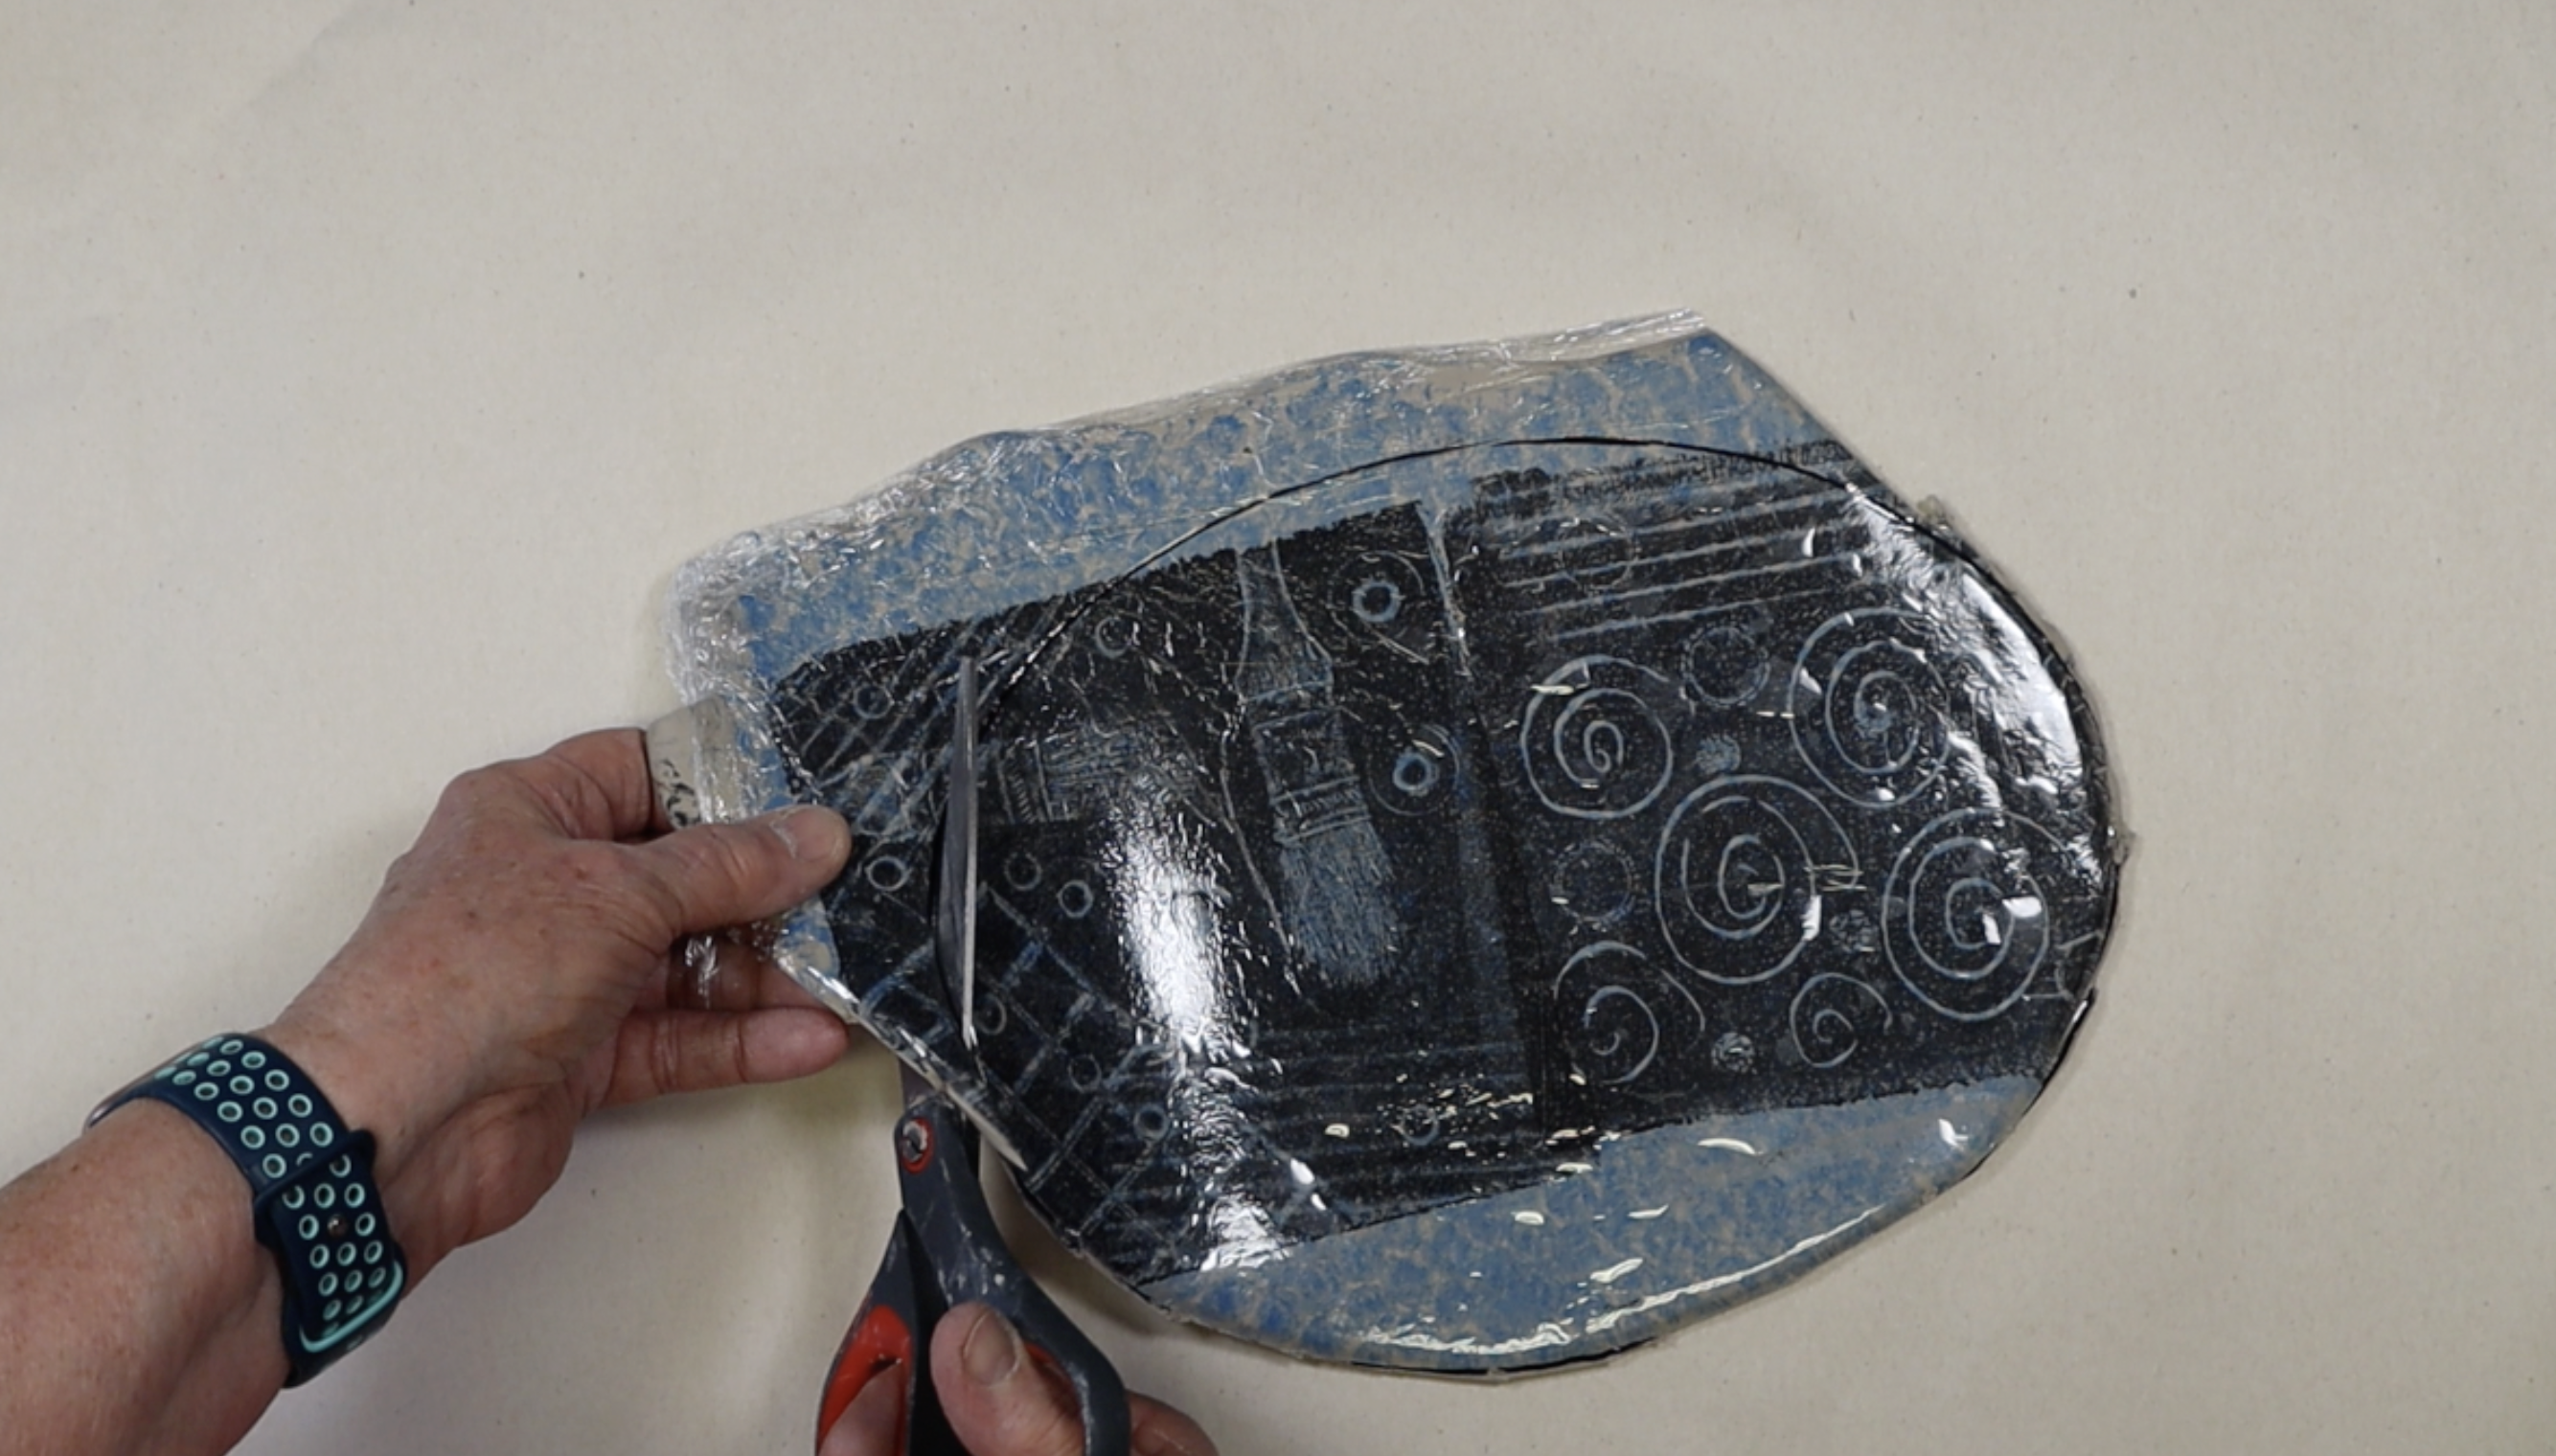
Printed clay slabs can be covered with plastic wrap and smoothed to keep the surface moist and to protect the image during hand-building. Refer to the hand-building instructions on AMACO’s website and YouTube channel: “Hand-Built Clay Plates: Building with Soft Clay Slabs”.
Presentations
Download step-by-step slideshow presentations here:
Similar Lesson Plans


